Follow along and watch while I take a stock Ubuntu desktop and transform it something really slick!
Introduction
Window borders, icons, splash images and other graphical user interface (GUI) preferences are largely a subjective thing. Still, it’s nice to have the tools available to transform the GUI into something that is more pleasing to your eye. Fortunately, GNU/Linux makes it relatively easy to mould your desktop environment into whatever suits your taste, and Ubuntu is no exception.
For the purposes of this discussion, I'll stick to Ubuntu’s default Gnome desktop, but Ubuntu’s KDE desktop (Kubuntu) is every bit as flexible.
How it works
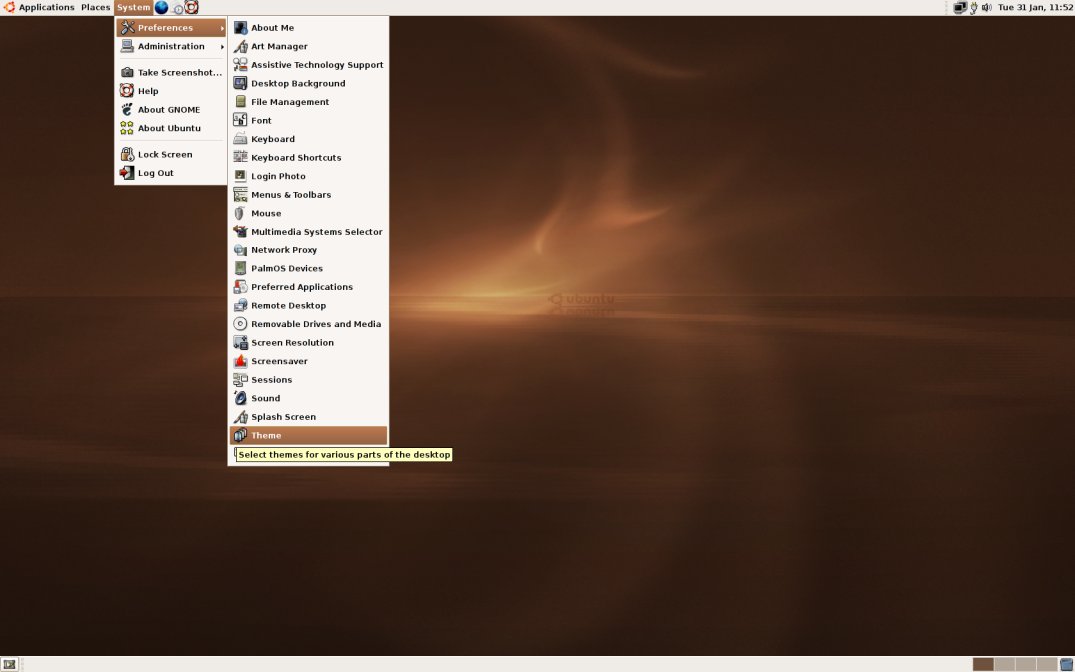
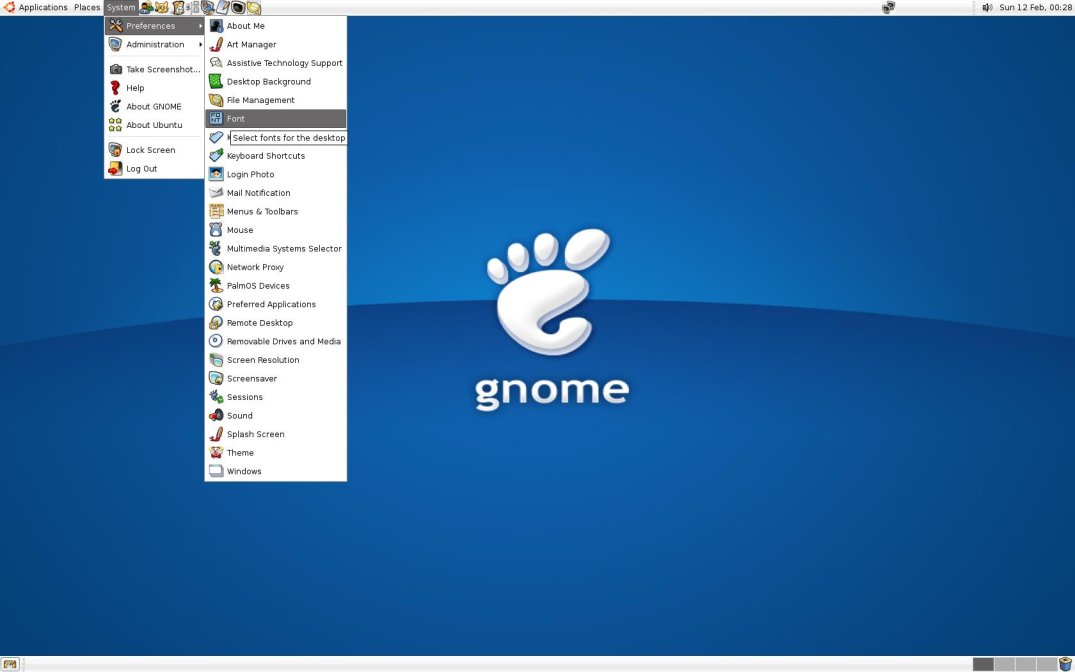
Ubuntu’s Gnome desktop comes with a number of pre-installed themes, and a built-in theme manager. You can access the “Theme Preferences” by selecting System → Preferences → Theme from the Ubuntu menu (as shown in figure 1a). You will then be presented with the Theme Preferences window (as shown in figure 1b).
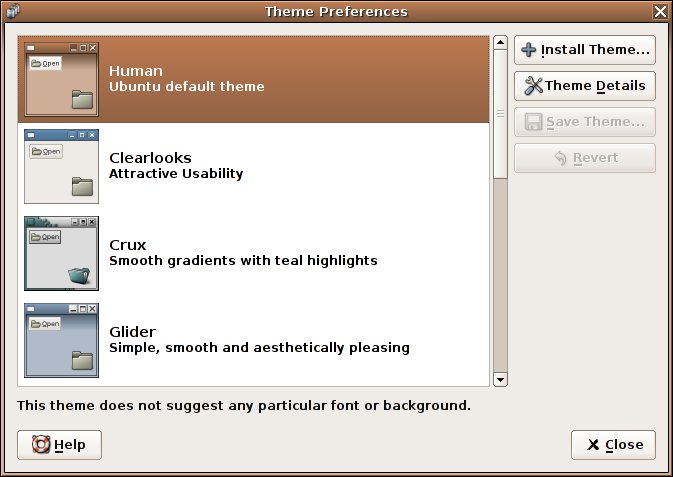
By selecting one of the other themes listed in the Theme Preferences window, it will change the following three components:
- Controls: including such things as buttons, colours, and check boxes
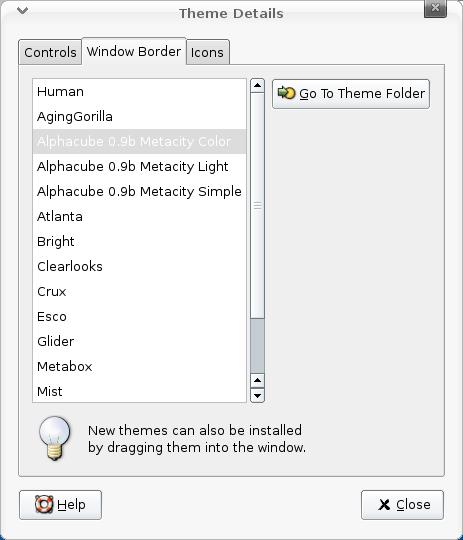
- Window borders: including the type of border as well as buttons for minimizing, maximizing, and restoring windows
- Icons: complete icon themes (some are more complete than others)
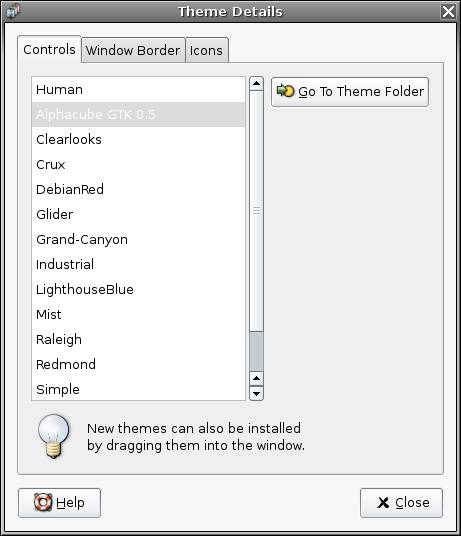
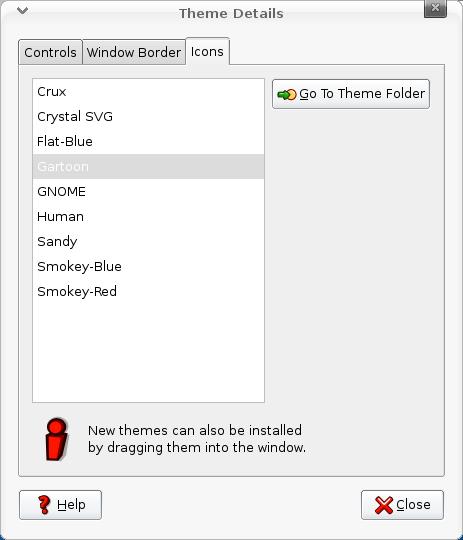
You can also mix and match these components by selecting “Theme Details” (figure 1c).
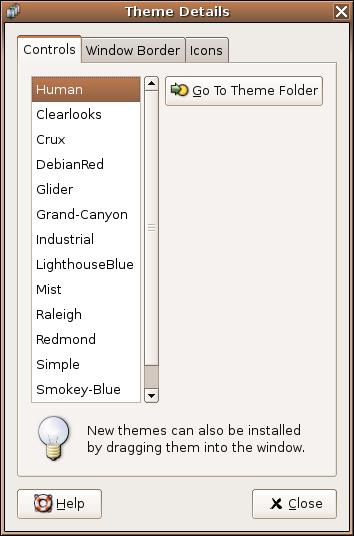
For example, you might select the “Clearlooks” Controls, “Atlanta” Window Border, and “Sandy” Icons. Once satisfied with your selections, a custom theme such as this can be saved from within the main Theme Preferences window.
A closer look
There are a few additional parts of the Gnome desktop that can be modified in order to better customize the overall look and feel. They are:
- Backgrounds: also known as “wallpaper”
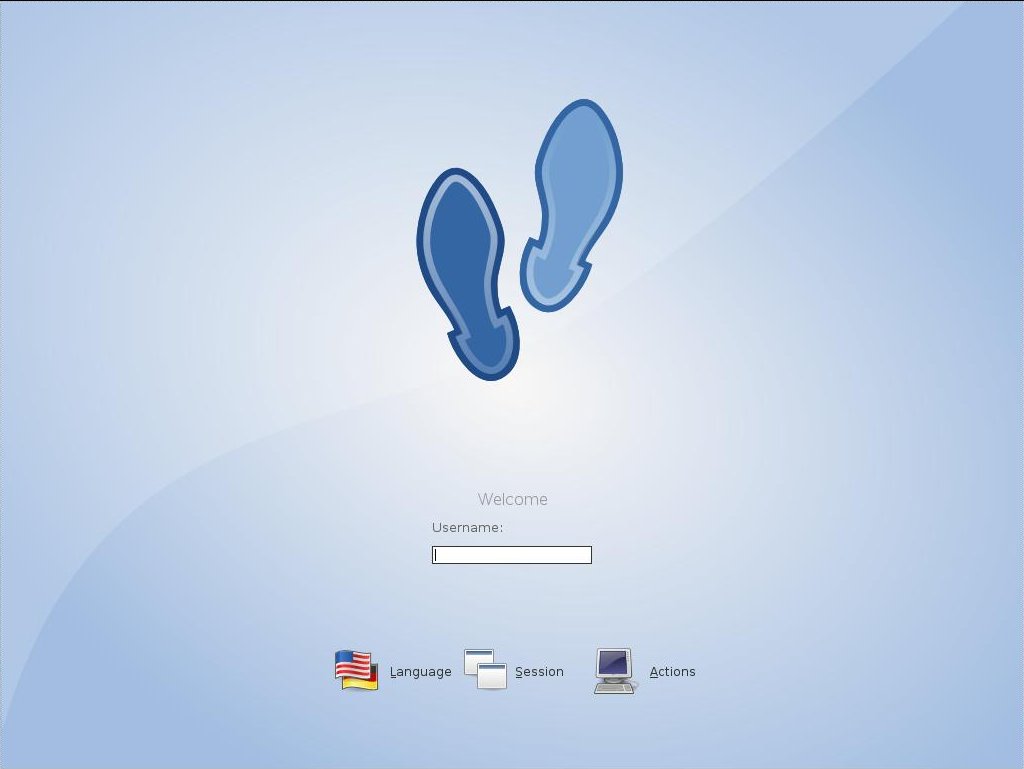
- Login Manager: where you enter user name and password
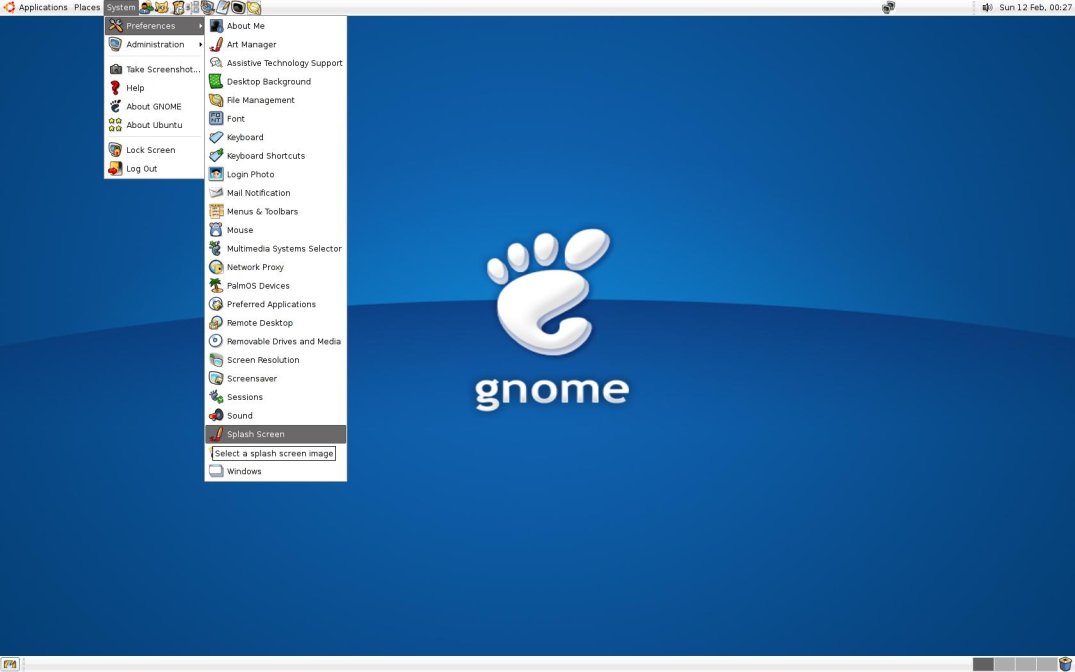
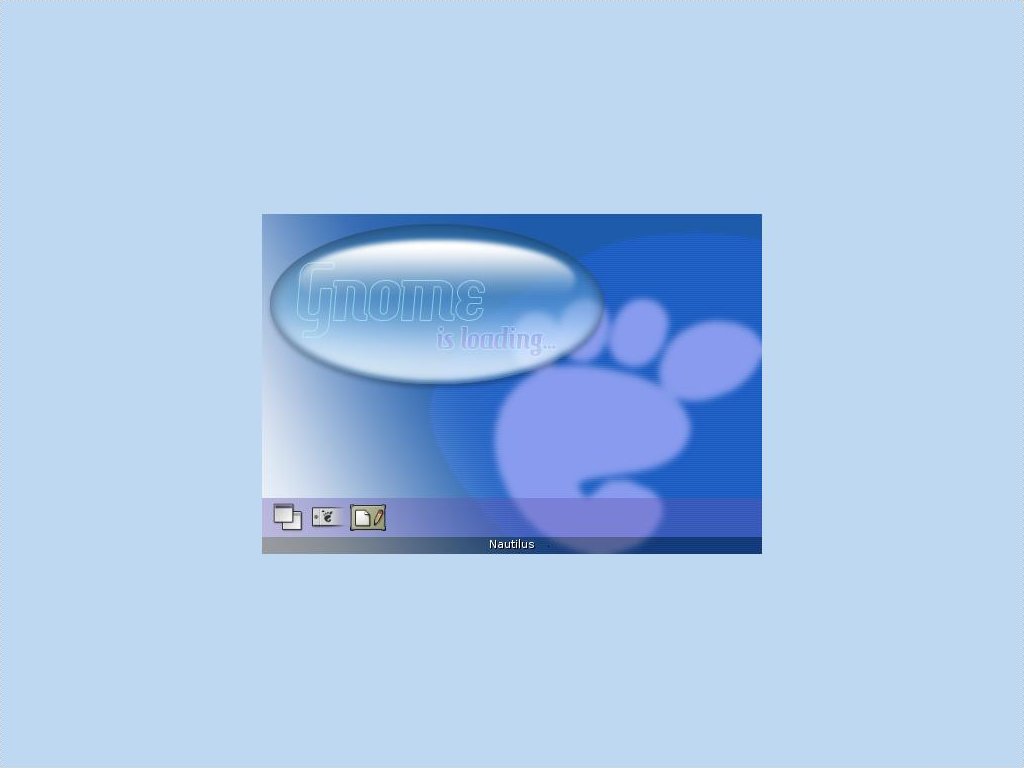
- Splash Screen: a graphical image displaying logon progress
Fortunately, there is another tool known as “Art Manager” (also known as “Gnome Art”) that will allow you to manage all six of these components. I will focus primarily on this tool to help change Ubuntu’s look.
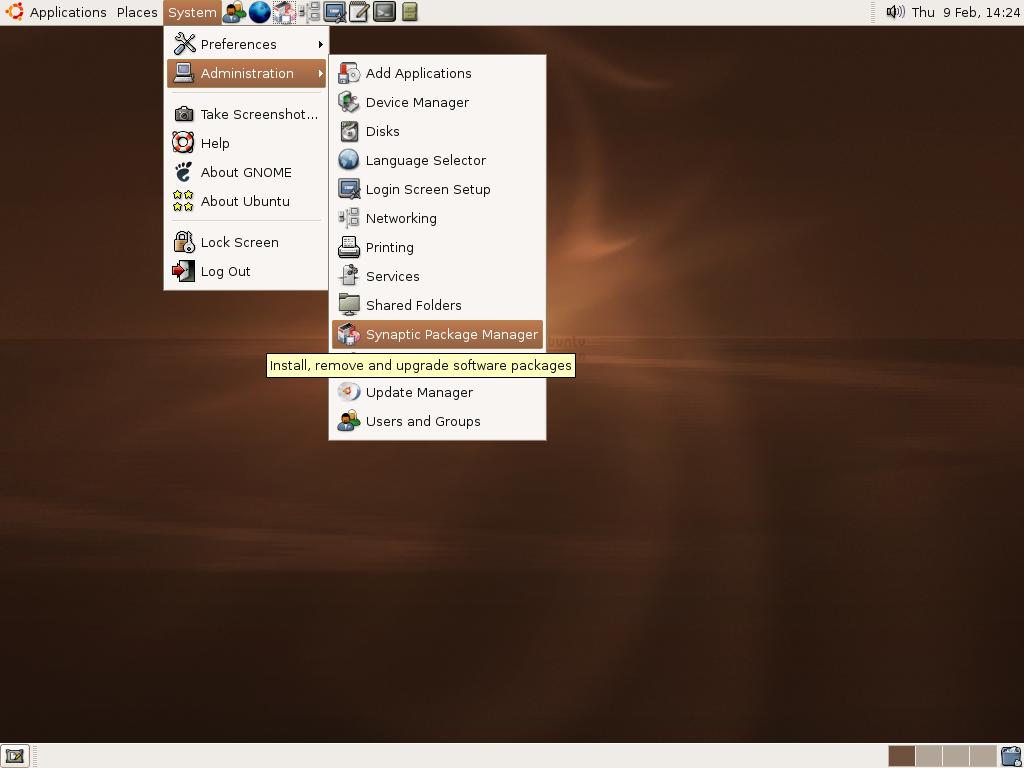
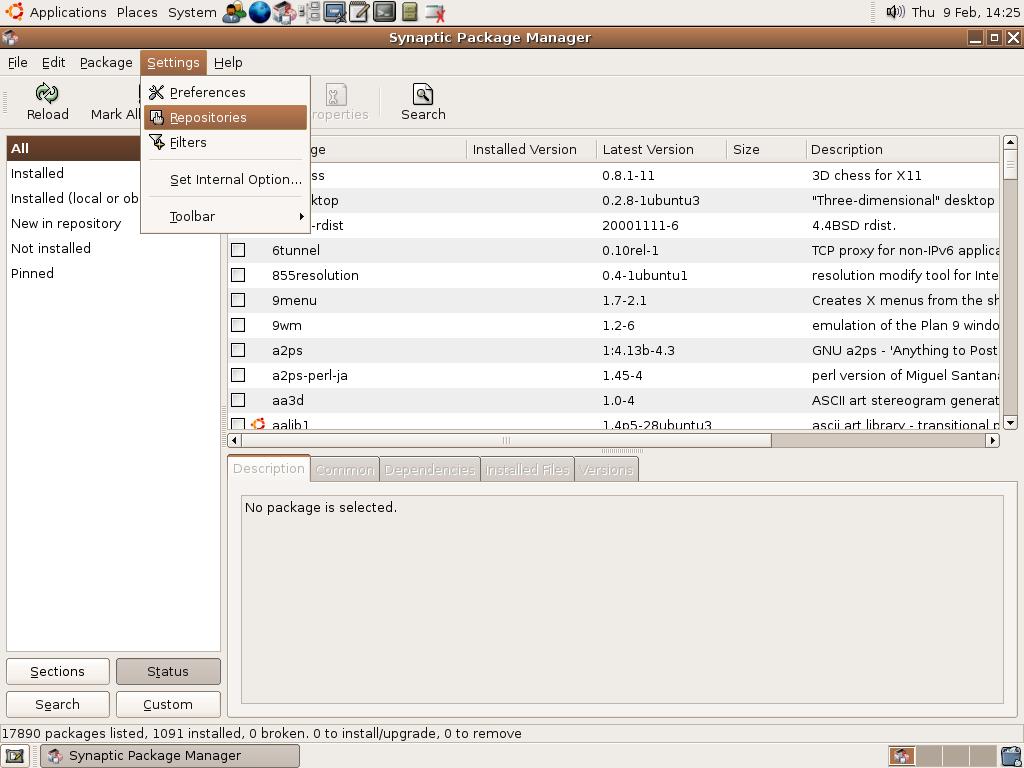
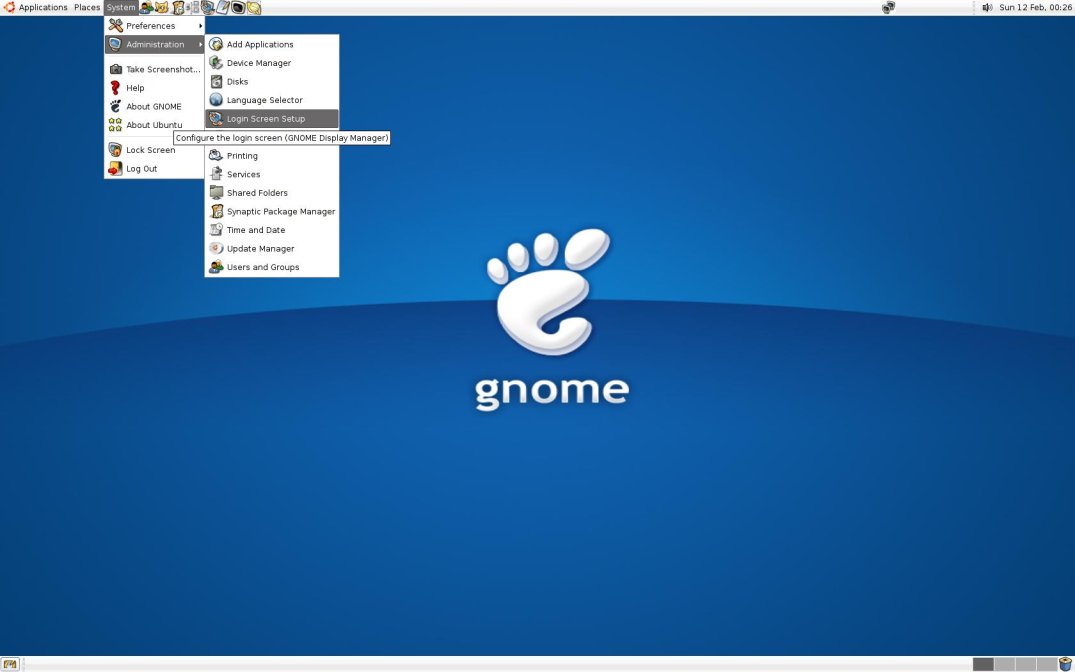
Unfortunately, Art Manager is not installed in the default Gnome desktop. In order to install it, you will have to ensure that all Ubuntu repositories are enabled in the Synaptic Package Manager (figures 1d, 1e, and 1f).

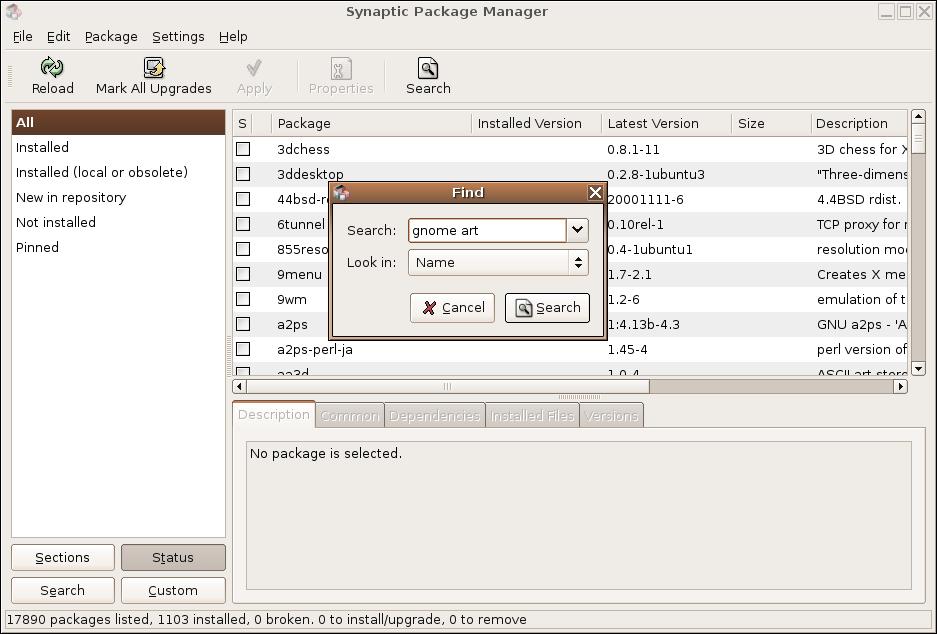
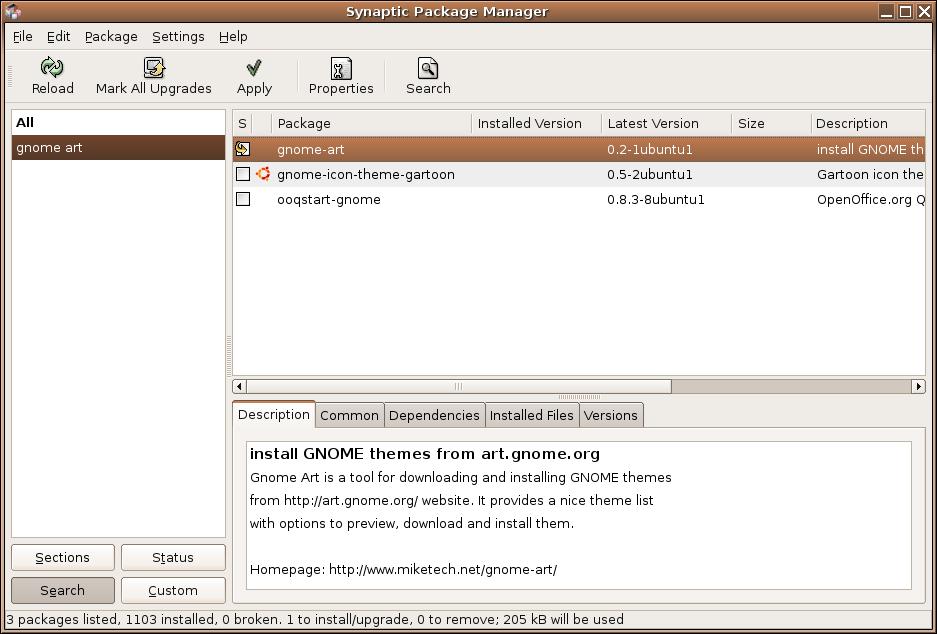
Check the boxes for “Universe” and “Multiverse” and then hit “OK”. Once the additional repositories are enabled, hit the “Reload” icon, and then do a “Search” for “Gnome Art”. Install Art Manager and then close down Synaptic Package Manager (figures 1g and 1h).
Note: for more information about using Synaptic Package Manager read Simple package management with Synaptic by Marco Marongiu.
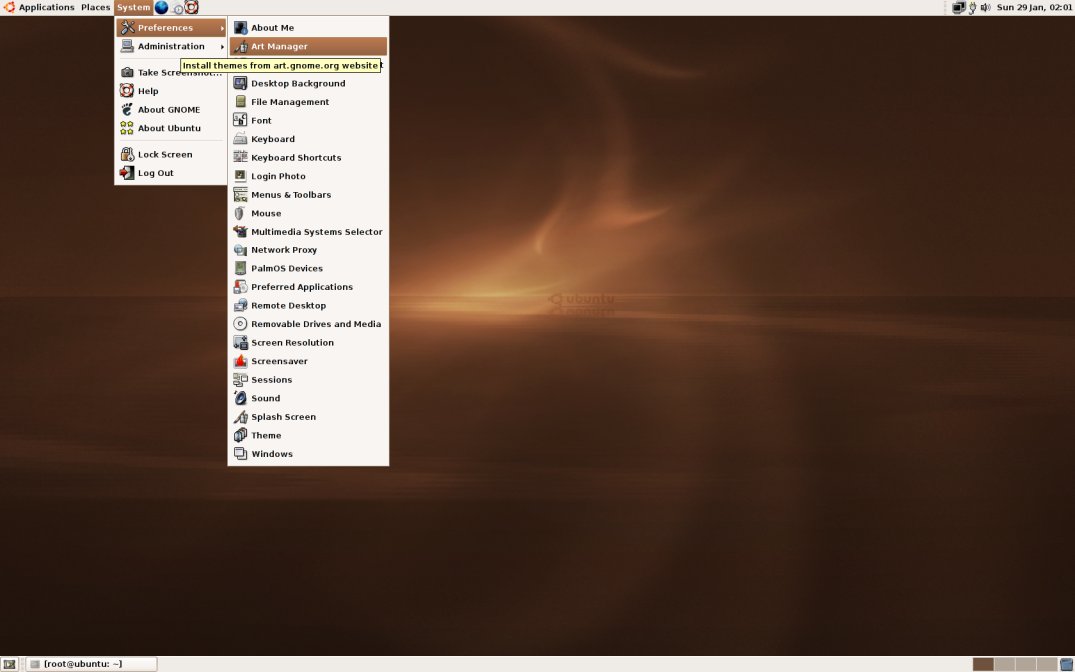
Open the Art Manager (figure 2a).
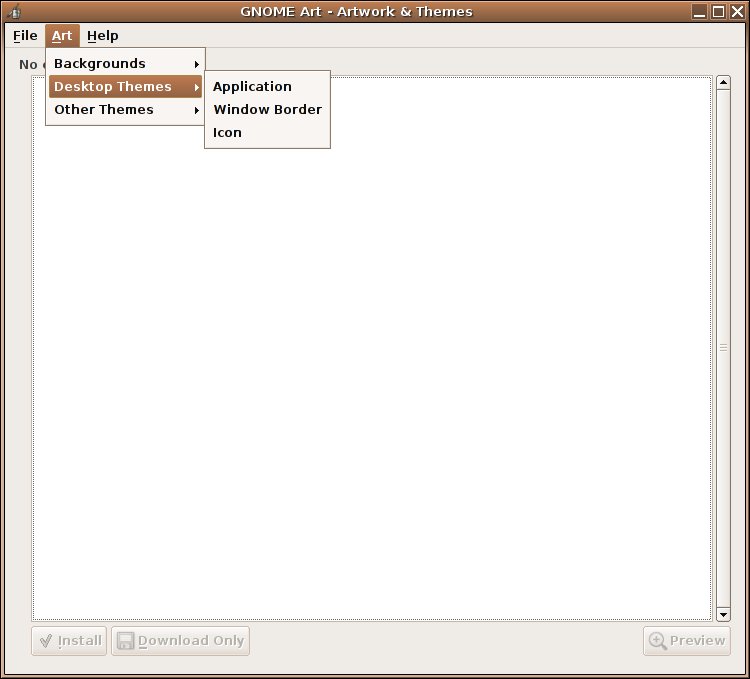
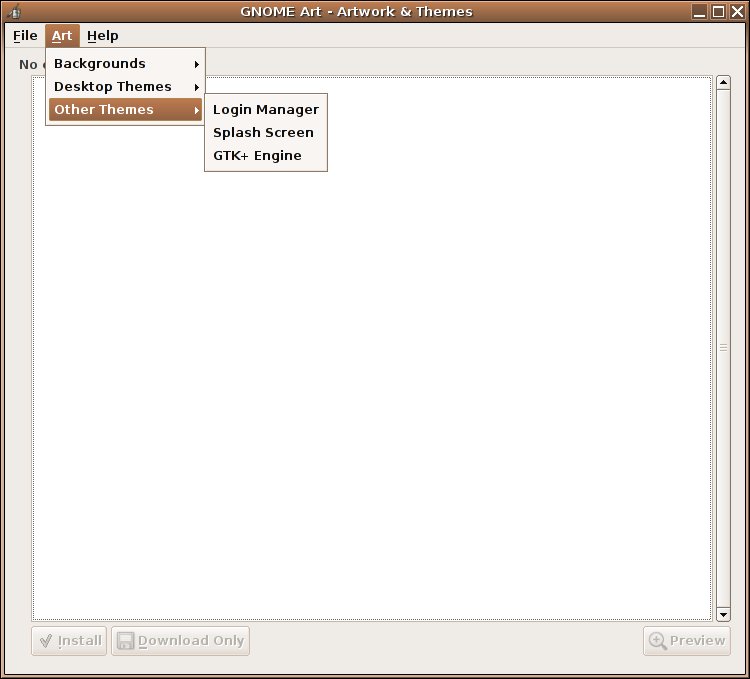
Notice that Art Manager has additional sub-menus (figures 2b through 2d):
- Under “Backgrounds”: Gnome → Other → All
- Under “Desktop Themes”: Application → Window Border → Icon
- Under “Other Themes”: Login Manager → Splash Screen → GTK+ Engine

When you select a component, it will download a database of available items in that category, along with thumbnails of the respective images (figures 2e through 2i).
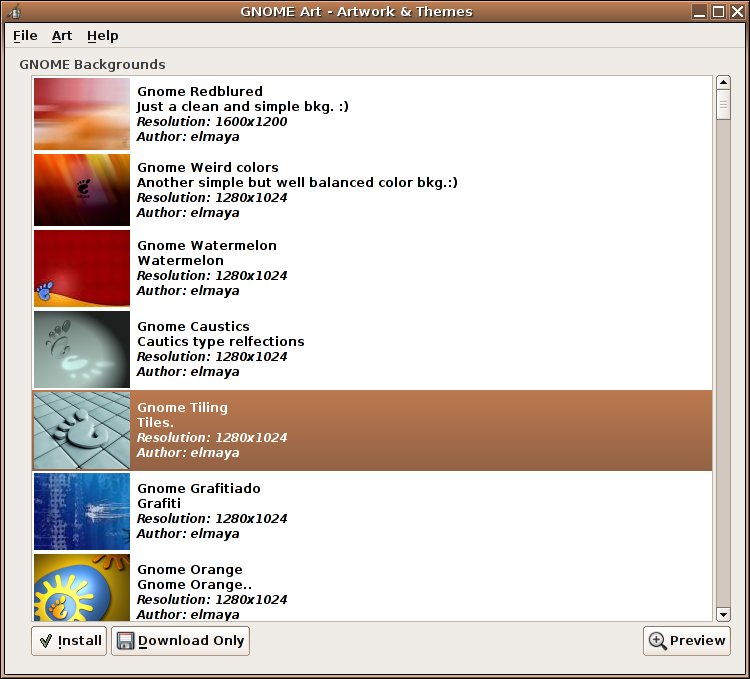

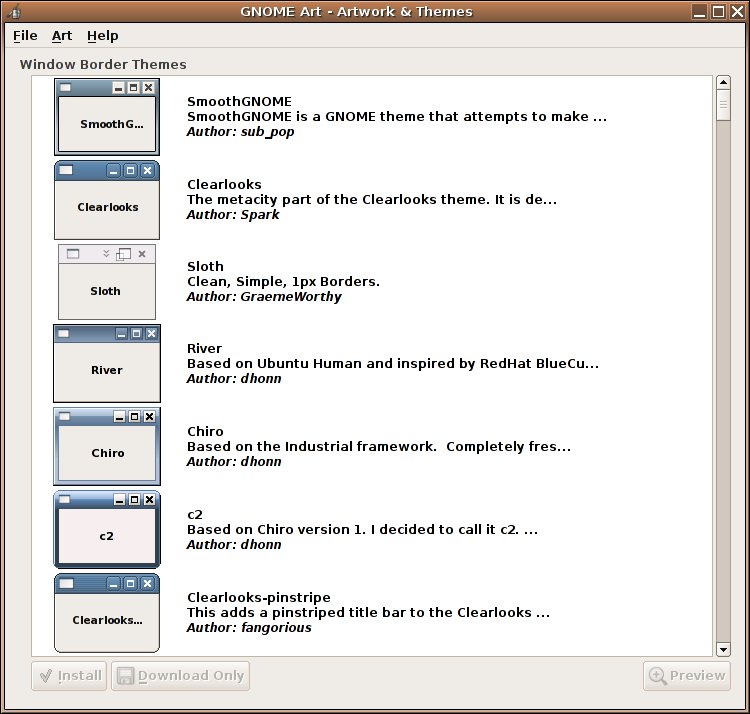
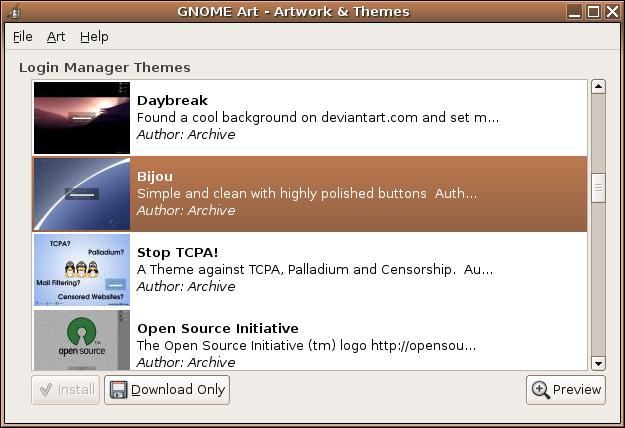
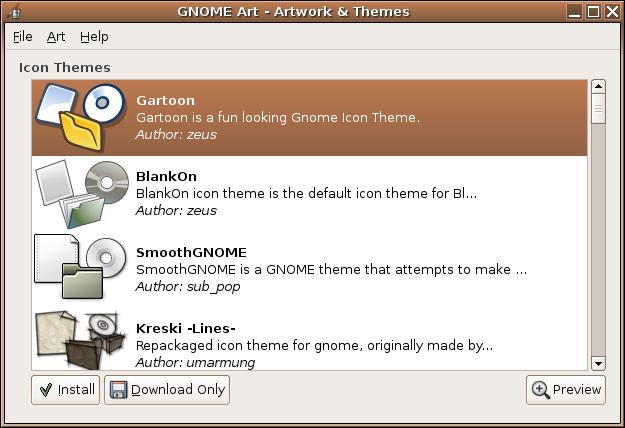
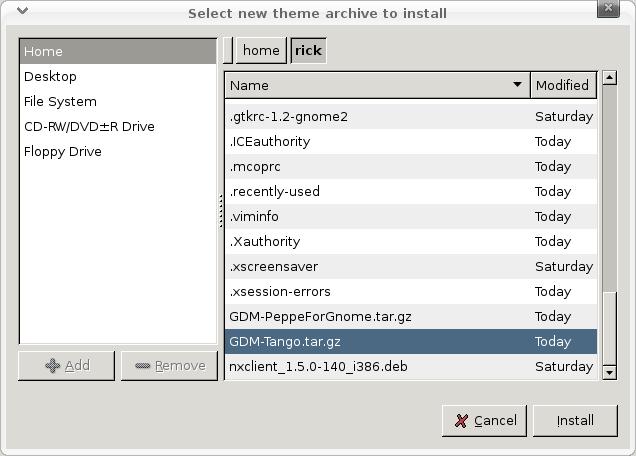
I would suggest a fast internet connection for this, as the databases can be quite large. In most of the windows (as shown), you can either install the item, or you can just download the item for manual installation. The exception here is “Login Manager Themes”, which can only be downloaded. Login Manager Themes must be installed separately (figures 3a and 3b).
Now download (and hit “Install” where appropriate) the various components.
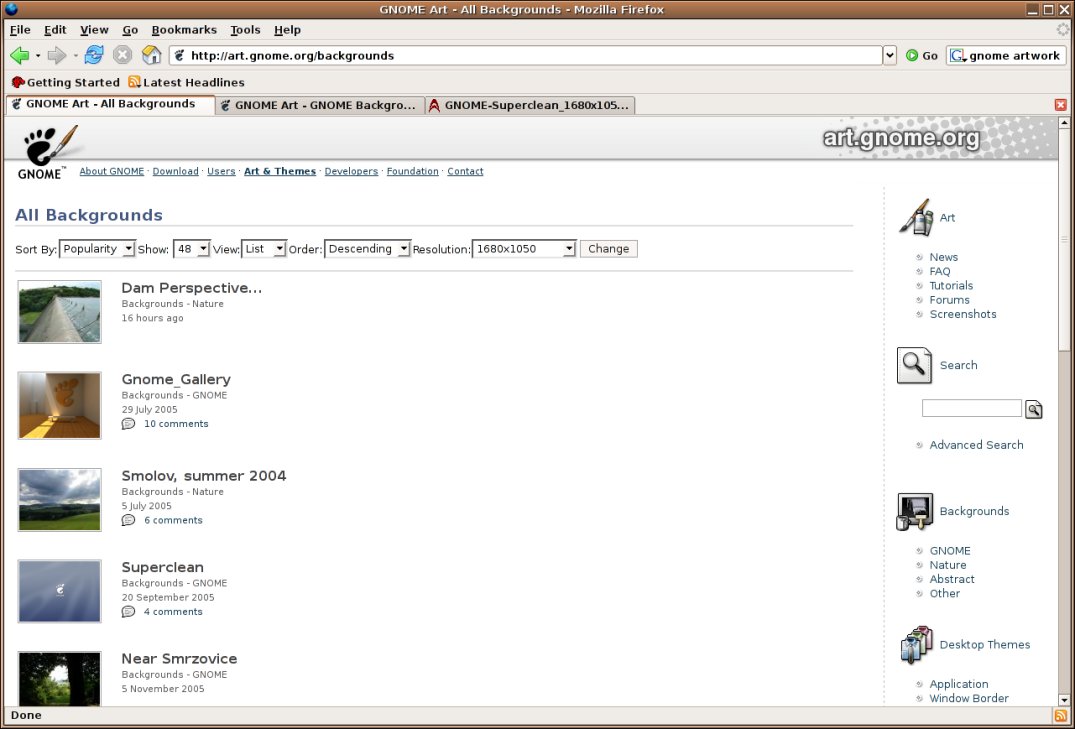
For those without a fast internet connection, I would suggest visiting the art.gnome.org web site. Here you can manually search for and download all of the theme components (figure 3a).
Remember that once downloaded, Gnome’s built-in theme manager can only install:
- Controls
- Window border
- Icons
Theses components must be installed separately:
- Backgrounds
- Login manager
- Splash screeen
The splash screen is of special note: as without the Art Manager, the only way to change the Splash Screen is through the command line; this will not be discussed here.
Putting it all together
You’ve added new pieces. Now put some of them together.
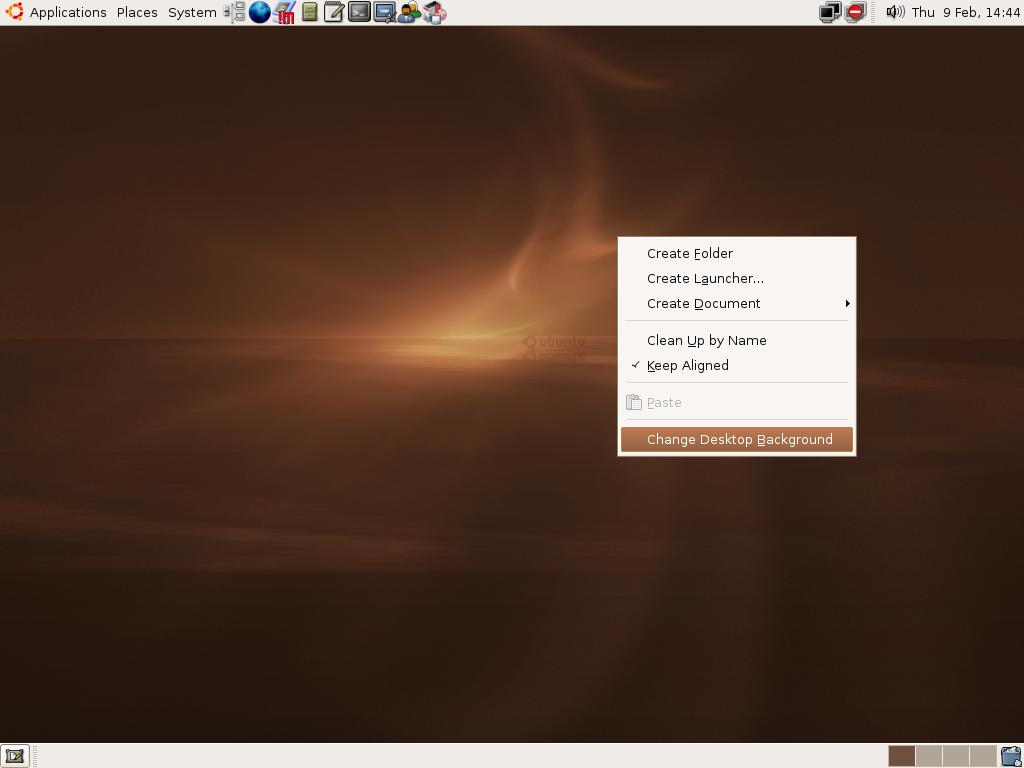
The Backgrounds can be changed by right clicking anywhere on your desktop, and then selecting “Change Desktop Background” in the pop-up menu (figure 4a).

Here, you can also add and remove images, set the scale of the image, and set the desktop colours behind the image (figure 4b). Any Backgrounds added with the Art Manager will already be included. Now select a new Background.
Next, open the Theme manager again (figure 1a) and go to Theme Details (figure 1b and 1c). In this case we will select Alphacube for Controls, Alphacube for Window Border, and Gartoon for Icons (figures 5a, 5b and 5c).
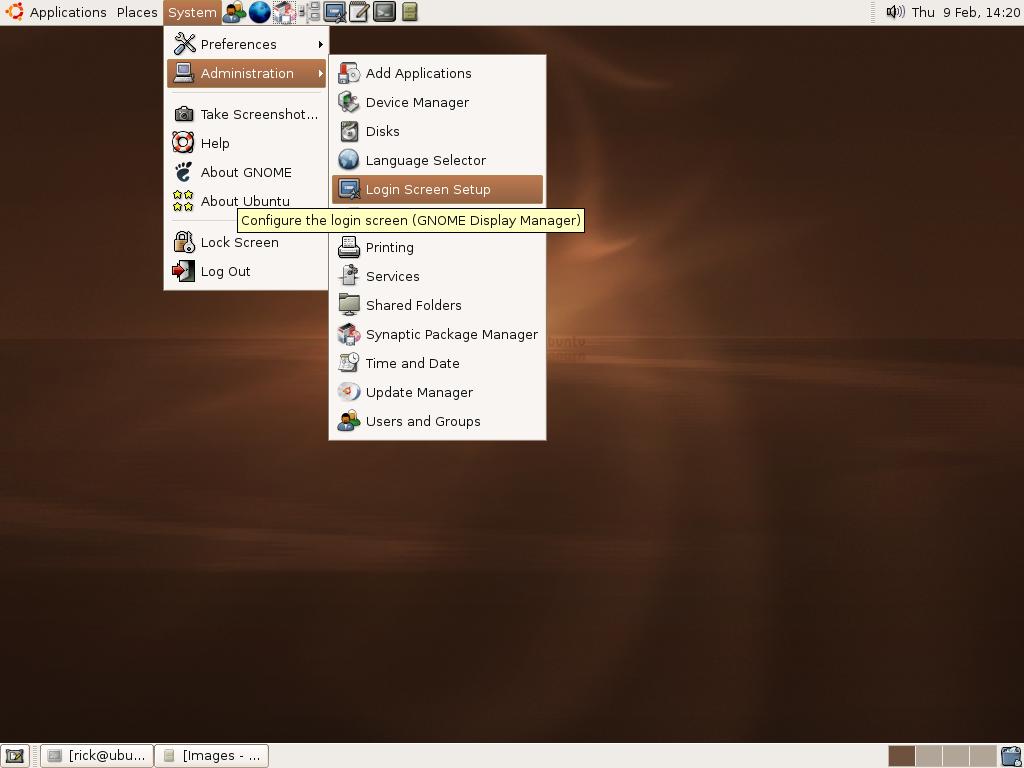
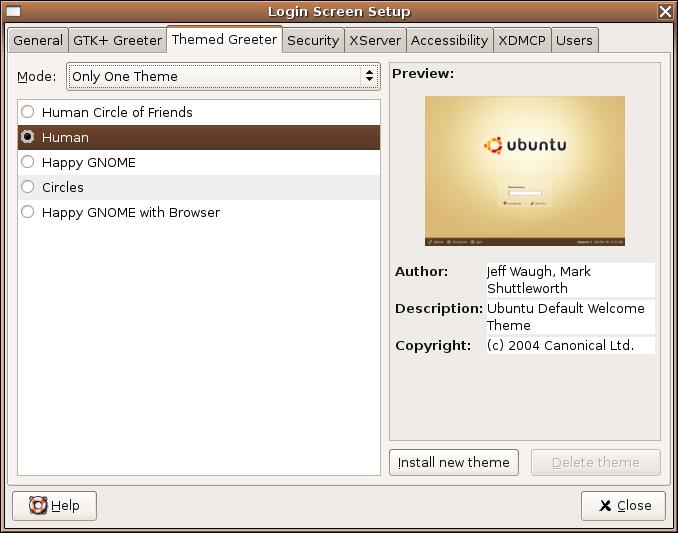
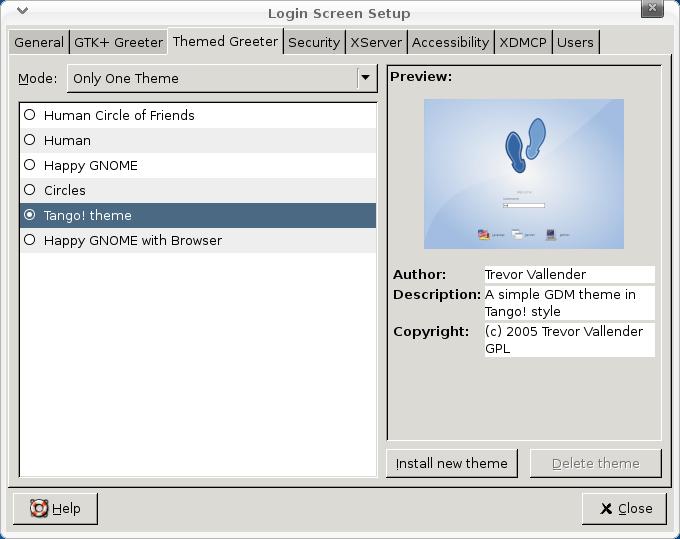
Next, change the Login screen (figures 6a, 6b and 6c). Remember, you only downloaded the Login Screen; so, you have to remember where you downloaded the file.
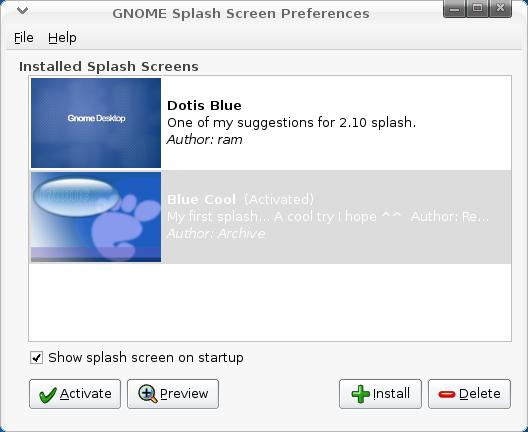
Then, change the Splash Screen (figures 7a and 7b). Remember to hit “Activate” in the Splash Screen Preferences.
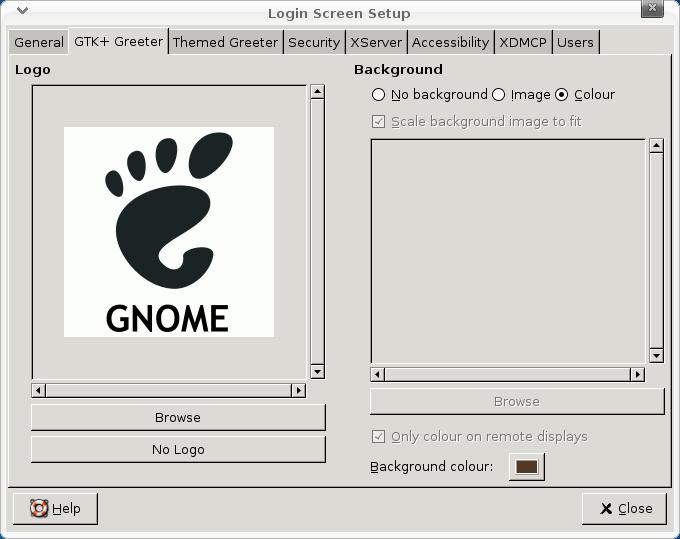
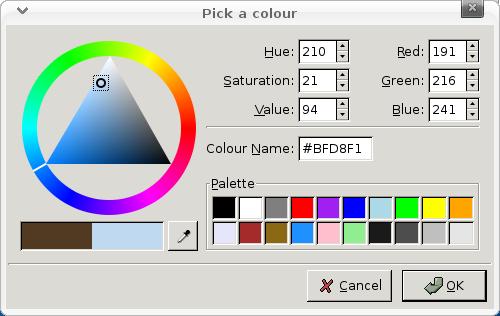
To complete this theme, go back to the Login Screen Setup (figure 6a). In the GTK+ Greeter section, hit “Background Colour” and change it, otherwise you’ll get a brown background when you login (figures 8a and 8b).
Now log out and log back in again. You should be presented with the screens shown in figures 9a and 9b.
Just to put some finishing touches on our new theme, change the fonts (figures 10a and 10b).
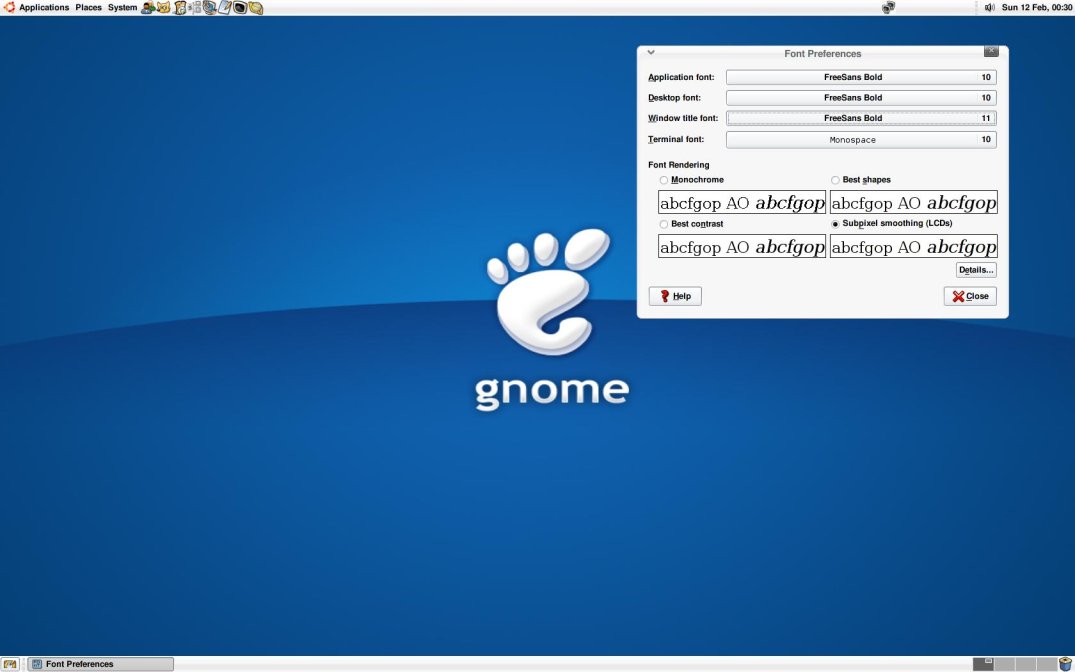
If you are using an LCD screen, it’s best to choose Subpixel smoothing. Fonts are another one of those personal preference, but these are the choices I made. Your results will vary depending on monitor type, screen resolution, etc.
Under the hood
A Linux article would not be complete without adding a few command line tricks; so, here are just a few:
From time to time you may run into problems when installing theme components. For example, you will often install themes, only to find that they do not appear in the theme manager. Either that, or you would like them to be available to all users accounts on your PC. This occurs primarily because when you download and install theme components, they get installed to your home directory for security reasons. Also, from time to time (depending on where you found the theme components), the packagers have the wrong file and folder permissions set.
Let me give you a few examples:
You installed the Alphacube theme for Application and Window Borders. It’s currently in your home directory, but you want to make it available to all users.
First, you must set the proper permissions, and then you have to move it to the global themes directory (figure 11a).
From within your HOME directory, type this (the period before themes indicates a hidden directory):
cd .themes/
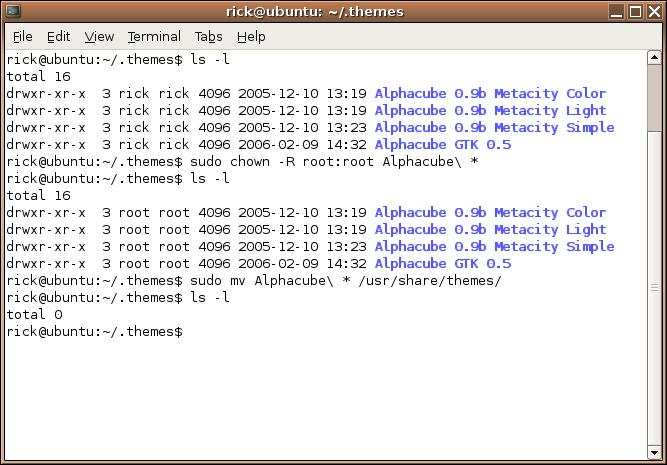
Once in the themes directory, do a long listing like this:
ls -l
As you can see in the image below, there are four Alphacube directories. You have to do two things here. The first is to change ownership to root like this:
sudo chown -R root:root Alphacube\ *
The other is to move them to the global themes directory like this:
sudo mv Alphacube\ * /usr/share/themes/
One for the road
For those who happen to feel more comfortable with something familiar, you can even mimic the look of other operating systems (figure 12a and 12b).
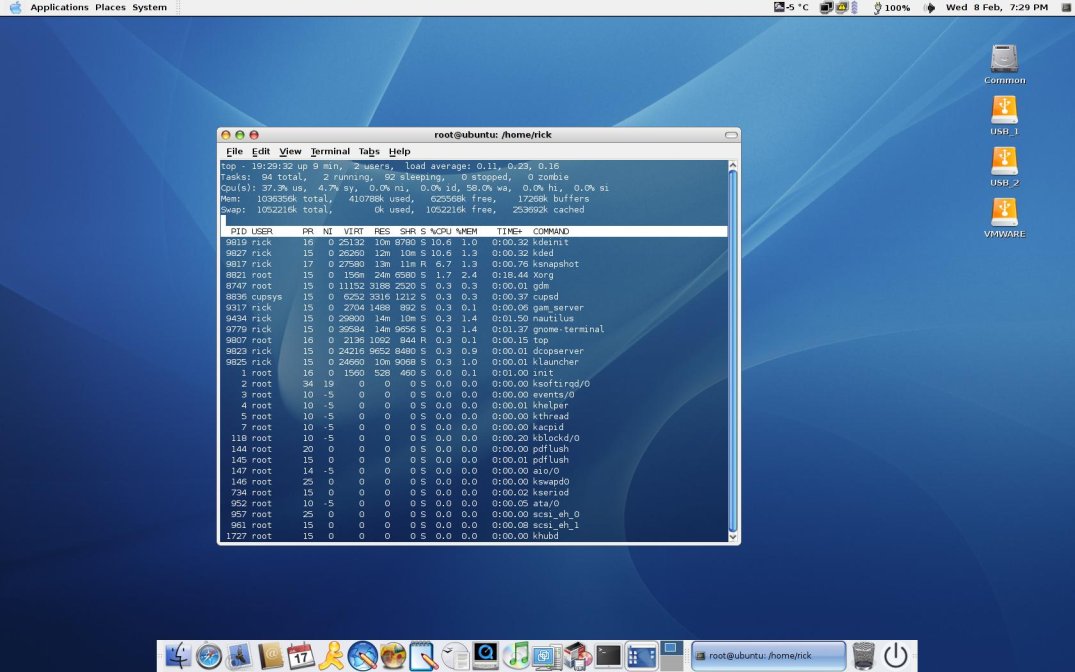
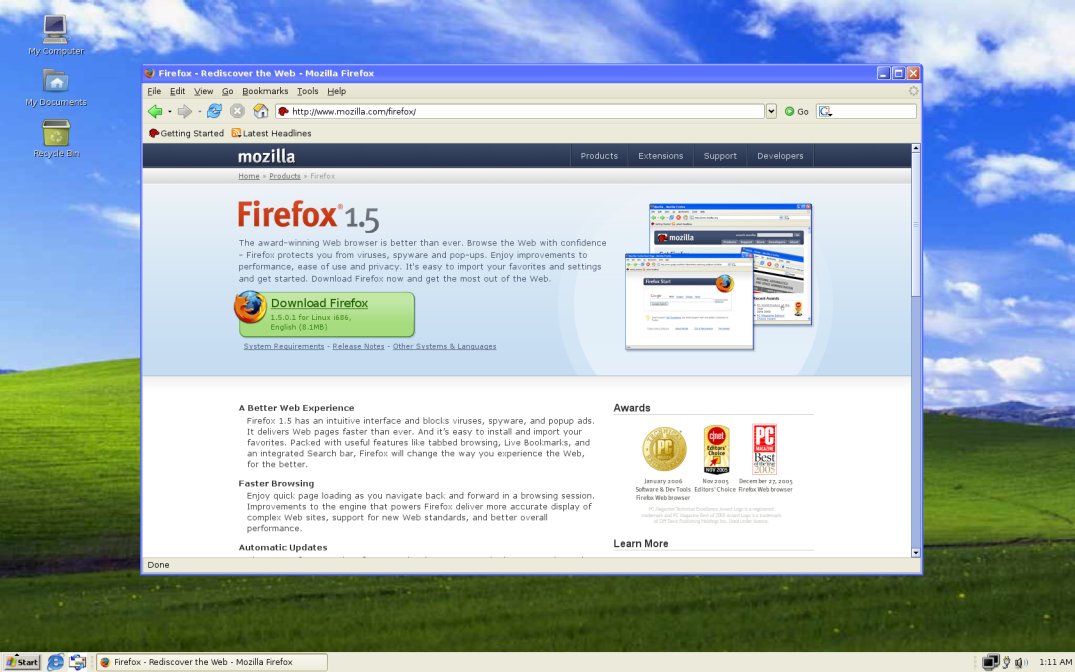
In this case I had to change the stock “Ubuntu” menu logo, and replace it with something else. This is done as follows.
First you want to backup the original in case you want to restore it in the future. You can do it like this:
sudo cp /usr/share/icons/hicolor/48x48/apps/distributor-logo.png /usr/share/icons/hicolor/48x48/apps/distributor-logo.png.bak
Next, replace the stock icon like this (replace custom_icon with the name of your icon):
sudo cp /home/custom_icon.png /usr/share/icons/hicolor/48x48/apps/distributor-logo.png
Finally (to refresh your menus), type:
killall gnome-panel
Conclusion
In the big picture, it’s really what’s “under the hood” that counts. In other words, the operating system is only as good as all the stuff that goes on behind the scenes. The graphical user interface is really only “eye candy”. Still, it’s nice to be able to mould the GUI into whatever you want it to be, and Ubuntu Linux is very flexible in this regard.
Have fun!