Inkscape is a shining star in the free software graphics world. I've covered creating a simple ribbon in an earlier tutorial, so let's step things up a little. As part of my work I have often had to create icons for various situations. One of the more popular requests has been to create icons with a glass effect. This effect is surprisingly simple to achieve with something like Inkscape.
I'm going to presume you know your way around the Inkscape interface. If you don't, then perhaps it would be better to start with my first Inkscape tutorial. If you do then open Inkscape with a new document. Incidentally the source SVG document for this tutorial is available for download under a Creative Commons BY-SA licence. Where possible I have specified colours in the RRGGBBAA format used throughout Inkscape.
- Draw a circle (We'll call this circle 1) using the ellipse tool while holding the Ctrl key. Set the size to be 200 x 200 px
- Set the stroke width for this be 18px
- Give the Stroke a linear gradient of
ffffffffto777777ffand set the repeat of the gradient to be Reflected. Place the white centre of the gradient and the grey at the bottom of the circle
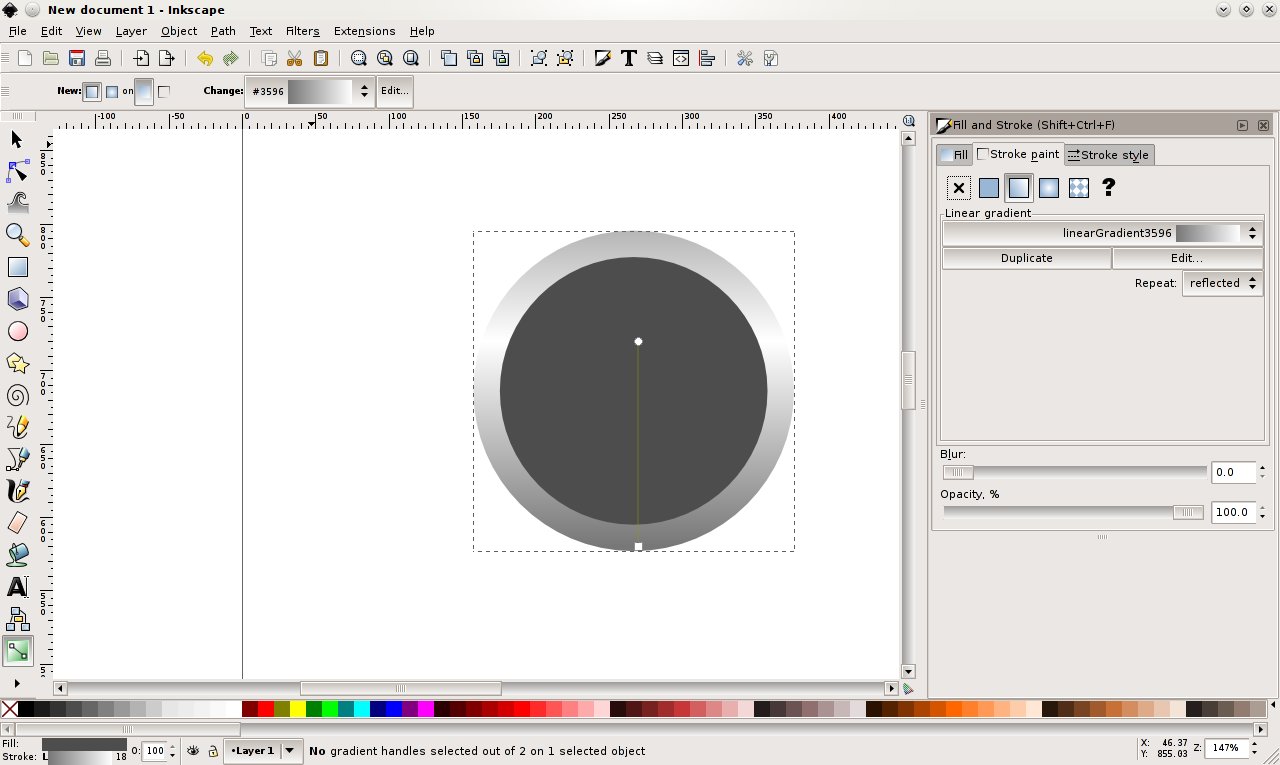
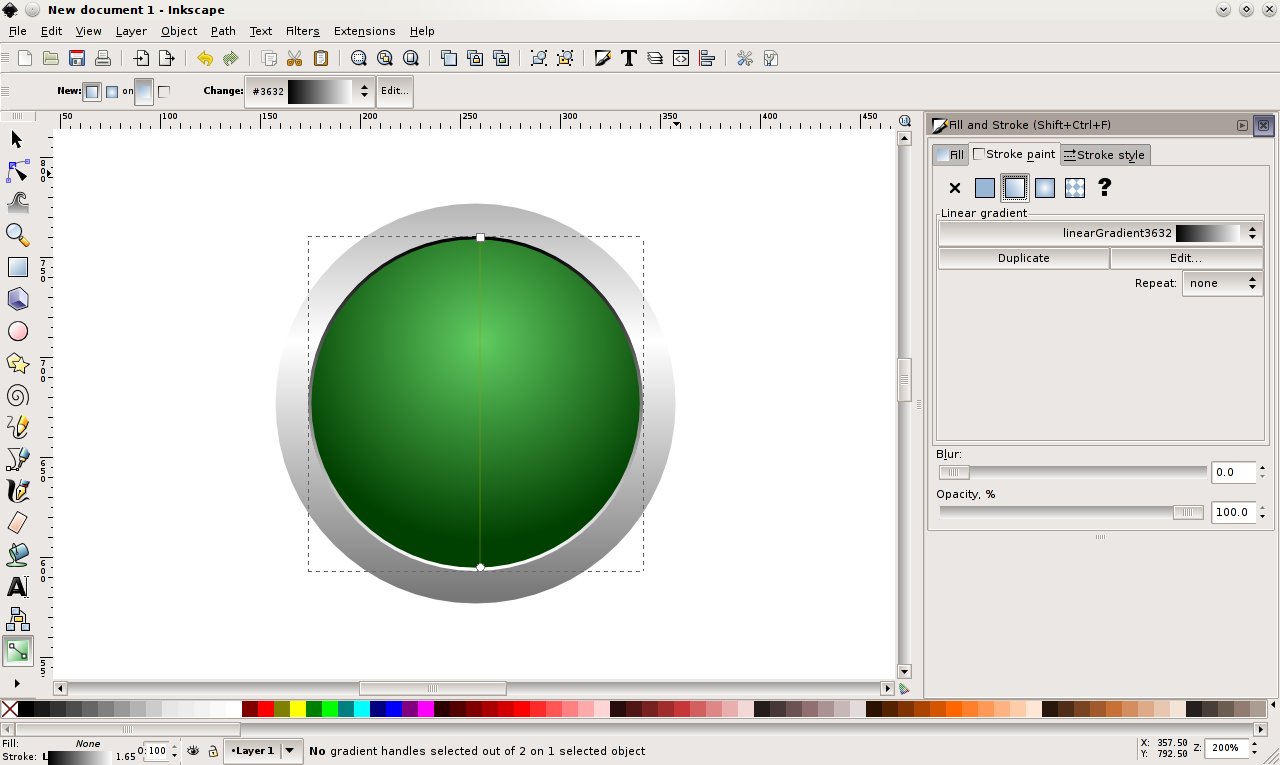
- Set the fill to be a radial gradient from
004000ffto60cc60ff. Align the lighter colour with the white end of the Stroke gradient and the darker colour with the bottom of the circle. - Duplicate circle 1 and remove the fill (we'll call this new circle - circle 2).
- Set the stroke width to 2px and set the size to align with the inside of the stroke on the main circle (approximately 167 x 167px)
- Set the Stroke for this new circle to be a single lnear gradient from
000000ff(black) toffffffff(white) with the black at the topand the white at the bottom
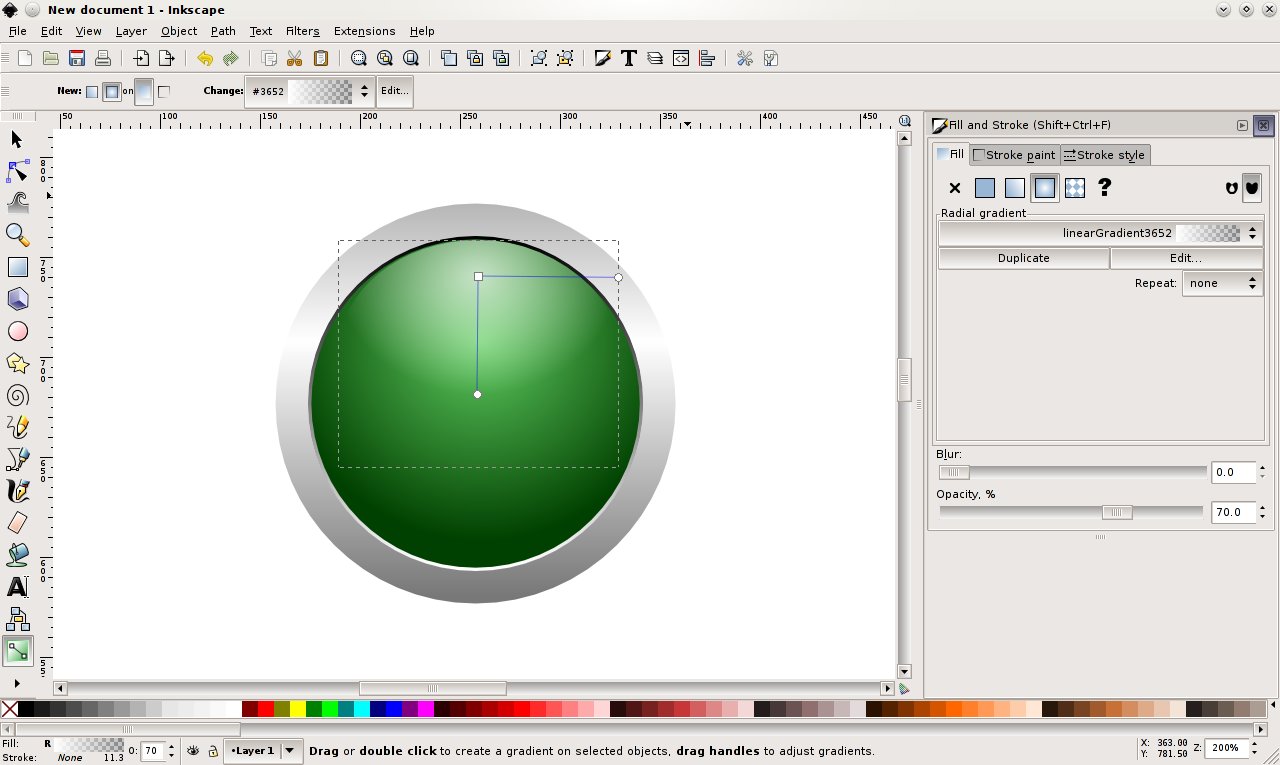
- Create another circle (call this circle 3) of size 140 x 113px with the top aligned with the fill for circle 1
- Set the fill to be a radial gradient of
ffffffff(white) toffffff00(transparent) - Set the centre of the gradient near the top and set the opacity to 70%
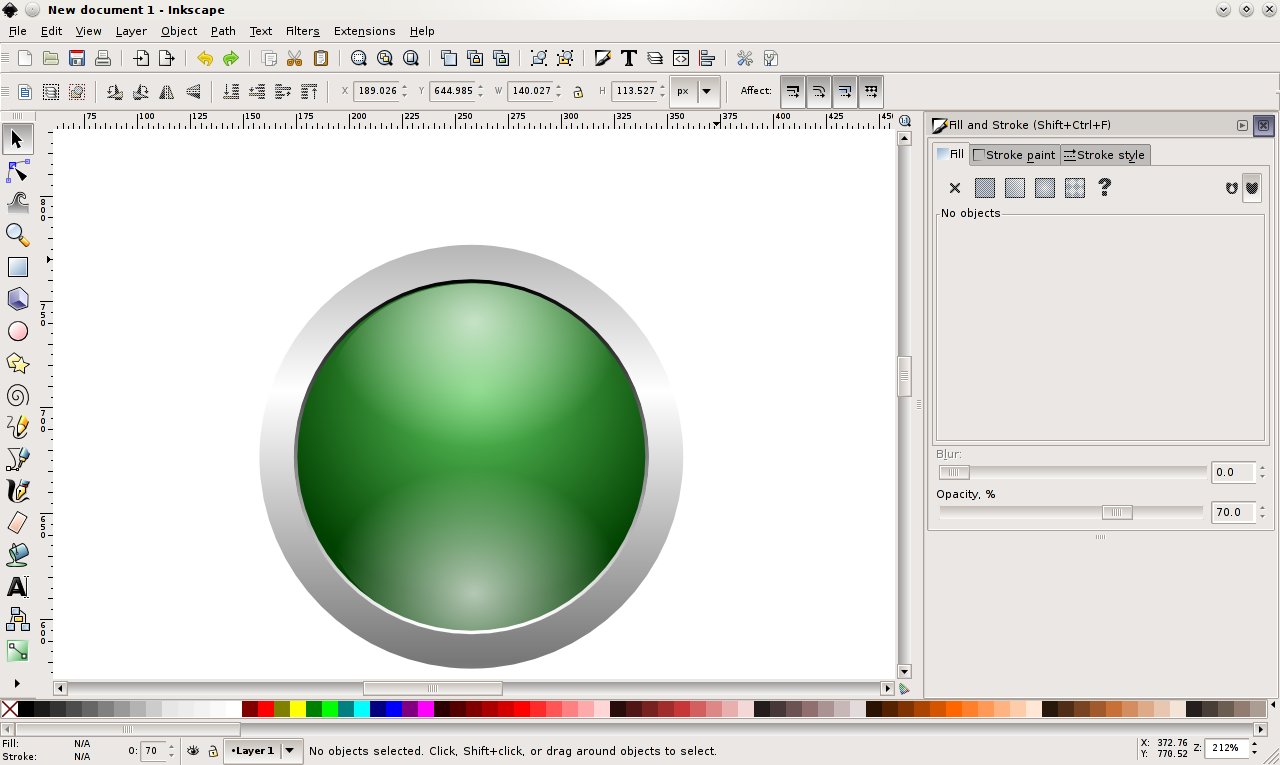
- Duplicate circle 3 and flip it vertically (call this circle 4). Align the bottom with the bottom of the fill for circle 1
- Duplicate circle 3 again (call this circle 5) and set the height to be 90px
- Move circle 5 down so it is closer to the middle of circle 1.
- Set the fill to be a linear gradient from
ffffffff(white) toffffff00(transparent) with the white at the bottom of the circle and the transparent at the top - Set opacity to 30% and the blur to 1.5
- Duplicate circle 2 and make it larger to fit just outside circle 1. Flip it so the gradient goes the other way and set the stroke to 1px.
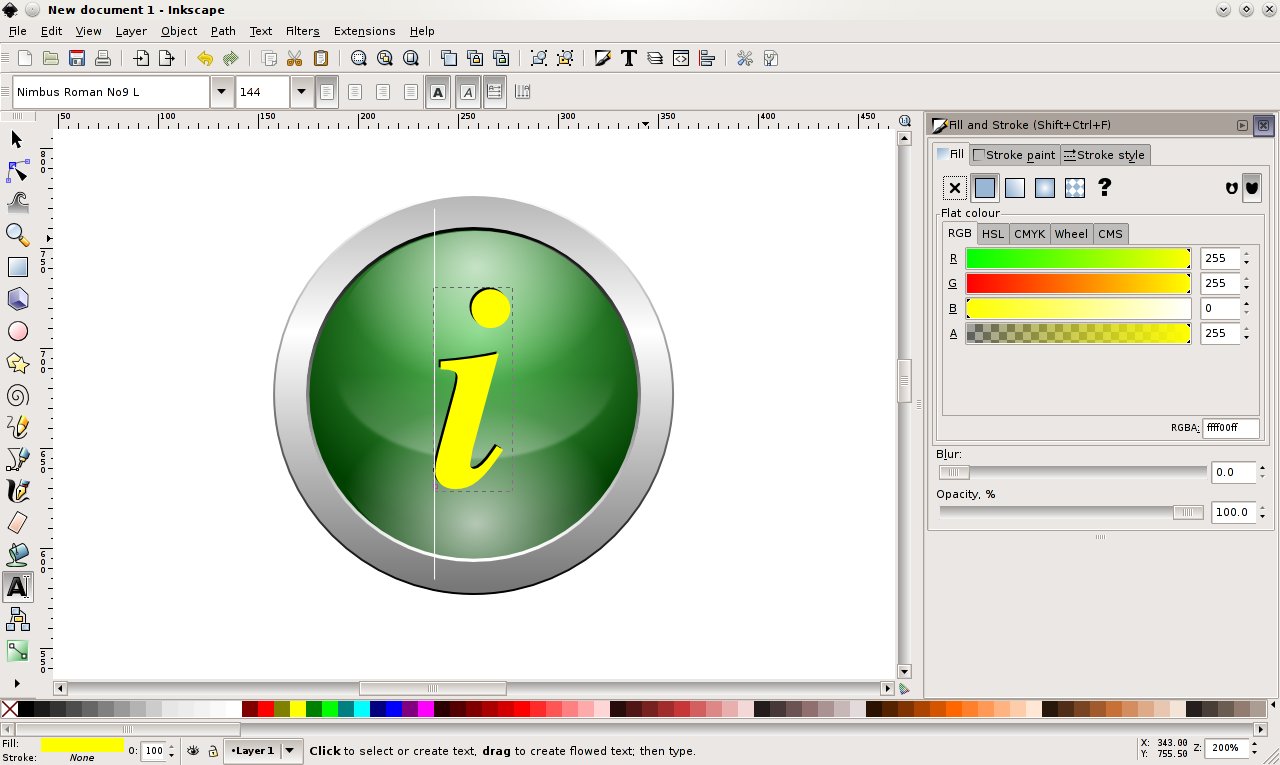
That's the main glass ball done, now let's add some text. This is of course optional but most of these types of icons I have produced needed something "within" the glass ball.
- Create a text object using a serif font ( I used Nimbus Roman No9 L). Make the fill ffff00ff (Yellow) and resize the text so it fits centrally in circle 1.
- Duplicate this and make the fill
000000ff(black). - Drop the black text backward and move it slightly up and to the left.
- Group the two text objects together and drop the entire group backward until it is one level above circle 1.
Now we just add a shadow to give it a final flourish
- Create a final circle. Filled with
000000ff(black) and 115 x 15px put this below but not touching the main drawing and aligned centrally with it - Set the opacity to 50% and the blur to 9
That's it, here's the final icon. There are other things you can do with like adding reflective highlight spots or some light reflections on the stroke of circle 1.

=TEXTBOX_START=Licensing Notice= This work may be distributed under the terms of the Creative Commons Attribution-ShareAlike License, version 3.0, with attribution to "Ryan Cartwright, first published in Free Software Magazine". Illustrations are released under the same licence with the same attribution. The SVG file this tutorial is based upon is available for download and convered by the same CC:BY-SA licence again with attribution to "Ryan Cartwright, basis of tutorial in Free Software Magazine. =TEXTBOX_END=