Debian is well respected as a stable server distribution, and most of the reviews focus on aspects appropriate to server deployments. This article covers Debian on the desktop. It is not a step by step tutorial, but focuses on the highlights of the recent Etch release.
An important difference between Debian Etch and its previous releases is its ease of use as a desktop operating system. Ubuntu has been in the limelight recently, but it’s important to remember that Ubuntu is based on Debian, and every once in a while it’s important to return to a project’s roots. Debian was the first distribution to have a social contract with its users and its full name is Debian GNU/Linux, a sign of respect and acknowledgment towards the GNU foundation.
I’ve been running Etch on my laptop very successfully and I’m happy to report that previous pain points, such as wireless networking, “just work” on my Dell laptop. In addition to this new polish, a graphical installer and support for the AMD64 architecture are both new to Debian Etch. Also included are many favorite free software Java packages such as Ant and Tomcat into the main package repositories.
Debian has the perception of being a “geek” distribution, but I would make the opposite argument. It is in fact inclusive, taking great pride in the number of hardware architectures it supports.
Debian GNU/Linux was the first distribution to include a social contract
Etch contains reasonably up to date core packages. Here are some of the more notable ones:
- Xorg 7
- GNOME 2.14 with bits from 2.16
- IceWeasel 2.x and IceDove 1.x
- OpenOffice.org 2
Iceweasel is Firefox
Iceweasel is a re-branded Mozilla Firefox browser. This was done by Debian in order to comply with a demand from the Mozilla foundation that they either drop the Firefox name and media (icons, etc.) or comply with policies Debian found unacceptable.
Installation
I won’t cover every screen of the installation, only a small sample to demonstrate the new installer. I’ll then cover what I consider to be the most important steps of the installation, selecting and configuring the apt mirrors.
The beginning of the installation process is more or less similar to that of Sarge with two main exceptions: the installer (which is new) and the default kernel (now the 2.6 kernel, where you previously had to enter linux26 at the boot prompt to install the newer kernel).
When the boot loader prompts you (figure 1), enter installgui and hit Enter to start the graphical installation. Or, if you prefer to work the older text based installer, simply hit Enter.
Here are the installation steps in rough order. Items in parenthesis are actions the installer performs automatically. I have also provided screenshots as indicated in the steps to provide a more detailed view.
- Choose Language
- Choose Country or Territory
- Choose Keymap
- (Hardware Auto detection, Network Auto Configuration via DHCP…etc…)
- Enter Host name
- Enter domain name
- (Disk partition auto detection)
- Partition Disks, note the only way to setup encrypted LVM it use the GUI
- Select Physical Disk
- Partitioning Scheme
- Partition confirmation
- Write to disk
- (Writing partitions to disk)
- Select Time Zone
- Set root password
- Setup user account
- (Installation of base system)
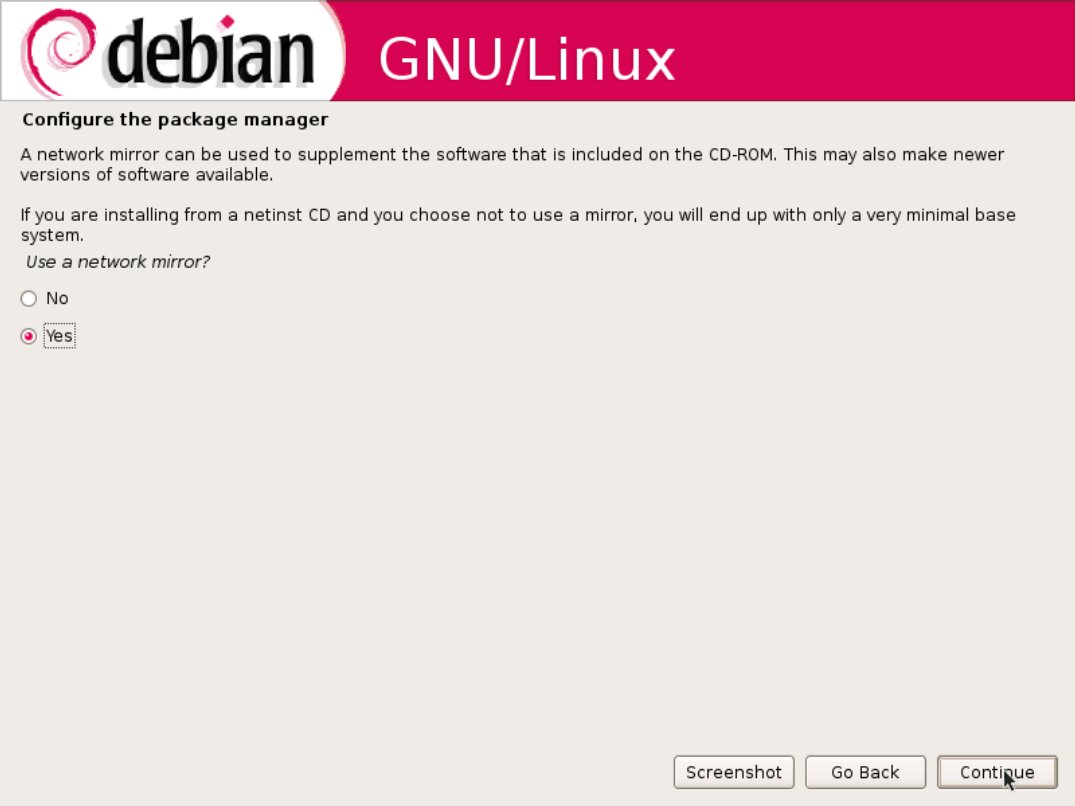
- Configure the package manager, use a network mirror (figure 2)
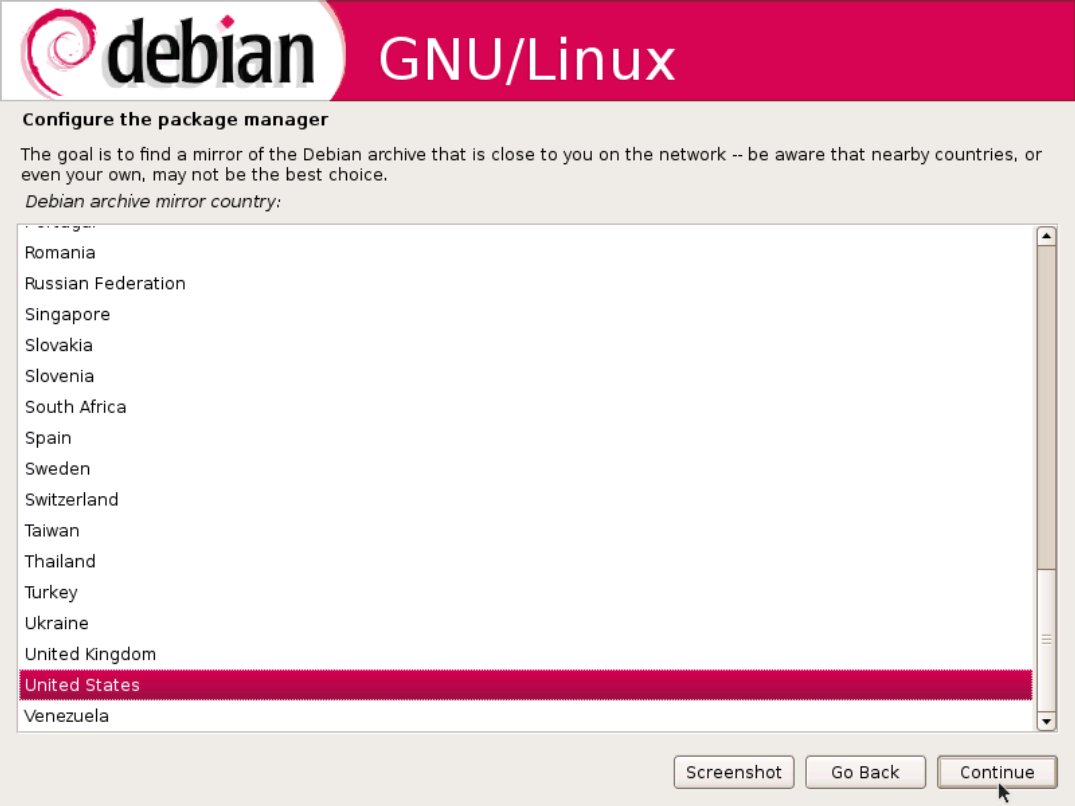
- Select the Debian Archive mirror country (figure 3)
- Select the Debian Archive mirror within that country
- Configure HTTP proxy information
- Configure popularity-contest
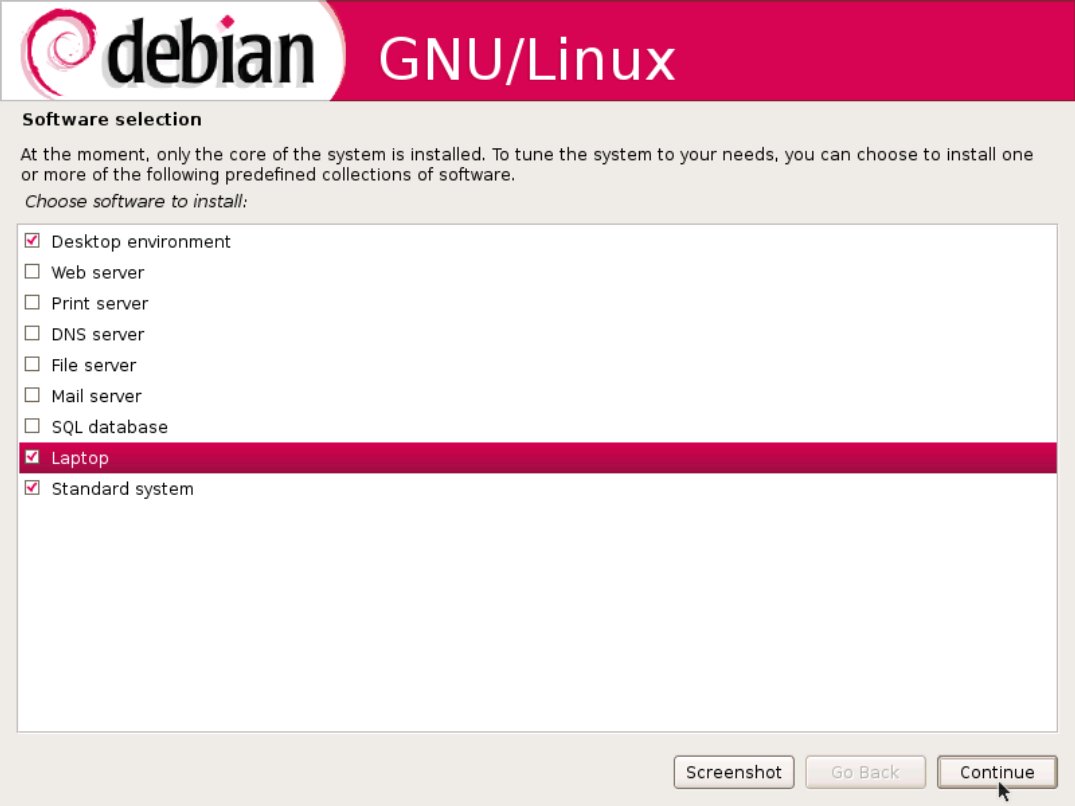
- Software Select (figure 4)
- (Installs selected software packages)
- Select Resolution for
xserver-xorgconfiguration (figure 5) - Install GRUB as default boot loader
- Installation complete
.jpg)
The desktop
The Etch installer does a good job of auto-configuring Xorg and picking sane defaults. After the installation was complete, I was presented with a GNOME login screen. Out of the box, I discovered Etch would recognize an iPod when plugged in, detect my network printer almost automatically and allow me to do pretty much everything I needed to do. There were a few extra packages I needed to install, but Synaptic and apt are a mean pair and make this a breeze.
I really like this zen-like approach to setting up a new system. During the software selection step of the installer I simply checked that I wanted both the “desktop” and “laptop” and voila, I had a fully functioning Debian desktop.
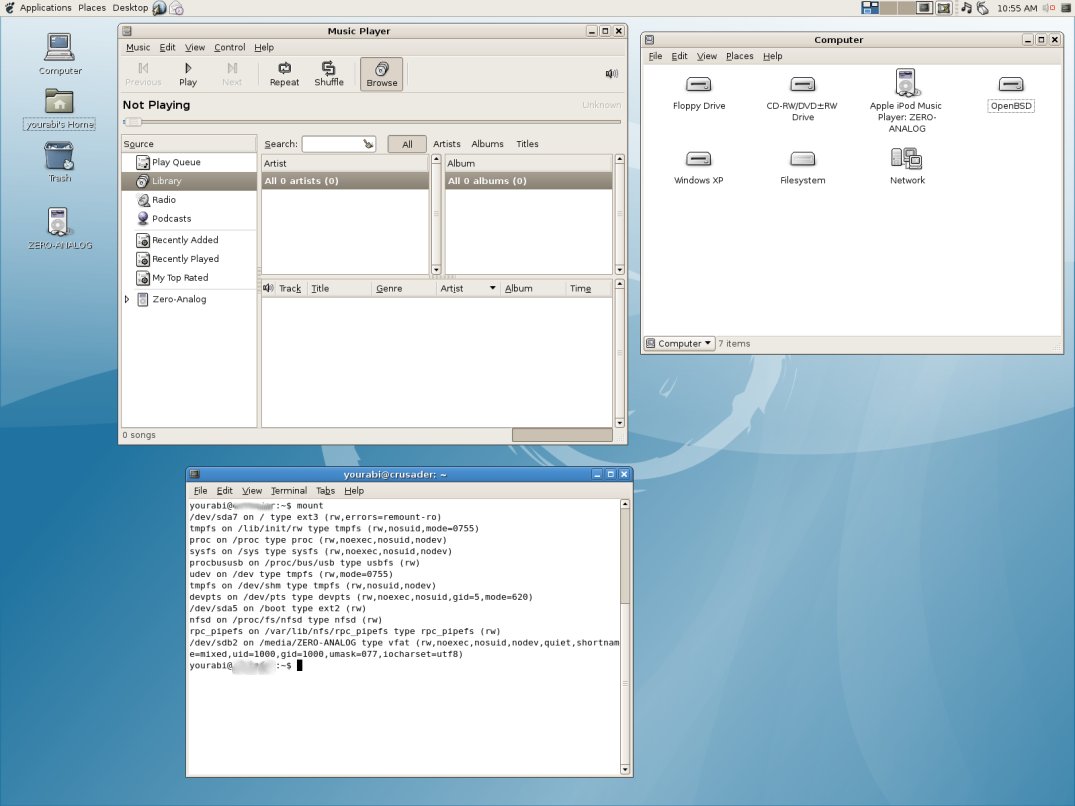
Minutes into my first boot, I hooked up my iPod via a USB cable and Etch detected it, mounted it, made it available under the “Computer” and launched the default application associated with it (figure 6). This is on par with other alleged “plug and play” systems. While going into detail about how to manage iPods on Etch is out of the scope of this article, I highly recommend reading “Managing your iPod without iTunes” by Jon Peck. I will say I ended up using Amarok to manage my iPod after finding Banshee unusable, but that is a problem with Banshee and not Debian specific.
In my opinion this was a pretty solid start. There were still a few things missing—some applications that I’ve been meaning to play around with. In previous incarnations of Debian I would simply crack open a shell, possibly do an apt-cache search if I didn’t remember the package name, and then apt-get install it. That was until I discovered that beyond simply installing software, Synaptic is a great tool for discovering new software I didn’t know about.
Synaptic & apt
The Synaptic front end to apt has become the de facto standard, included by default in both Debian Etch and Debian derivatives such as Ubuntu.
apt is Debian’s package management tool. There are a number of front ends to it, namely Synaptic which I am about to cover. It is obviously possible to perform a wide number of operations with the apt-* tools such as apt-get and apt-cache search, but Synaptic is really the way to go. I’m only going to cover a few common operations that should be enough to get you on your way installing packages.
The first thing to do is clean up the package resource list. These are the remote software repositories that apt searches for new packages and updates for currently installed packages. By default the installer includes the CDROM used to install Debian in the sources list, something I’ve always found annoying. The second thing to do is add some extra repositories, such as contrib and non-free. These are repositories that are not included in the general release due to licensing restrictions.
Start by launching Synaptic via the “Desktop” drop down in the top GNOME bar, then selecting “Administration” then selecting “Synaptic Package Manager”. Once it’s fired up you should see something like what is shown in figure 7. The first thing to do, as mentioned above is configure how apt looks for new packages. Inside Synaptic select the “Settings” drop down, and then select “Repositories”.
.jpg)
This will open the software preferences editor, which is a nice graphical way of configuring the contents of /etc/apt/sources.list. I selected the “CDROM” entry and deleted it, and then selected both “Binary” and “Source” blocks and clicked “Edit” where I added the contrib and non-free repositories. I needed the non-free repository because the Intel driver for my wireless chip set is released under a “non-free” license. After this installing my wireless drivers was a simple apt-get command, though I obviously was connected via a wired connection. That should be all that’s needed for most people.
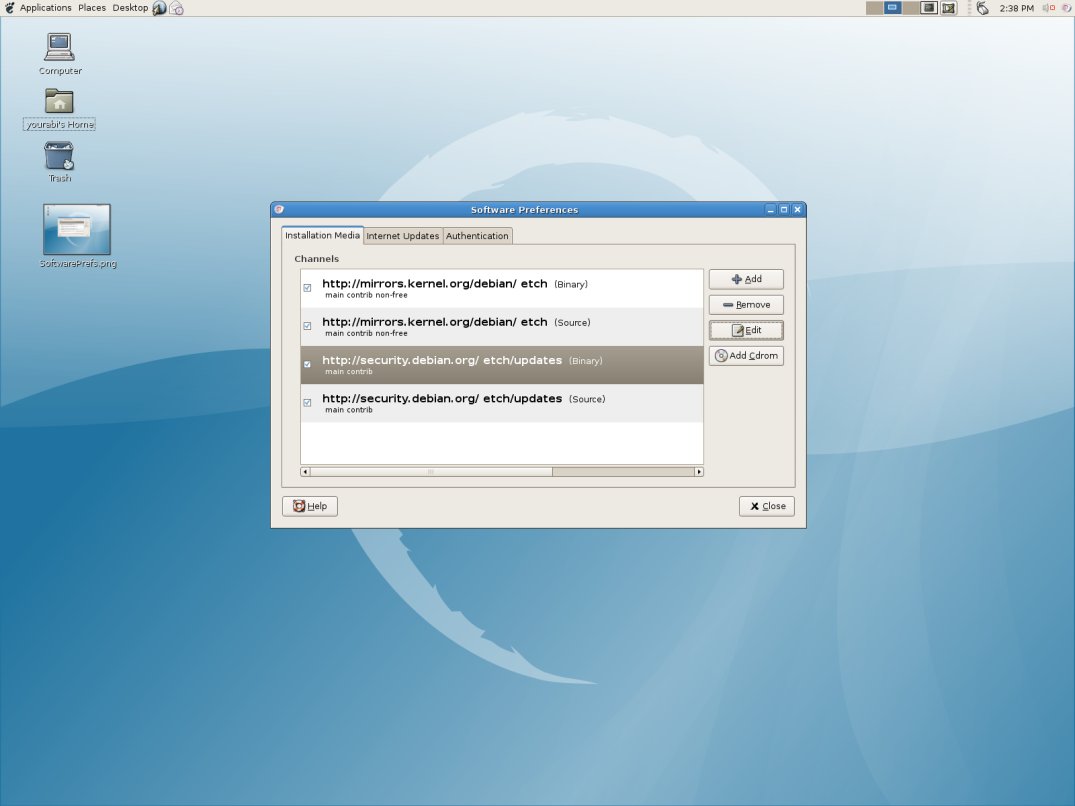
If you do find you need more or simply want to explore apt directly instead, the main apt configuration file is /etc/apt/sources.list. It configures which apt repositories to use, which version (Etch, Sarge… etc.) and which groups (main, contrib, non-free). It should look something like the following:
deb http://mirrors.kernel.org/debian/ etch main contrib non-free
deb-src http://mirrors.kernel.org/debian/ etch main contrib non-free

deb http://security.debian.org/ etch/updates main contrib non-free
deb-src http://security.debian.org/ etch/updates main contrib non-free
Here are some of the common actions you’ll use with apt:
apt-cachesearch python (Searches repositories for packages with python)apt-get install vim(Installsvim)apt-get remove vim(Removesvim)apt-get clean(Deletes downloaded.debfiles)apt-get -t unstable apache2-utils(*) (Installsapache2-utilsfrom unstable repository)dpkg -l(Lists all installed packages)dpkg -i foo.deb(Installs.debpackage you manually downloaded)dpkg -L apache2-utils(Lists files owned by package, i.e. those installed byapache2-utils)
(*) Requires a line in /etc/apt/sources.list describing unstable target i.e.:
deb http://mirrors.kernel.org/debian/ unstable contrib non-free
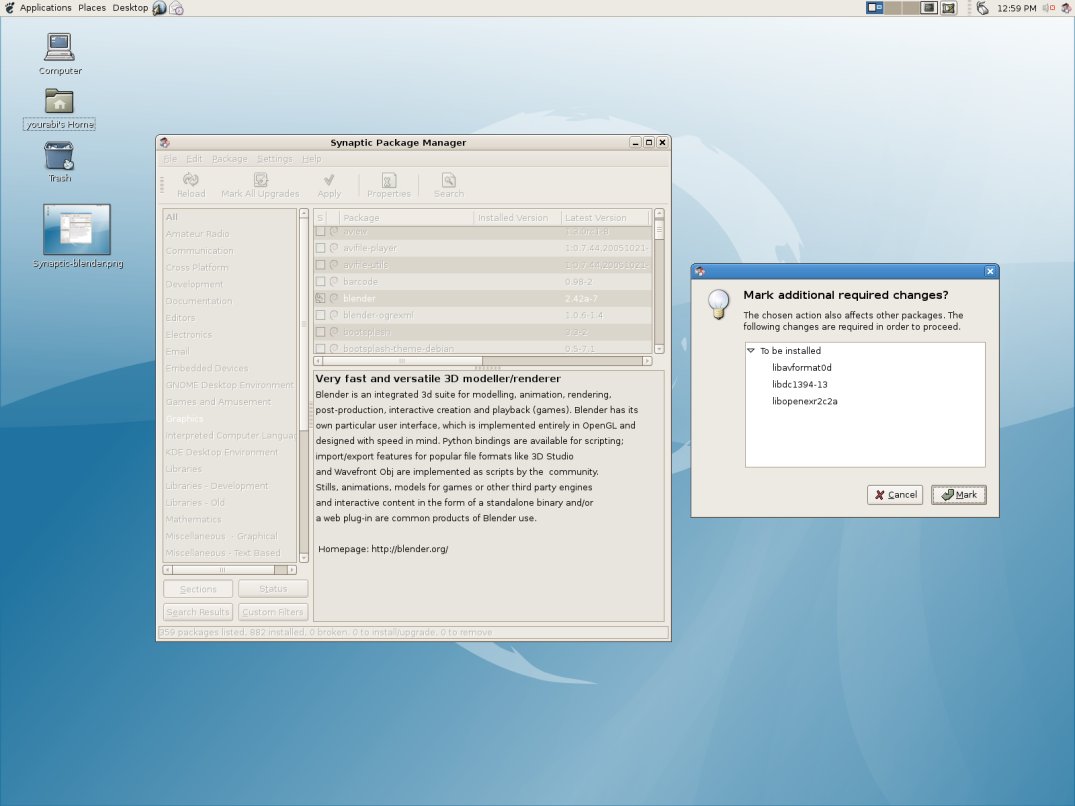
After configuring the repositories I returned to Synaptic to install a few applications. I selected the “Graphics” group and browsed for Blender—an application I’ve been trying to learn to use in my spare time. I simply selected it, and hit the apply button. Synaptic figured out the dependencies and prompted me to mark them for installation as seen below.
That’s about as simple as it gets, and from there the sky is the limit. My next step was to install the driver for my wireless card, which I briefly cover next.
Wireless networking done right
Though not specifically a Debian innovation, the inclusion, support and integration of the GNOME NetworkManager, along with HAL and Dbus, are part of what makes Debian Etch suitable for the desktop. The GNOME Network Manager describes itself as “pain free” networking, which I’ve found to be very true.
The GNOME NetworkManager makes networking pain free
The Dell laptop I run Etch on comes with the common ipw3945 wireless chipset. The first time I tried getting wireless going it was a huge mess. I had to compile the kernel module, install the daemon, download the firmware separately and place it in the correct location—all this just to recognize the device.
I then had to go about configuring it for use. The two wireless networks I used the most, one at home and the other at work, both used WPA encryption, which means I then had to install wpa-supplicant, and configure it an a variety of ways. I opted to stick everything in /etc/network/interfaces since that’s what I knew best.
This meant I was commenting and uncommenting different blocks depending on which network I was currently supposed to be on. There probably was an easier way that I was just ignorant of, but still…
GNOME’s Network Manager saved me from all of that. On top of that, I find my wireless connection never drops, as it frequently does when I’m running Windows.
The trick, and one that initially caught me off guard, was to remove all the previous wireless configuration from /etc/network/interfaces, and let the NetworkManager auto-detect the wireless networks. I had become so accustomed to tweaking the interfaces file, that I actually messed up the network manager by continuing to tweak it. This really takes the “desktop” aspects of Debian to the next level, something as simple as wireless network, which has plagued me for so long, is now resolved.
Once the driver was installed, I simply selected my wireless network from the GNOME Network Manager in figure 10.
.jpg)
It then prompted me for the WPA passphrase that I configured to access the network (figure 11). I entered it and—voila!—wireless networking done right.
.jpg)
Printing also done right
I have an HP Photosmart 2610 and getting it to work was, well painless. Another FSM article, Printing with Ubuntu, by Mark Rais, applies directly to Etch as well and is pretty much all that was required. I used Synaptic to install hpoj (the HP drivers), which prompted me for various settings during the installation and were easy enough. Then I simply clicked on “Desktop→Administration→Printing→New Printer” there was an option to use a pre-detected printer and my network printer was indeed listed. I selected it and hit “Yes” a couple of times, and voila, I was printing from Etch. The ease of this setup may be an artifact of the printer model I have being well supported so your mileage may vary. So far so good for a desktop experience.
Automatix
Automatix is a package that gained popularity by providing post-installation polish to Ubuntu by installing applications that weren’t included in the repositories. It can be used to install many proprietary applications users from other operating systems may be used to having such as Macromedia Flash, and Real Player, as well as codecs for Windows media files. As of April 2007, it also runs on Debian Etch, and as such I’m going to briefly cover some of the packages Automatix can install that will spruce up your Debian Desktop.
Automatix can be downloaded from the GetAutomatix.com website.
Automatix works by using Debian’s own package manager, apt, to download packages from either the official Debian repositories, or other third party repositories and when applicable configures the system appropriately.
After the installation you should be able to start “Automatix via Applications→System Tools→Automatix”. It will prompt you with a warning stating that it is against the law to install the DVD decryption codecs in certain countries. Obviously readers should obey their local laws. After hitting “Yes” you should be presented with the following screen.
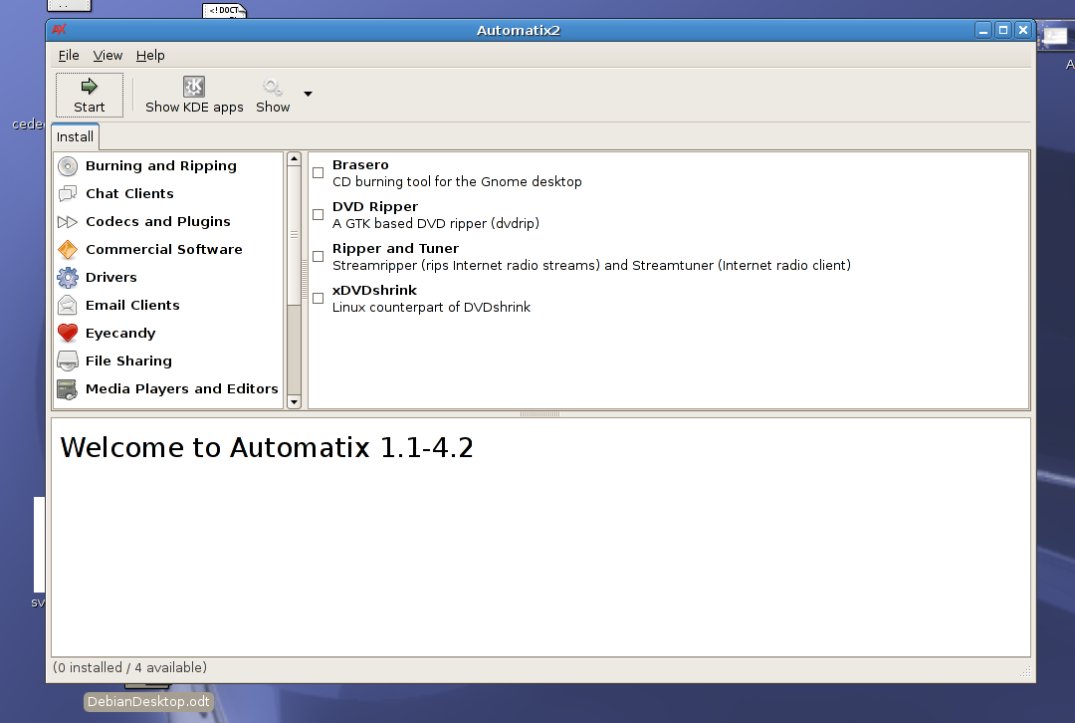
The options most relevant to any desktop system are under “Codecs and Plugins” and “Media Players and Editors”. In the codecs section, I would recommend installing everything you are legally able to, and under players the most interesting applications I would recommend are: Songbird, Democracy Player, and Real Player.
Songbird is a particularly interesting application, based on XulRunner the runtime environment that powers Firefox and Thunderbird.
Some people make take offense to proprietary applications on a GNU/Linux desktop system—but I’m a pragmatist, and I like my media.
Things to look forward to in Debian
Etch is the first Debian release to natively support the AMD64 platform and take a more inclusive stance towards free software Java packages. It will be interesting to see how this evolves.
Another interesting development is Ian Murdock, joining Sun Microsystems, and the announcement of project “Indiana”. I think it’s highly likely we are going to see Debian’s package management system included in the next Solaris release (Solaris 11).
Conclusion
I feel that Debian Etch is as good on the desktop as it is on the server. It has a long rich history, a strong community, is amazingly stable and is a great fit for both my servers and my laptop. I urge everyone to give it a go on the desktop.