Have you ever wanted to configure a personal firewall for your GNU/Linux box, but were scared of the complexity of iptables? Well, I might not be able to make you a security expert, but I can show you a tool that will help you to configure your personal firewall the easy way. The secret? Firewall Builder (also known as fwbuilder for short).
Firewall Builder is a graphical user interface (GUI) that allows you to configure a number of firewall engines in many different environments. As of version 2.0.9 it supports these firewall softwares:
- FWSM
- ipfilter
- ipfw
- iptables
- PF
- PIX
and these environments:
- FreeBSD
- Cisco FWSM
- Linksys/Sveasoft
- GNU/Linux (kernel 2.4 and 2.6)
- MacOS X
- OpenBSD
- Cisco PIX
- Solaris
Obviously, if I had to talk about internet security in general and about all possible uses of Firewall Builder on all the possible platforms, I’d be better off writing a book. Therefore, I’ll focus on a specific case—configuring a "personal" firewall (that is, a firewall that protects just the one computer it is running on) on a DHCP-configured machine. I will create the basic configuration with a wizard and add some customisations afterwards.
Firewall Builder is a graphical user interface (GUI) that allows you to configure a number of firewall engines in many different environments
The platform I will work on is:
- Linux 2.6 (Debian Testing)
- iptables 1.3.6
- Firewall Builder 2.0.9
I will assume that you already installed Firewall Builder on your system (using apt-get or Synaptic Package Manager, for example).
Firewall Builder releases
Firewall Builder 2.0.9 is not the latest release available, but it’s the one that currently ships with distributions like Debian Testing and Ubuntu Edgy. The latest release is the 2.1.10, which you can compile by yourself by downloading the source from SourceForge.
Starting Firewall Builder
You can run Firewall Builder by finding it in a menu and clicking on its icon, by simply firing up a terminal window and typing fwbuilder. The program will come out with a welcome window that asks if you want to open an existing file or create a new project: choose to create a new one and give a filename, then click on “Next”.
You are then asked if you want to use a Revision Control System and if you want this project to be the default one. We are just playing around, so leave them unchecked and go ahead with “Finish”. The real game starts now.
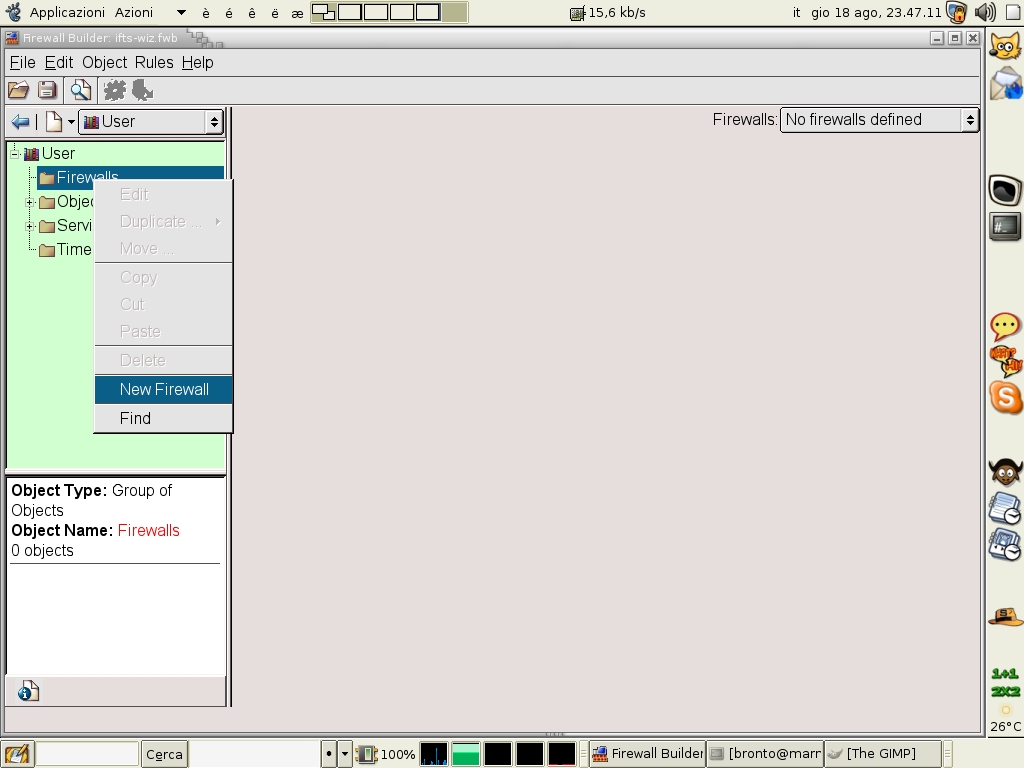
Look at the “Firewalls” folder at the top left: it’s empty and we are going to create a new one. Right click on the folder and choose “New firewall” from the context menu.
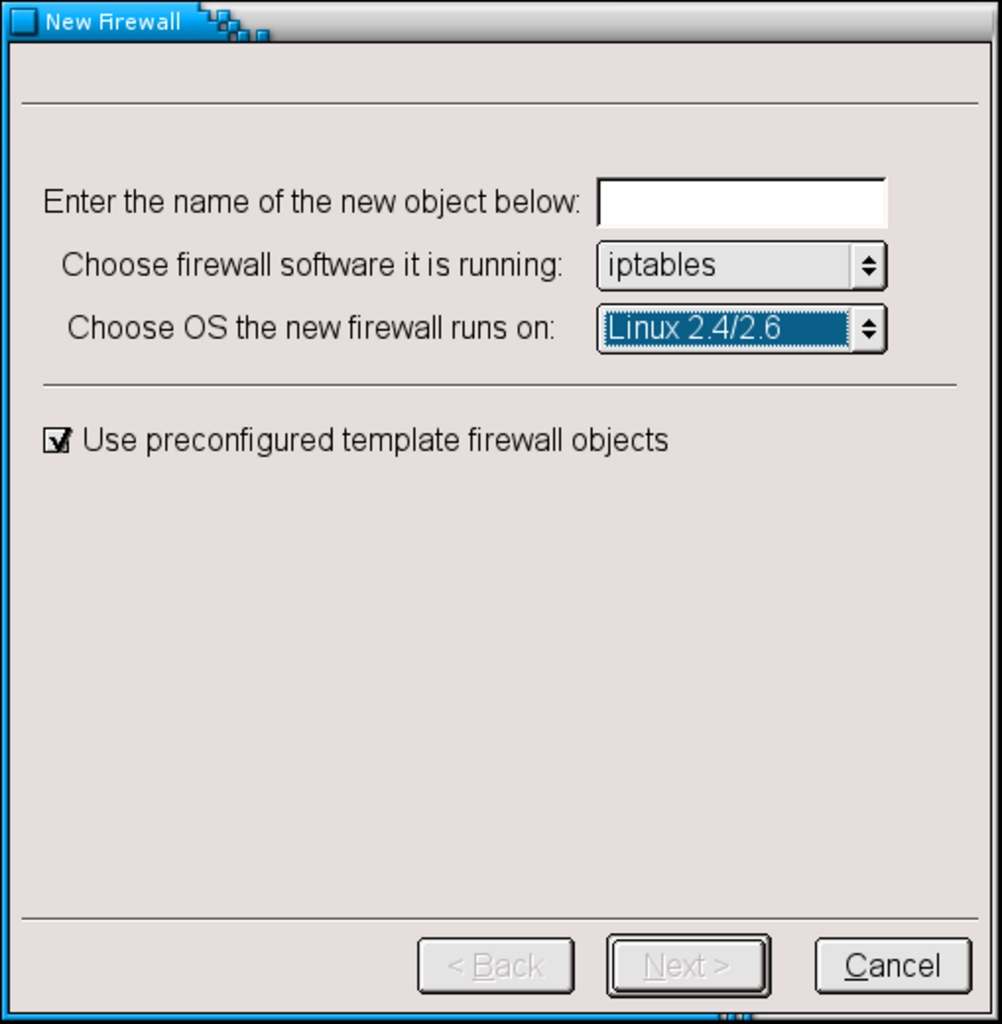
You are now asked for a name, a firewall application and an operating system: for the name, choose any one you like (“ifts” is the name I give to my firewall for historical reasons); for the other two, I am assuming you are using iptables on GNU/Linux. To use the wizard, be sure to check the “Use preconfigured template firewall objects”.
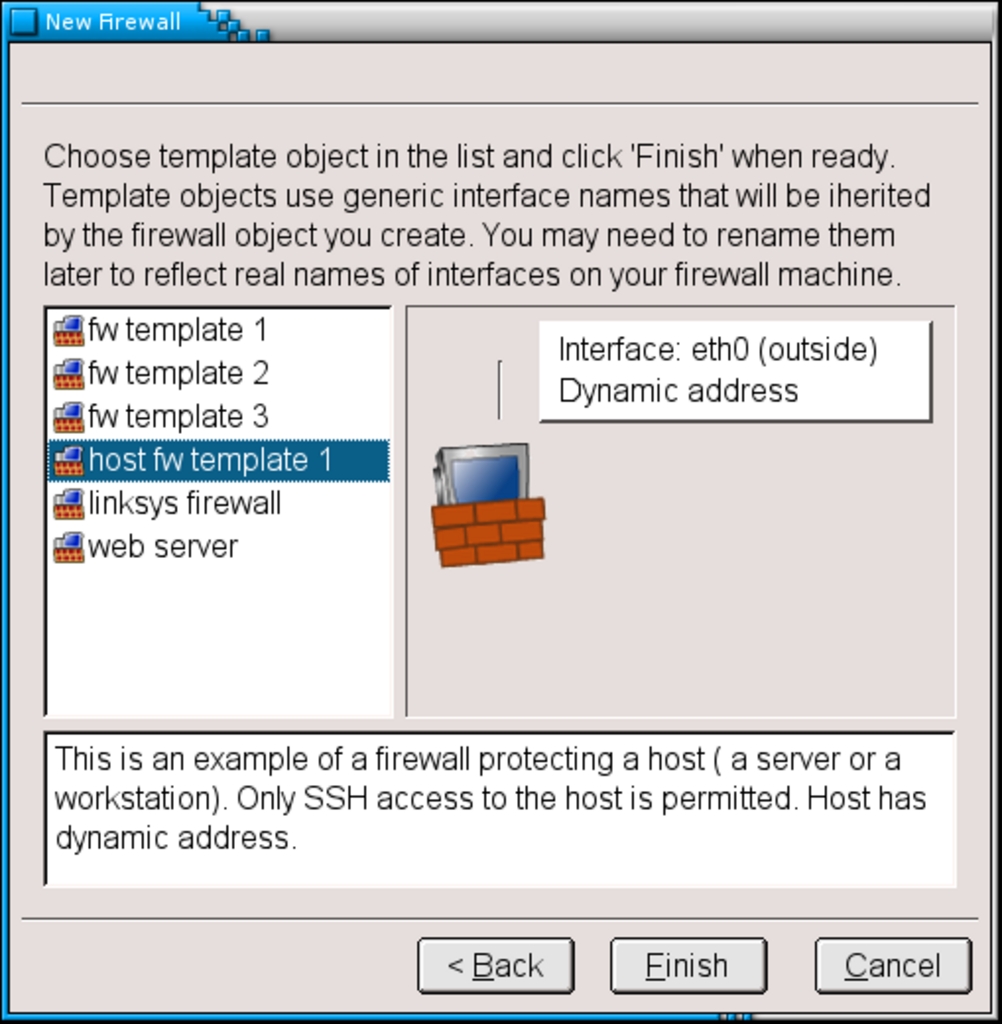
At this point you are presented a list of canned templates. Please choose “host fw template 1” and go ahead.
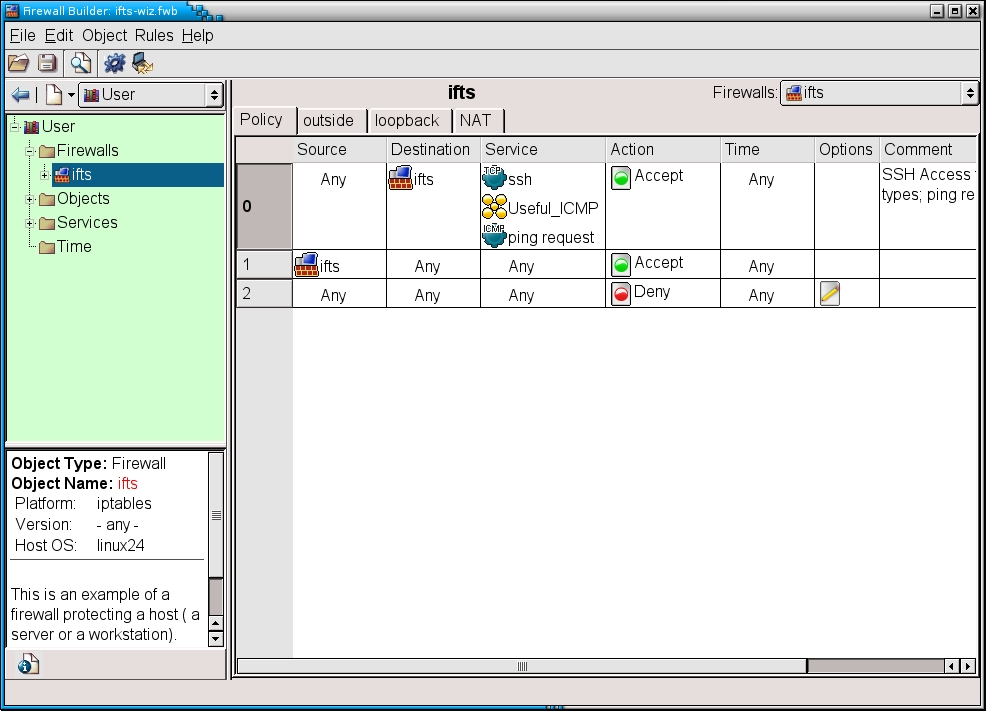
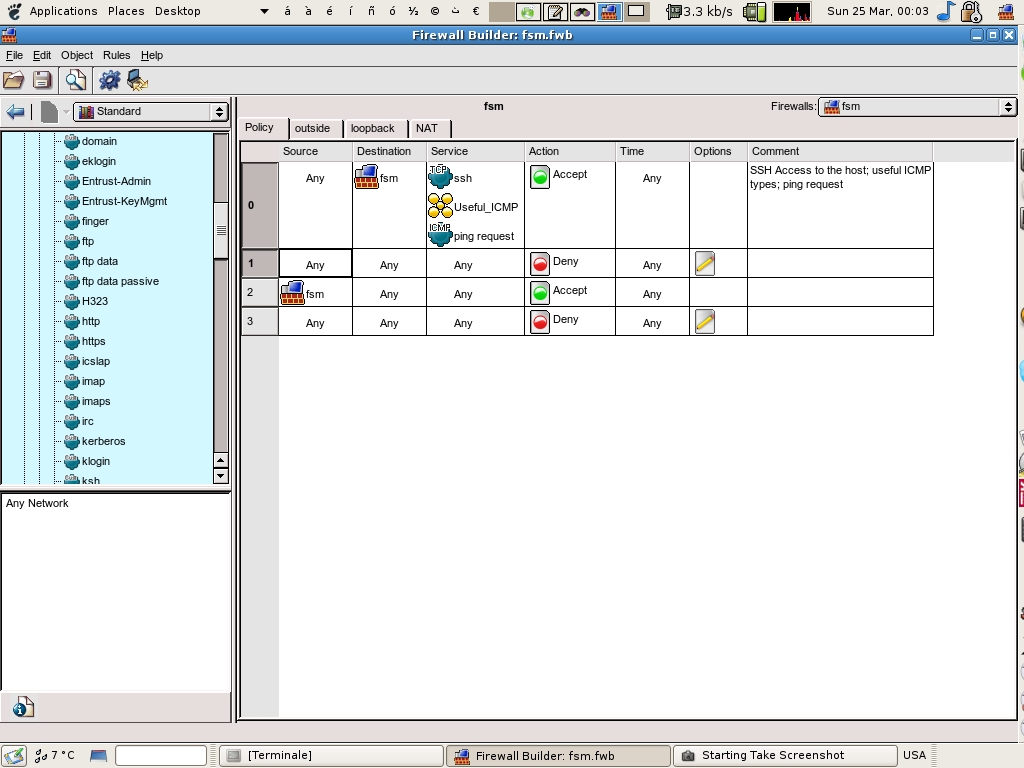
After a few moments you are shown a graphical representation of the pre-set rules for this template. As you will easily realize, you can accept SSH connections, ping requests and other useful ICMP requests (rule 0); you will also be allowed to open connections to anywhere you like (rule 1). The last rule (rule 2) will be the one that will be used if neither rule 1 nor rule 2 match: the connection is denied and the attempt is logged.
Assuming that you are satisfied with these rules so far, how do you actually use them?
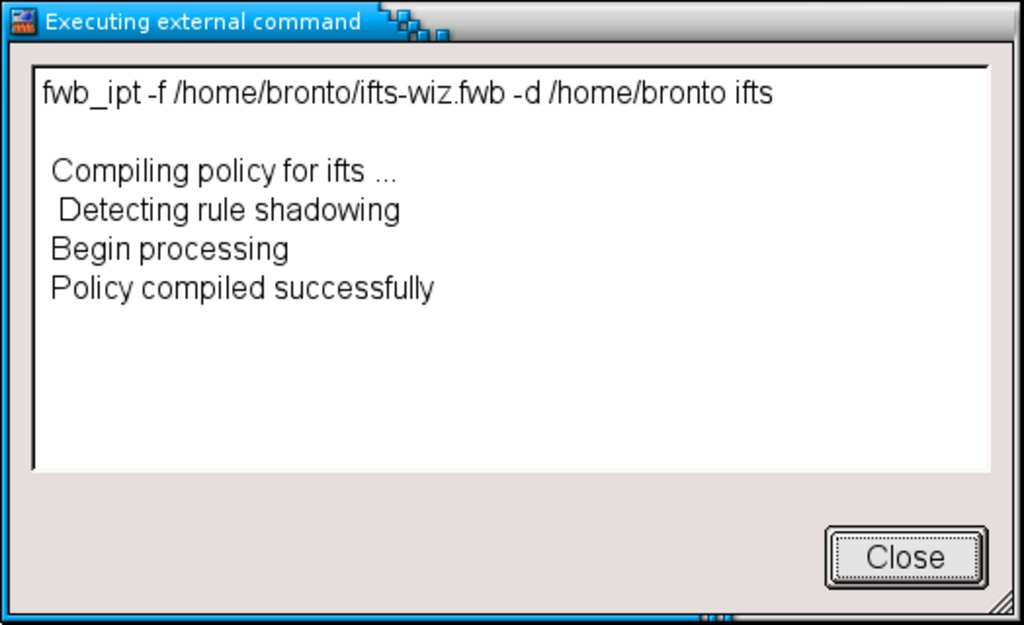
Just press the gear button (Compile) in the button bar. A window like the one above will appear. Since it says “Policy compiled successfully” you may well expect to find something somewhere that will finally activate your brand new firewall, but where?
Just look at the first line, it says
fwb_ipt -f /home/bronto/ifts.fwb -d /home/bronto ifts
Since /home/bronto/ifts.fwb is my source file, then something “ifts”-related has been probably built in /home/bronto, my home directory. Just take a look (using Nautilus or using the command line) and you will find a .fw file in that directory (in my case: /home/bronto/ifts.fw). It’s a shell script that you may want to take a look at: you will see that he rules you created graphically have been transformed into iptables commands.
To apply those rules, just run that script as root and you’re done.
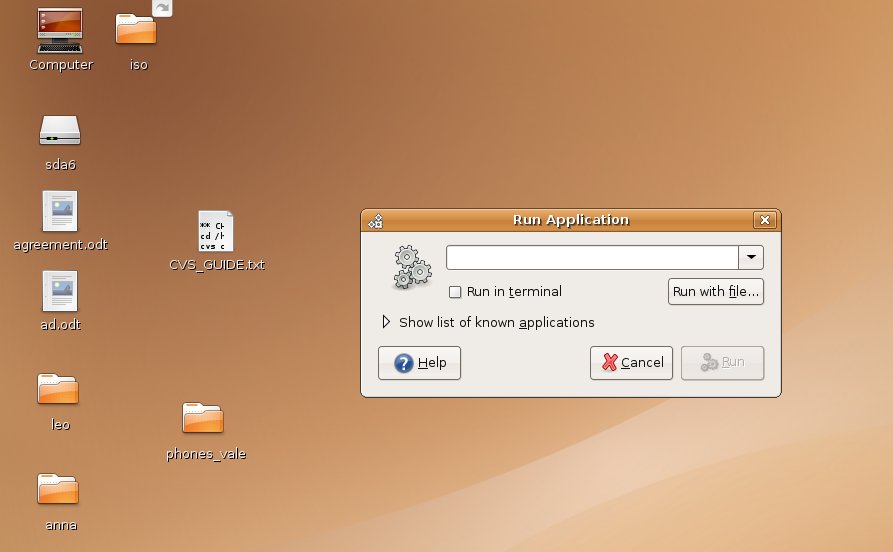
If you don't want to use the command line, and you are using GNOME, you will need to open a "root Nautilus window". To do so, press ALT-F2 (under GNOME) and type: gksudo "nautilus --browser". Find your home directory (in my case, /home/bronto) and double click on the file ifts.fw. Choose the option "Run in terminal", and voilà - the firewall command is run!
If you are more accustomed to using the command line, you can run the newly created script by opening a terminal and running:
$ sudo /home/bronto/ifts.fw
It’s just been a few minutes using Firewall Builder and you already have a firewall running on your PC!
Editing the rules: removing services
You might not want to allow anybody to connect to your PC via SSH. In this case, all you have to do is click on the SSH service in the interface and press the “Del” key and the service will disappear. You can now recompile and run the new script, but before doing that it’s better to wipe away the old rules. Just type these few commands into a terminal as root:
iptables -F
iptables -X
for CHAIN in INPUT OUTPUT FORWARD ; do iptables -P $CHAIN ACCEPT ; done
Those three lines will flush the rules from all tables, flush all user-created chains and reset the default policy to ACCEPT for the three main tables: INPUT, OUTPUT and FORWARD. You may want to place those lines into a shell script. I did it and called it shutdownfw.sh.
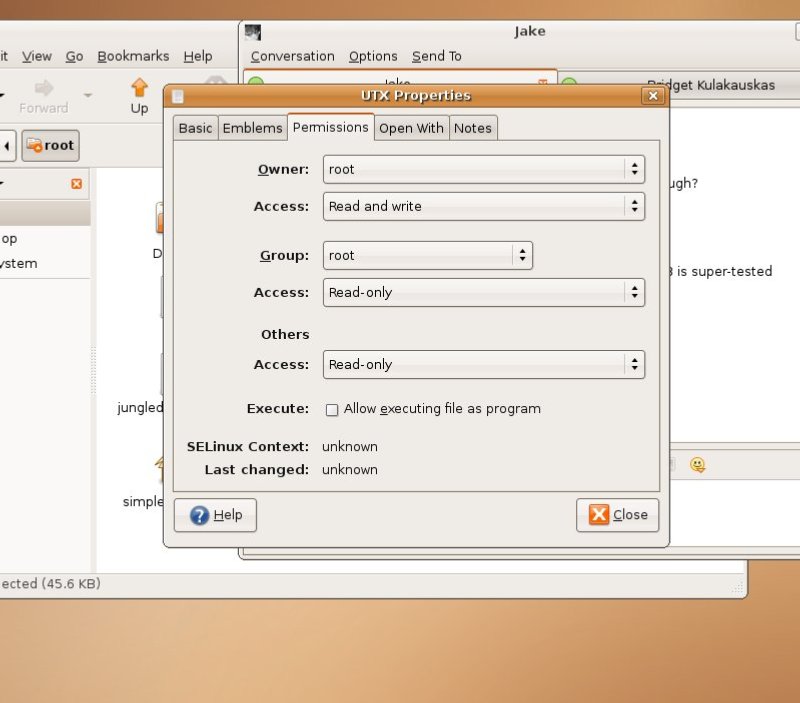
You don't have to run the command line to run these commands. If you re using Gnome, right click with the mouse in your home directory, and pick "create empty file". Name the file shutdownfw.sh. Right click on it, and choose the tab "permissions". Tick the box "Allow executing file as program". The file is not marked as an executable file. Now, double click on the file. Rather than choosing "Run in terminal", choose "Display". Then, paste this in the file:
#!/bin/bash
iptables -F
iptables -X
for CHAIN in INPUT OUTPUT FORWARD ; do iptables -P $CHAIN ACCEPT ; done
They are precisely the same as the ones I wrote earlier, but with #!/bin/bash at the top.
It's all ready to go: just double click on the same file, but this time choose "Run in terminal". The program will be executed, and the firewall rules cleared.
Editing the rules: adding services
Suppose you want to enable more services. For example, you have a web server on your PC and you want to allow people to connect to it.
If you click with your mouse on the pull-down menu that currently shows “User” you will get a second item to click on: “Standard”. When you click on it, a new series of folders will appear in the box below. Open the “Services” folder, then the subfolder “TCP” and look up the “HTTP” service. Just drag it and drop it into the “Services” column in rule 0—that’s all. You can also delete freshly added rules if you like, following the instructions I wrote earlier in the article. When you are happy, recompile and run the script again to activate the new rules.
iptables is powerful and complex: Firewall Builder hides a lot of complexity but it also hides a part of iptables’ power with it. To get the most out of iptables you need to understand it in depth, and you also need some knowledge of internet security principles and internet protocols
Only allowing local computers
What if you wanted only the other computers on your local network to connect to the web server? It’s a bit more elaborate than the previous cases, but I promise it’s not that difficult. Let’s suppose that your local network has the very common private addressing 192.168.1.0/24 scheme (hosts in your network have the addresses 192.168.1.1, usually assigned to the gateway, 192.168.1.2 and so on up to 192.168.1.254).
First, you are restricting access from a specific network. Hence, you can’t use rule 0 that acts on any source address; you need to add a rule.
To add it under rule 0, right click on “0” and select “Add rule below”. You will get a window like the one in figure 6.
You then need to change a number of things.
First, you always add “deny” rules by default, whereas this time you'd like to add an “accept” one; so, right click on the “deny” icon and select “accept” instead. Also, new rules have logging activated by default; usually you don’t need to log packets that match “accept” rules (while you often need to log those that match “deny” ones), so right-click on the logging icon as well, and disable it.
Now for the interesting part. As before, drag and drop the “HTTP” service in the “Service” cell. After that, open the “Objects” folder, then the “Networks” subfolder: look up the “net-192.168.1.0” icon and drag and drop it into the “Source” cell.
So far so good, but now you are missing the icon for the “destination” cell—where did your host/firewall hide? Well, since it’s your firewall rule, its place is not in the “Standard” folders but in the “User” folders. Go back to the “User” folders by clicking on the pull-down menu on the top left that currently displays “Standard”; look up in the folders and find your rule in the “Firewalls” folder, then drag it to the cell. You are done!
Running the firewall script automatically
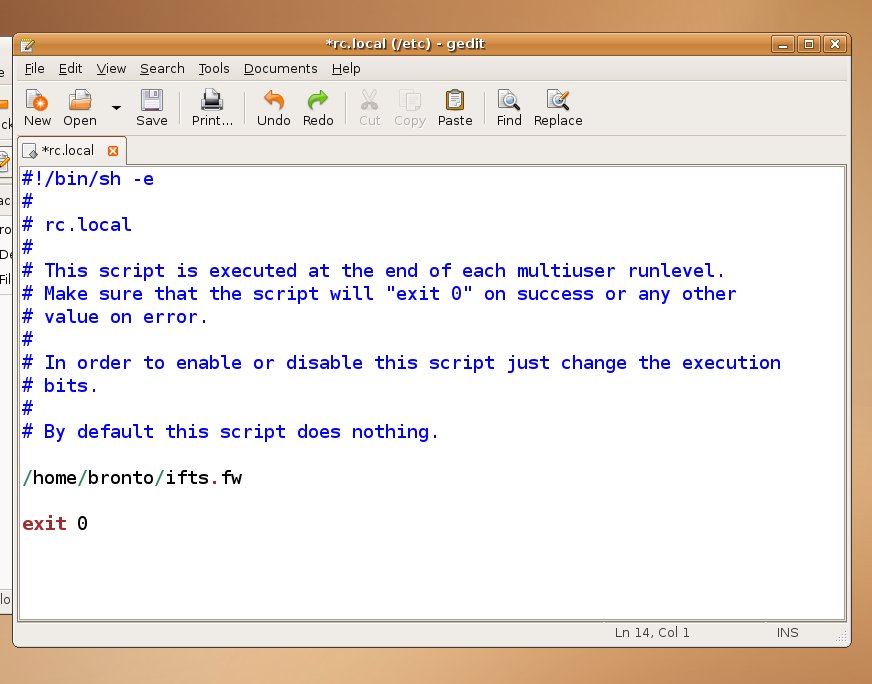
If you want to run your firewall script automatically, you can add it to your rc.local file. If you are running Debian or a Debian-based system (such as Ubuntu), and assuming that your script is /home/bronto/ifts.fw, you can just add /home/bronto/ifts.fw to the file /etc/rc.local (before the exit command at the end of the script). You can do so using the GUI (as explained above, using the "root Nautilus window" to edit /etc/rc.local).
Conclusion
In this article I gave you just a few, simple examples that, I hope, will help you in getting started with Firewall Builder. You can go on and experiment with it.
Keep in mind that iptables is as powerful and complex: Firewall Builder hides a lot of complexity but it also hides a part of iptables’ power with it. To get the most out of iptables you need to understand it in depth, and you also need some knowledge of internet security principles and internet protocols. Creating your iptables rules with Firewall Builder” and understanding what they do is a good way to learn how iptables work, but don’t expect to go that far without going deeper into the theory.