There is always a time when your GNU/Linux machine's screen output stops working. Maybe it's displaying garbage to your monitor instead of Gnome or KDE. Or maybe it's displaying 640x480 resolution with 8 colors instead of 1280x1024 with 24 colors. Actually, this will happen with Windows as well. But unlike Windows, GNU/Linux provides a handy tool to fix it. It's called dpkg-reconfigure xserver-xorg.
If you're machine is stuck in a terminal, there's hope for you yet. Even if it isn't (but still not acting normal), you can still run this tool within Gnome or KDE using a terminal emulator like xterm or Konsole. You should already have installed your video card driver (see my article for more on this). You should also know your monitor's model number and manufacturer (a quick Google search will probably turn this up) and your video card's number and manufacturer (your computer manual or running lspci | grep -i vga should give this information). Once you've done this, you're ready to start fixing your computer.
First, log in as a super (or root) user. Then, run dpkg-reconfigure xserver-xorg (if you're on Ubuntu and can't log in as root, run sudo dpkg-reconfigure xserver-xorg). You'll get something like figure 1.
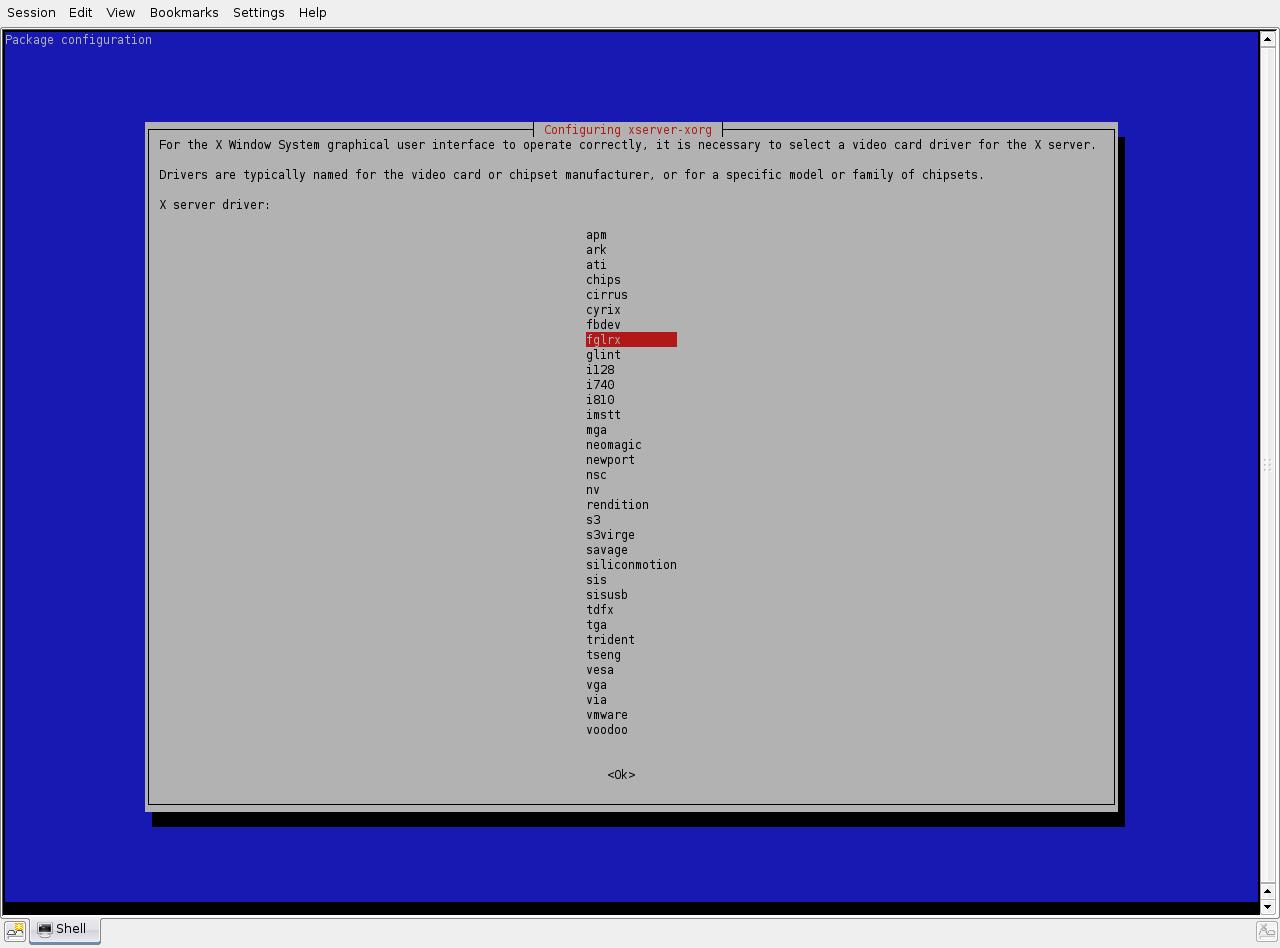
Your first screen will ask you which video card driver to use. If you use an ATI card, use fgrlx (the closed-source official driver), radeon (the open source driver), or ati (an older open source driver). If you use Nvidia, use nv (official GNU/Linux drivers), nvidia (official drivers), or nouveau. You can also just use the standard vesa driver if you're uncertain of which one to use (though you'll get a slip in performance since it's a generic card.).
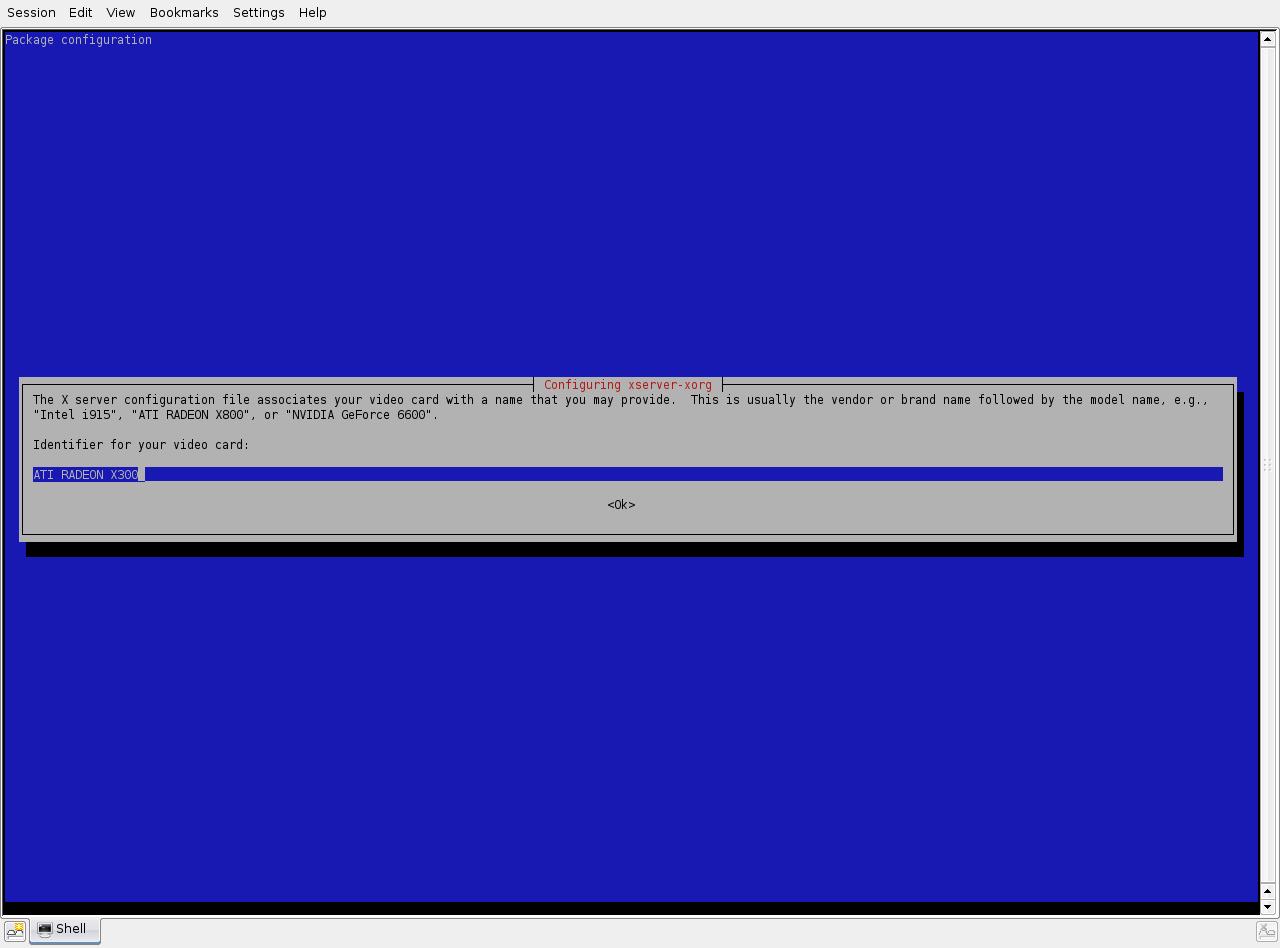
The next step is to identify your video card. This involves putting your manufacturer's name, a space, and the model number. For example, my card is an ATI Radeon x300. So I put down ATI RADEON X300. Simple, eh? Your card should actually be recognized off the bat, but if it's not it's simple to add it.
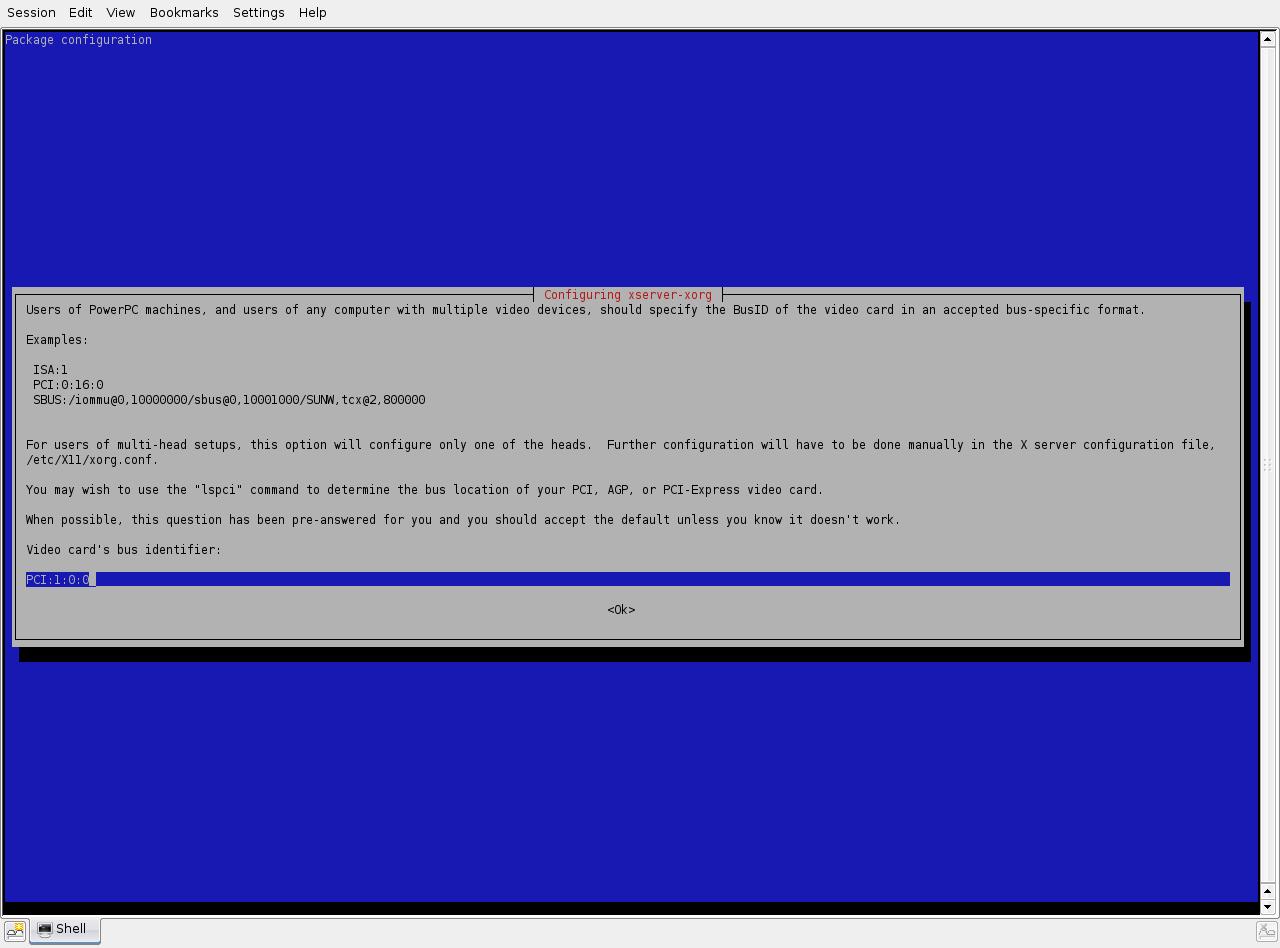
Step 3 is a very complicated step. If you don't know what you are doing, just leave it as its default.
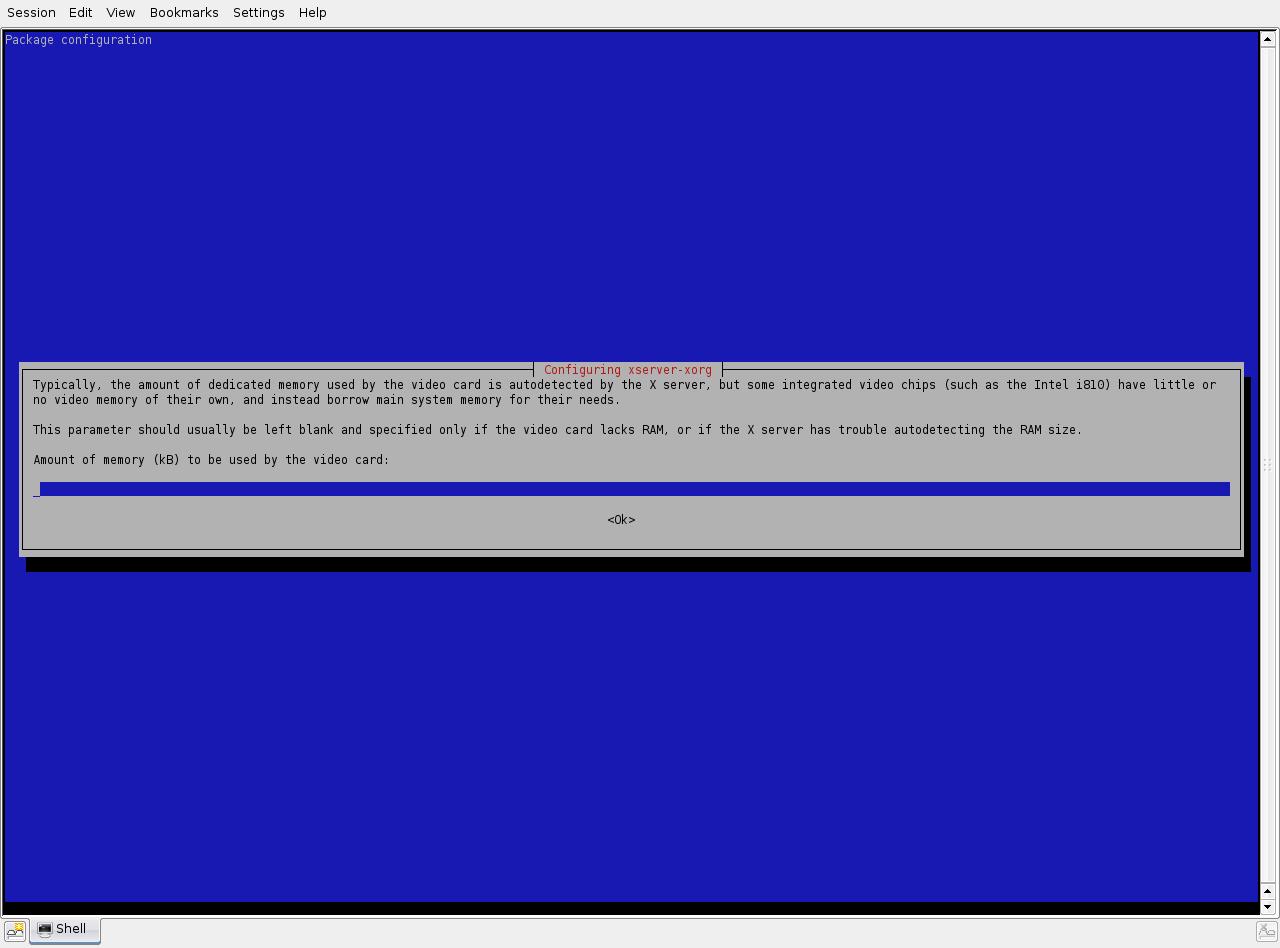
Step 4 is another very complicated step. Your best bet is to leave it as it is (probably blank).
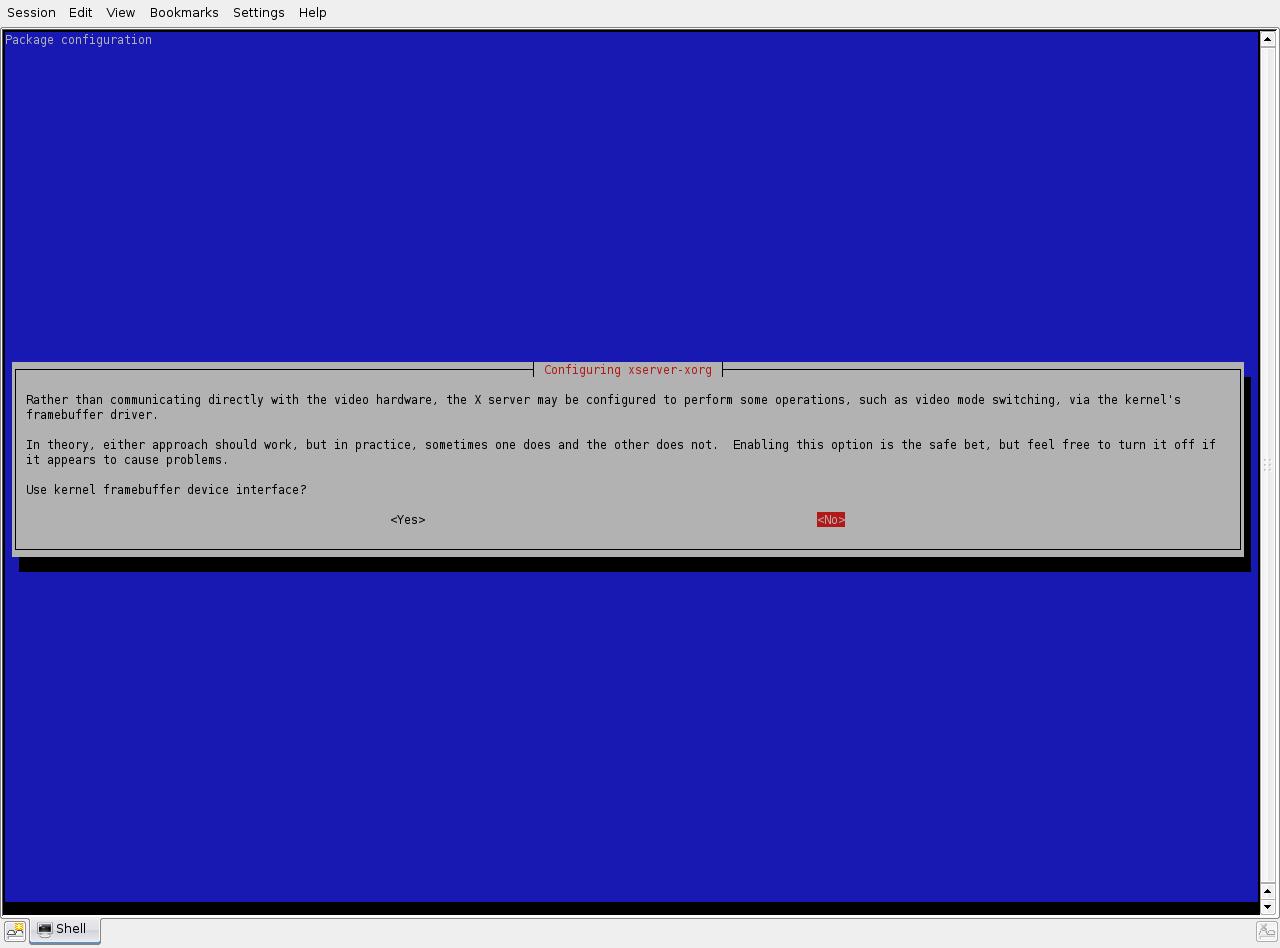
Step 5 is yet another step you don't need to know about. Just accept the default answer and go to the next one.
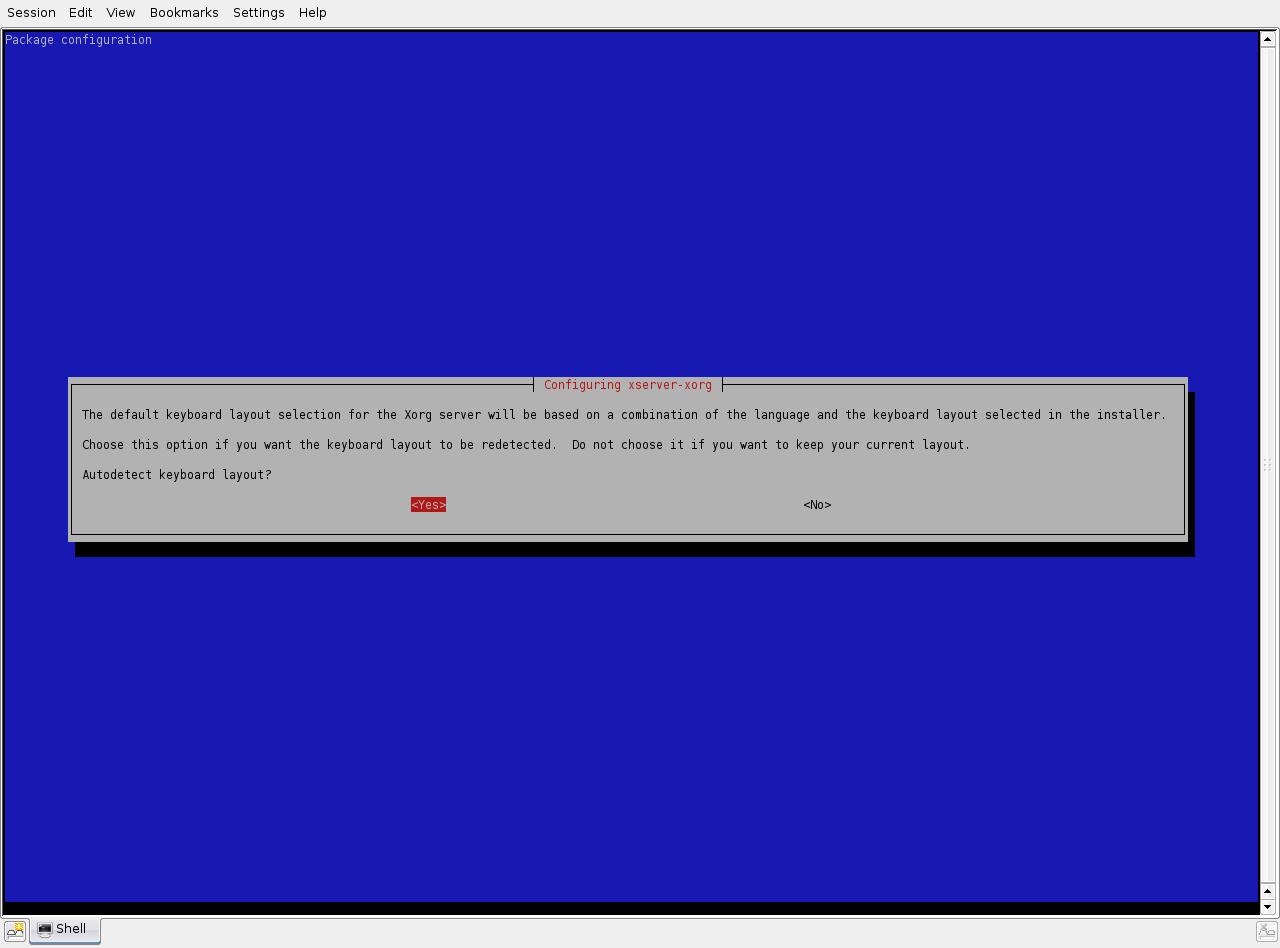
Step 6 asks you if you want to autodetect your keyboard. I picked “no”, but you might find it easier to autodetect it. If so, skip to step step 12.
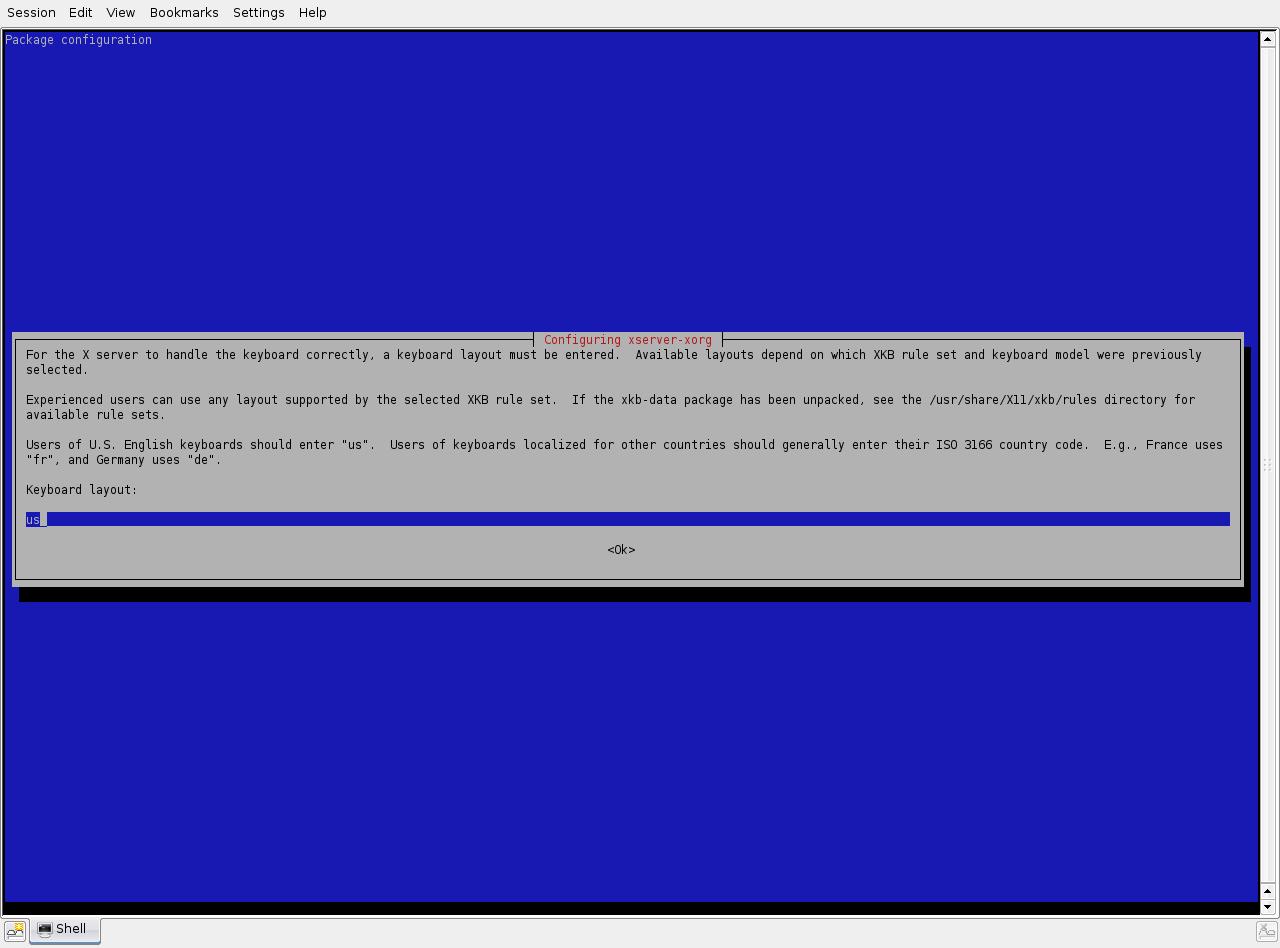
Step 7 asks for your ISO 3166 country code (list here). After all, German keyboards are different from American keyboards. If you're unsure, enter us.
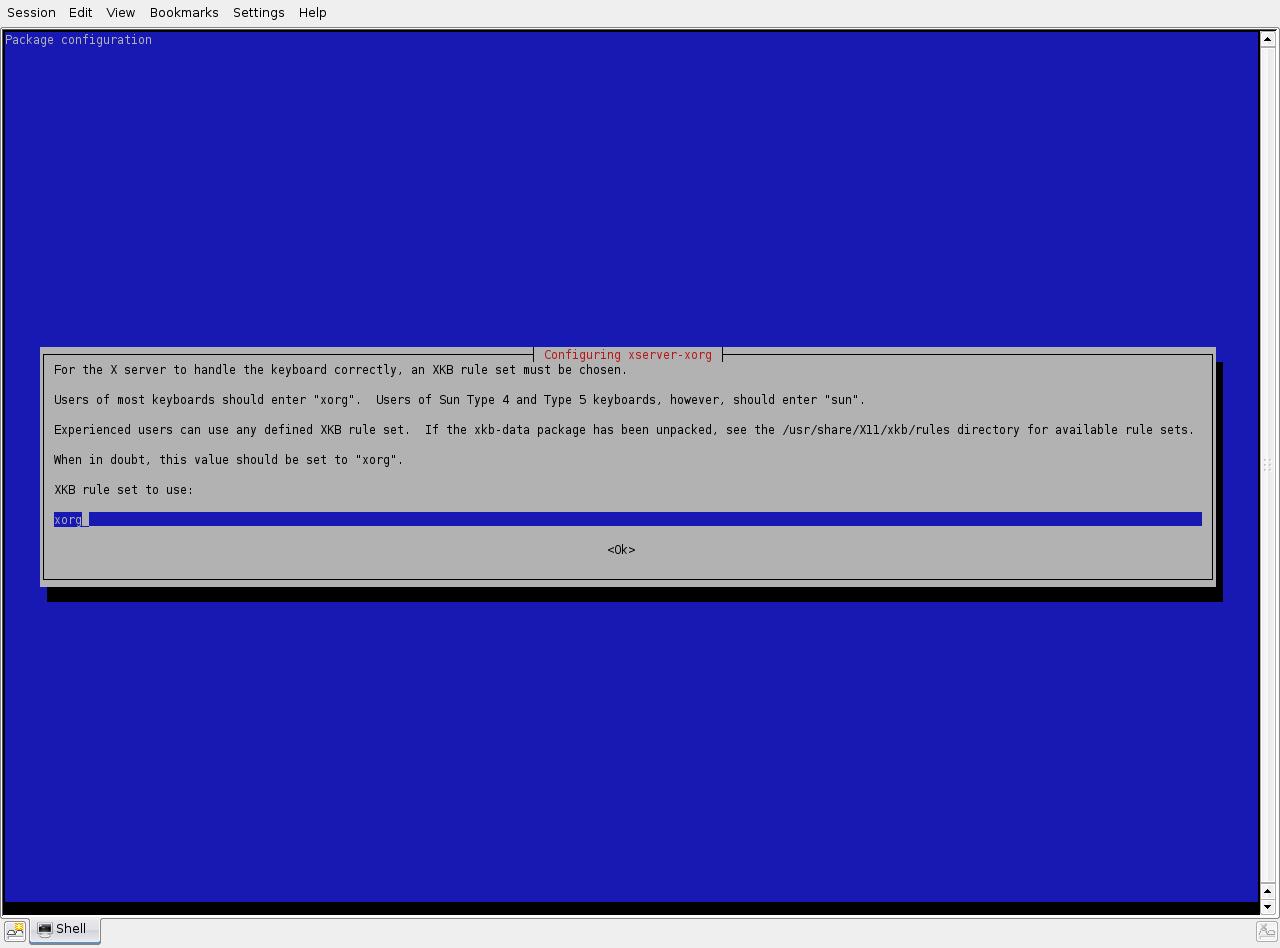
If you're an experienced user, you can enter your XKB rule set in step 8. If you don't know what the heck that means, leave it as xorg.
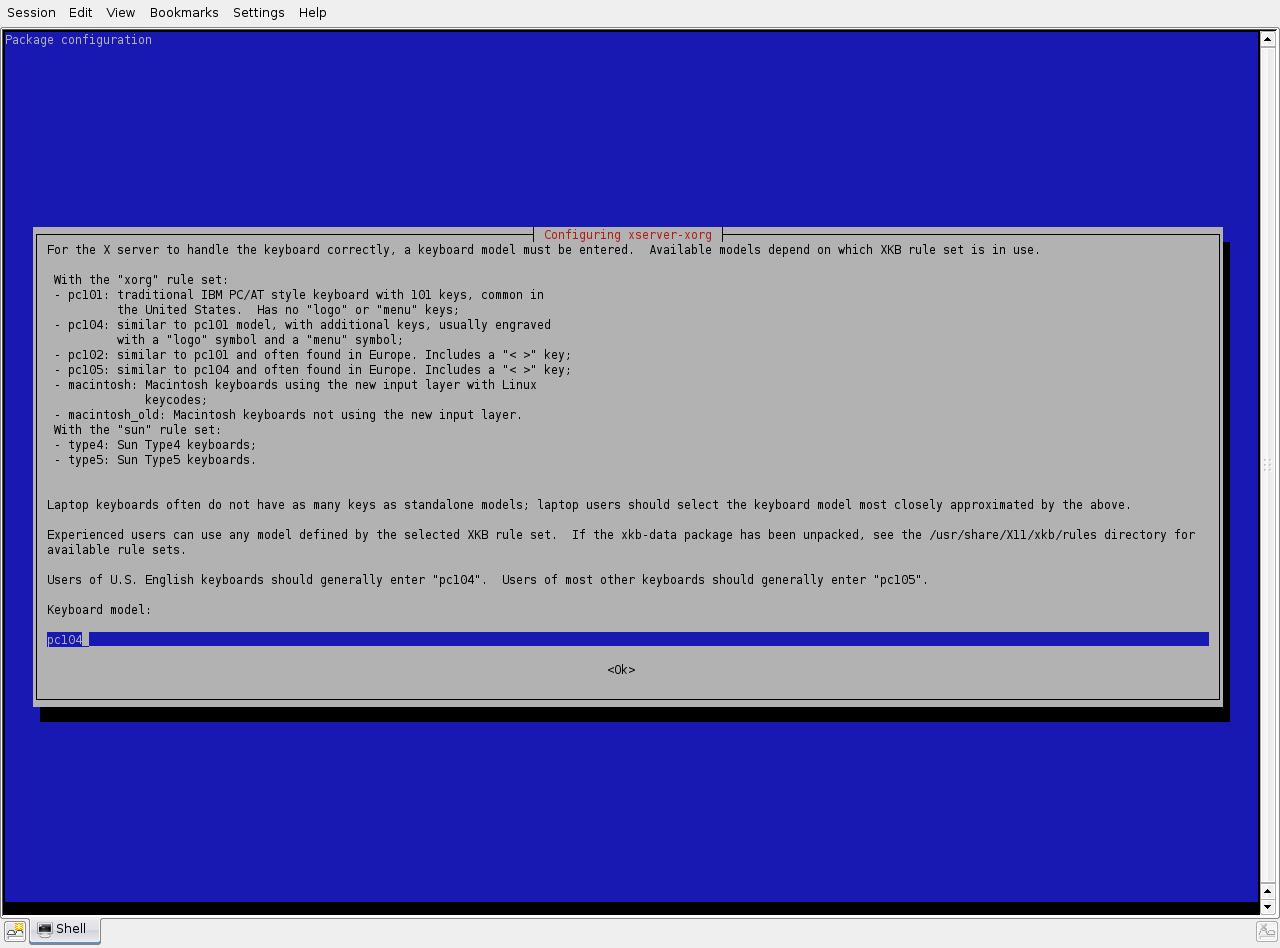
In step 9, you can enter in your keyboard model. Most modern US PC keyboards are pc104, most older US keyboards are pc101, most modern European keyboards are pc105, most older European keyboards are pc102, most modern Apple keyboards are macintosh, and most older Apple keyboards are macintosh_old. If you're uncertain, just leave it at the default value.
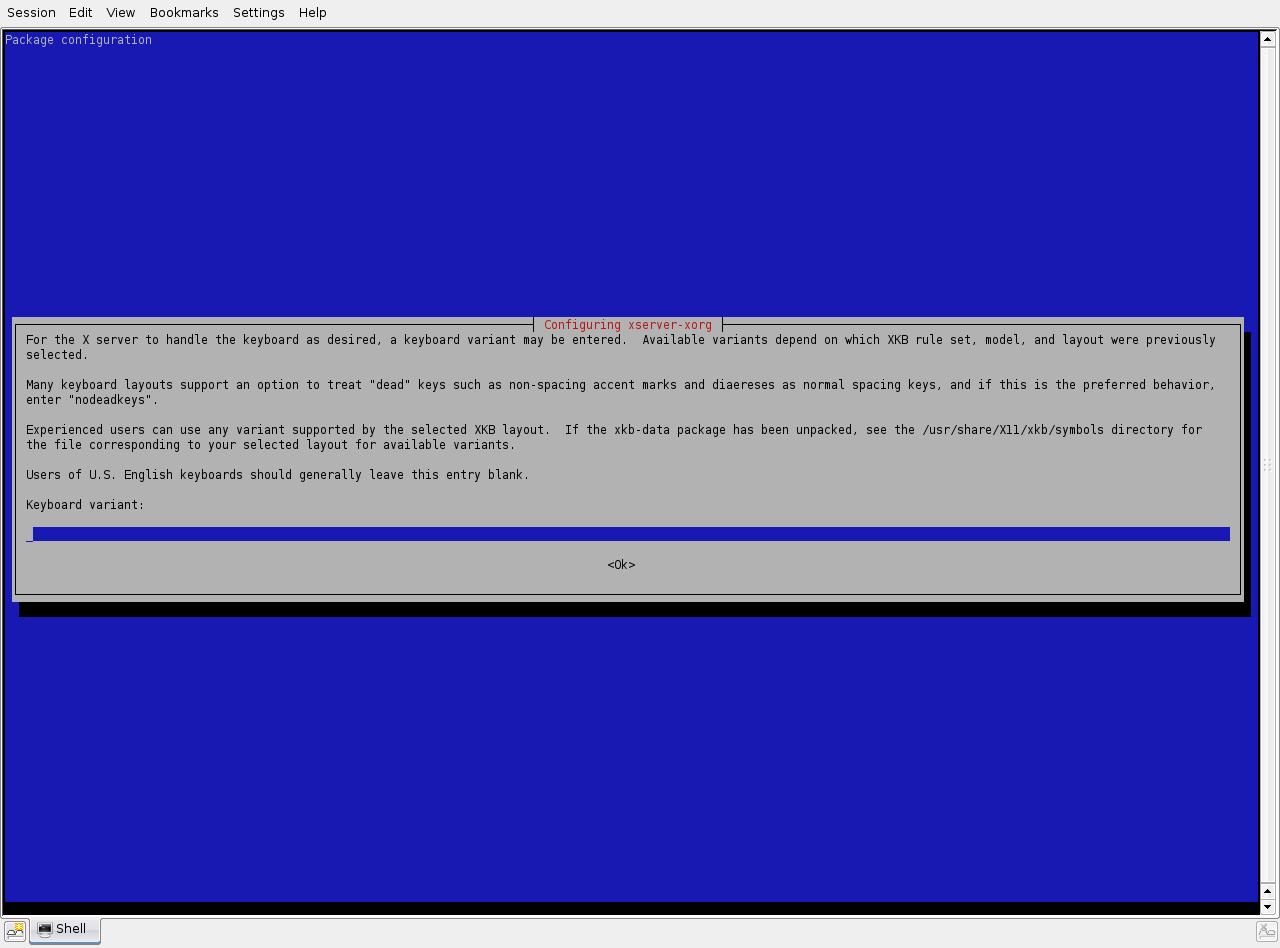
Step 10 is back to confusing steps. Most people can leave this blank.
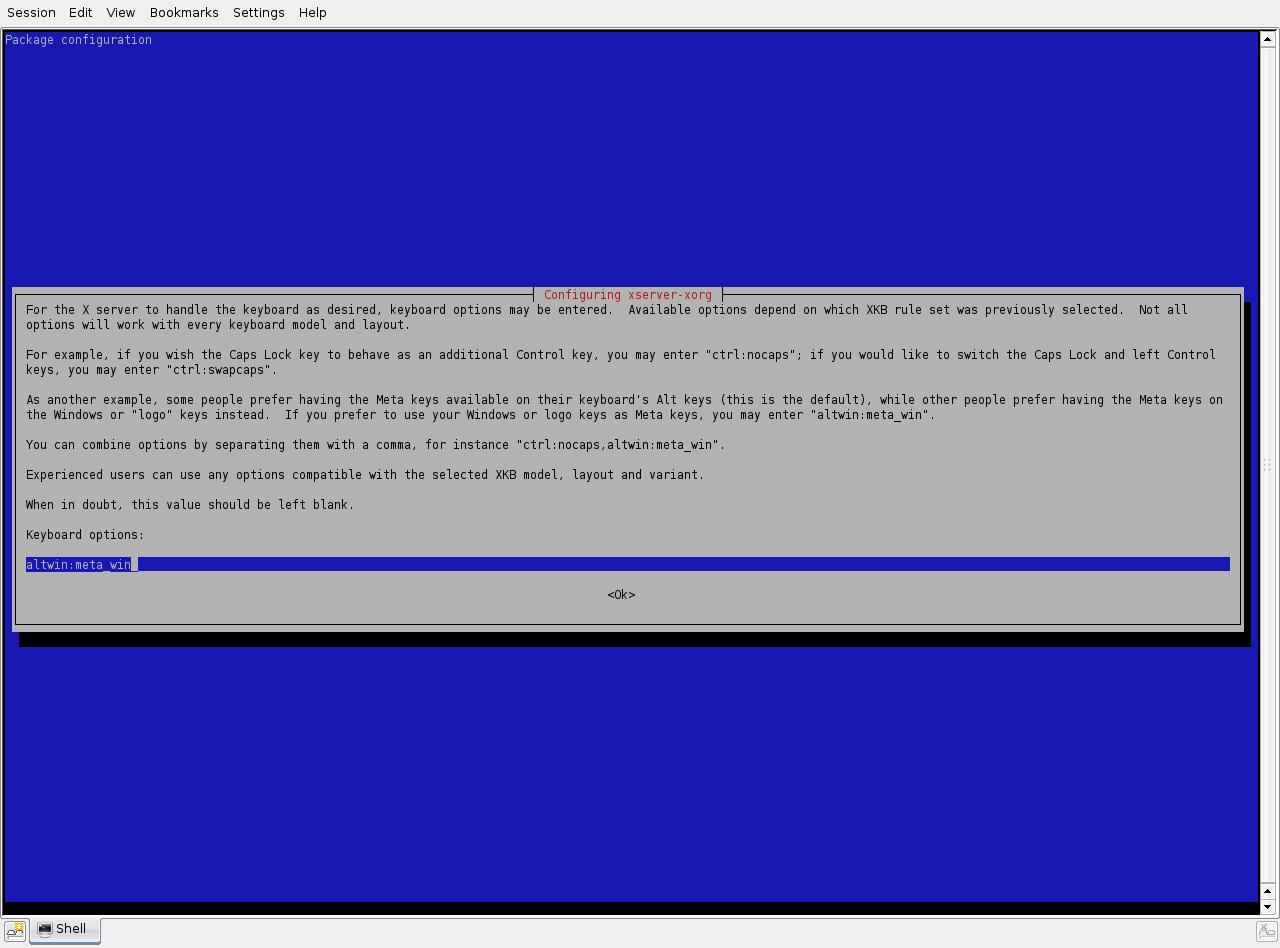
Step 11 lets you can change different keys. If you're confused, leave it blank.
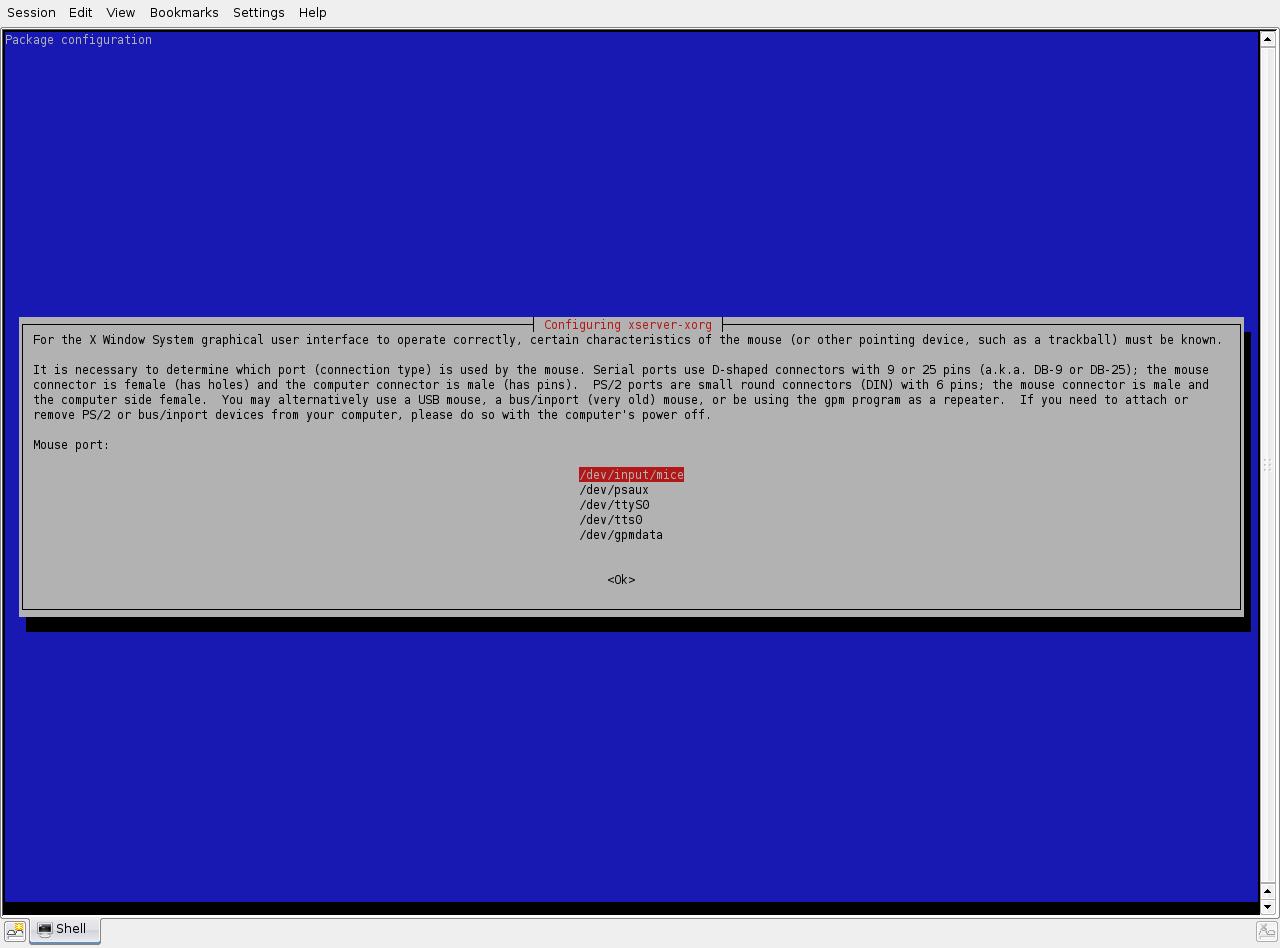
In step 12, you should probably leave the mouse selection as it is unless you're an experienced user.
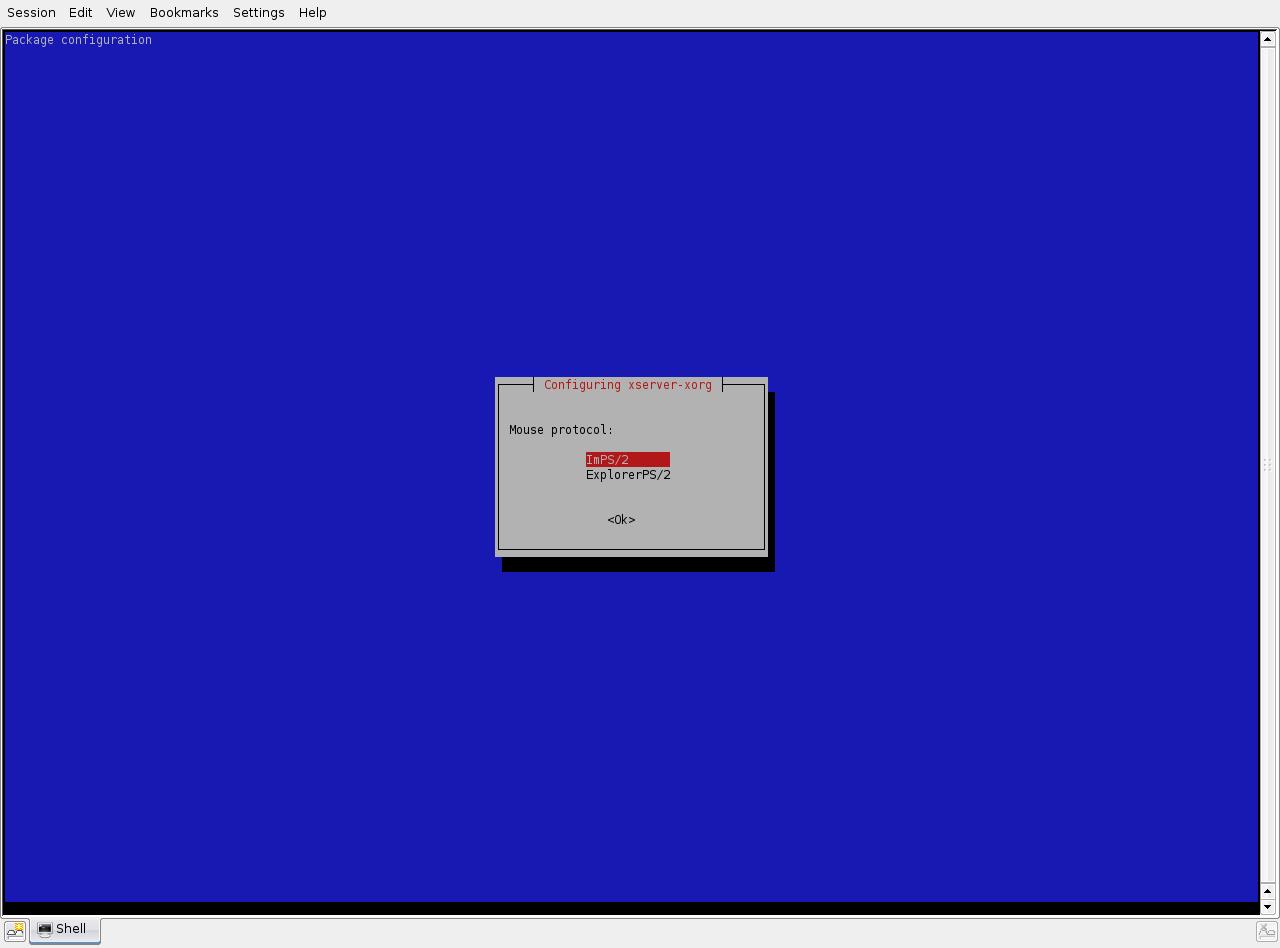
Step 13 lets you choose your mouse's protocol. Most users should leave it at the default option.
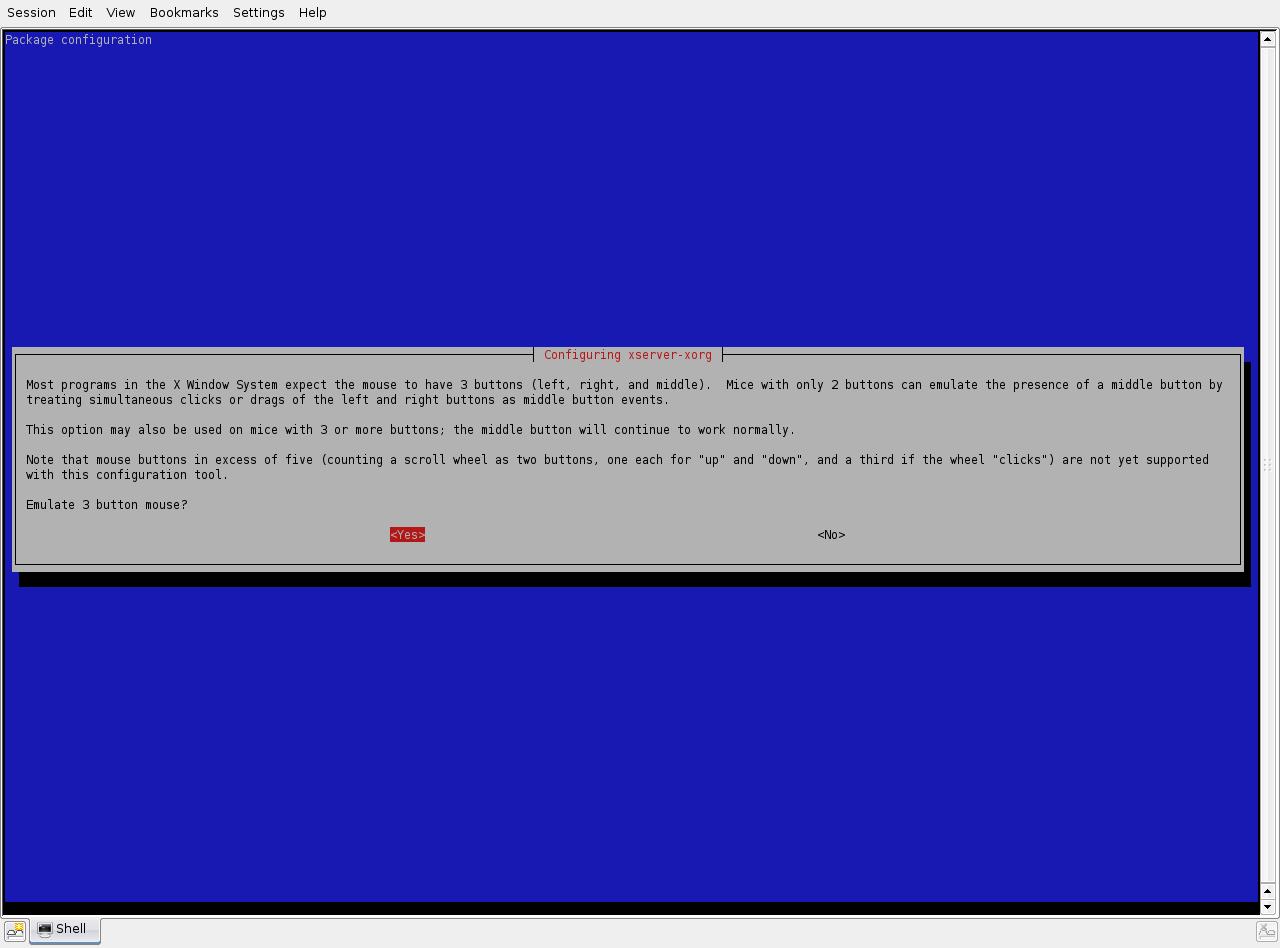
Since most apps for GNU/Linux expect you to have a three button mouse, step 14 asks you if you want to emulate a three button mouse. Users with three button mice should check “yes”, while users with two button mice have the option of emulating a three button mice (clicking left and right simultaneously will trigger it).
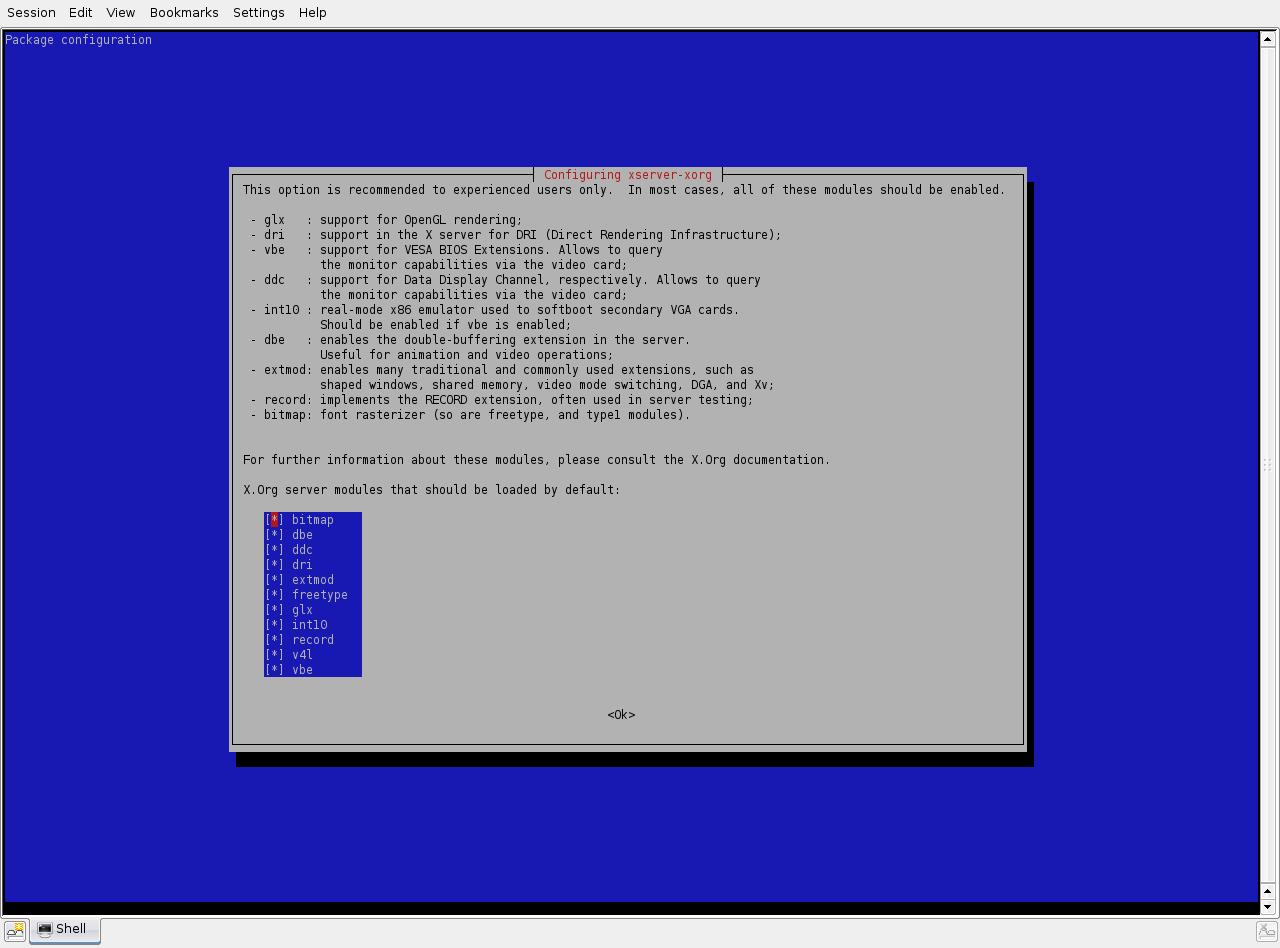
In step 15, you choose what X.Org video modules are loaded. You should probably check all by default.

If you are a geek and like to keep your X.org server modules separate from the default location, use step 16. If you lost me after the word "geek", say yes.

Step 17 asks to autodetect your monitor. It couldn't get mine, but it will save you some hassle if it detects yours.
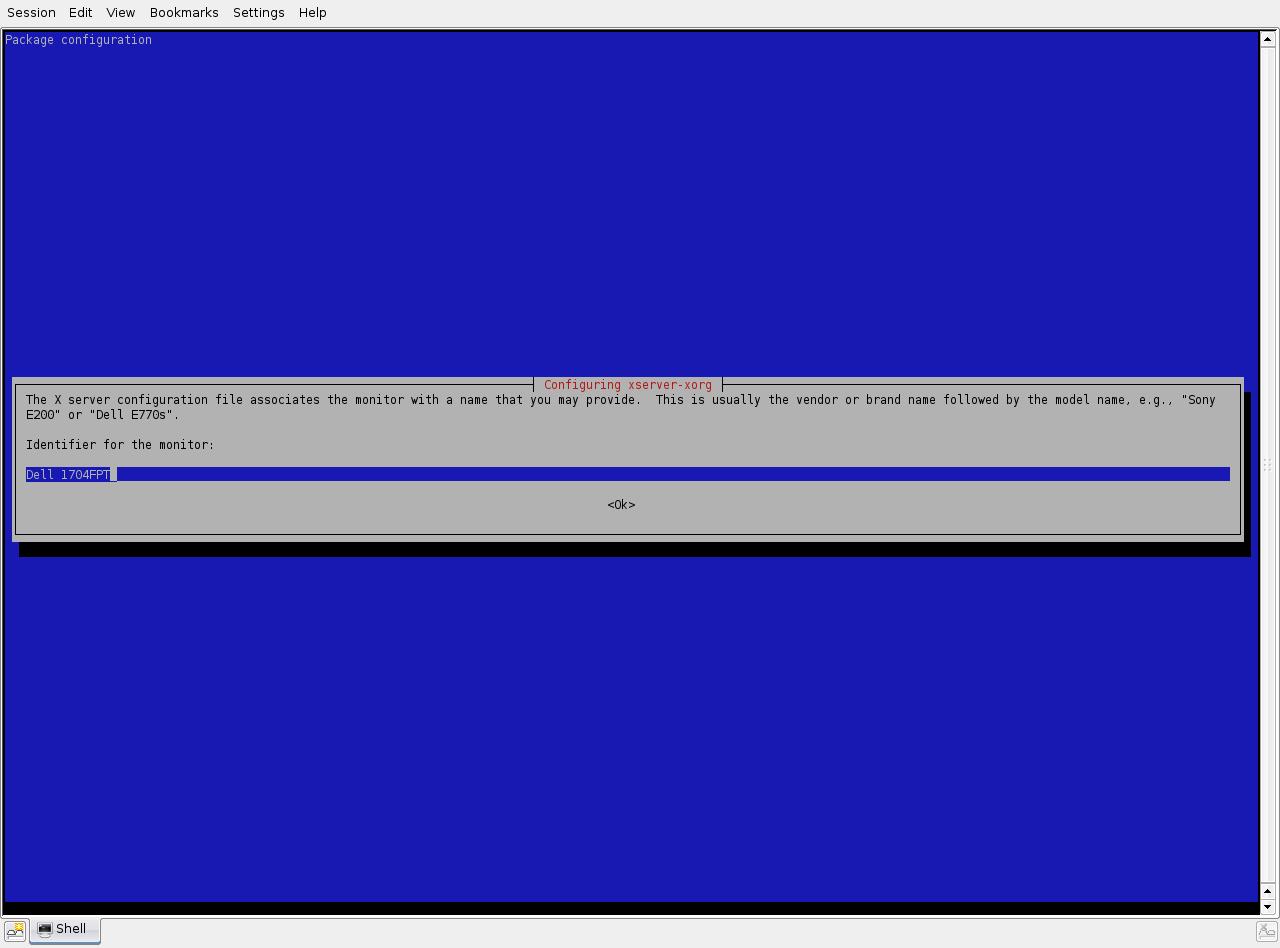
If you chose manual detection in step 17, step 18 will ask the name of you monitor. It is recommended to enter in your model's number (e.g. Dell 1704FPT), but if you don't know it leave it as Generic Monitor.
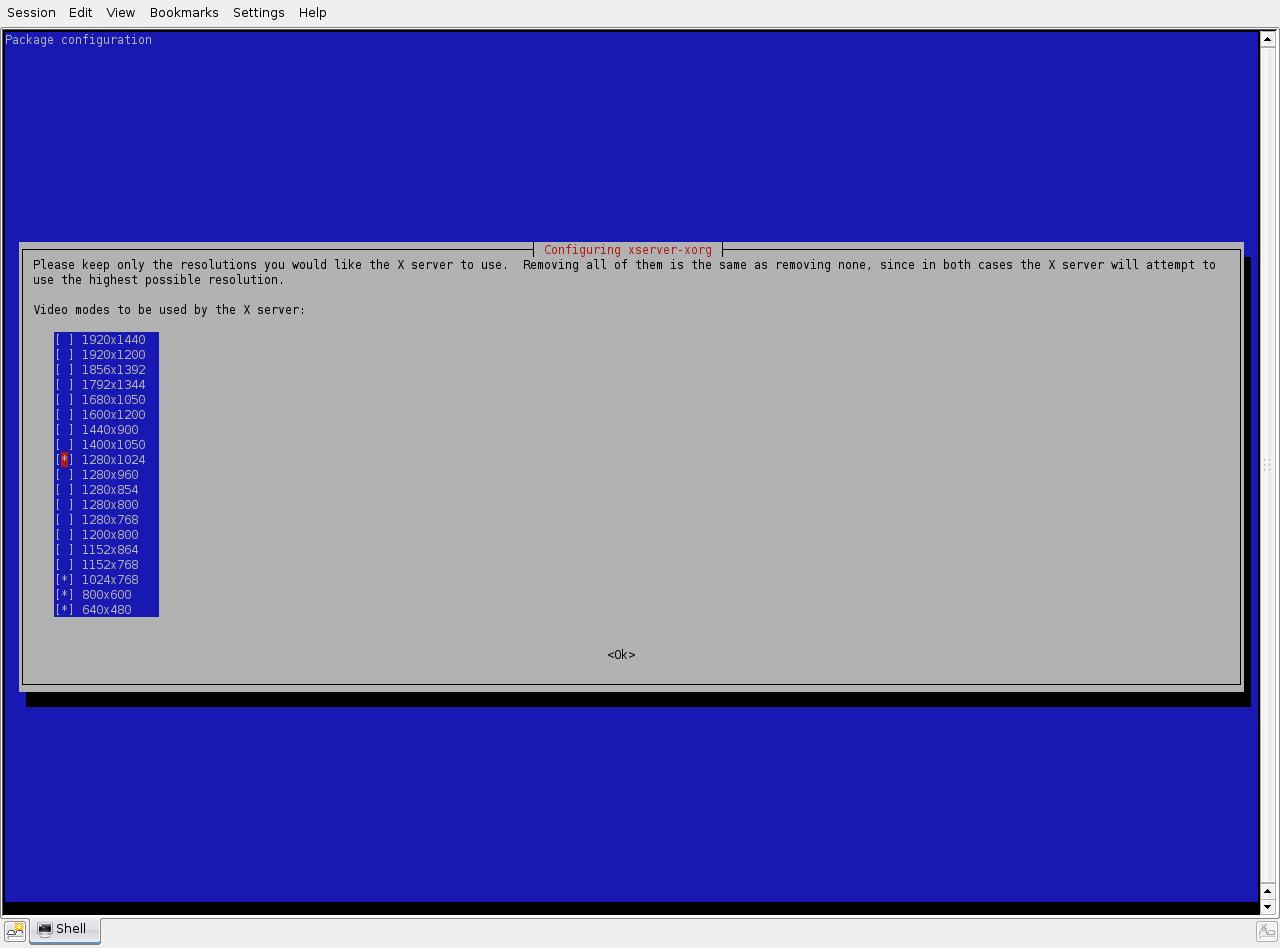
In step 19, you are asked what types of resolution you would like. If you don't know, leave it as default.
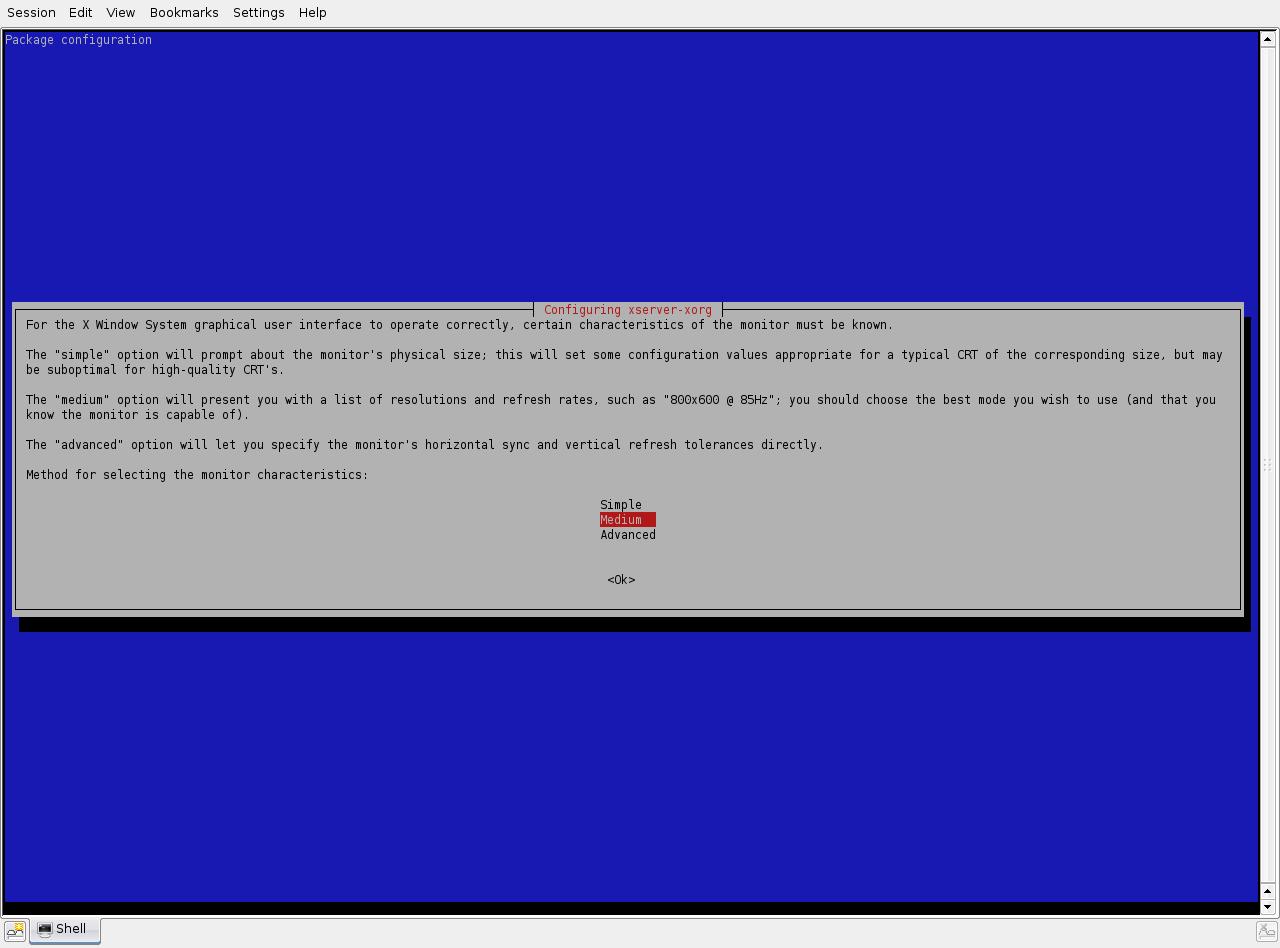
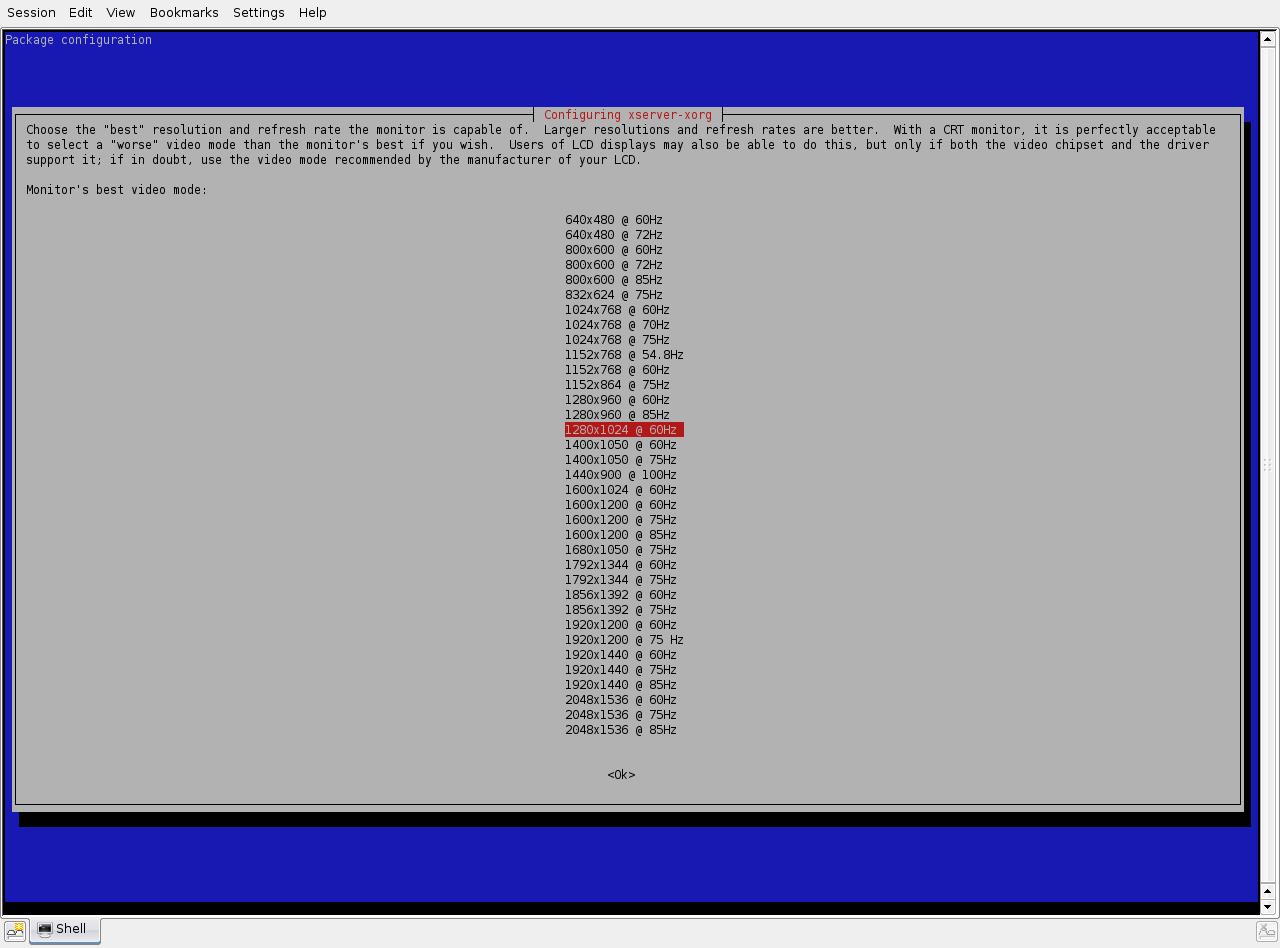
In step 20, you are asked how to enter your monitor's information. I chose medium.
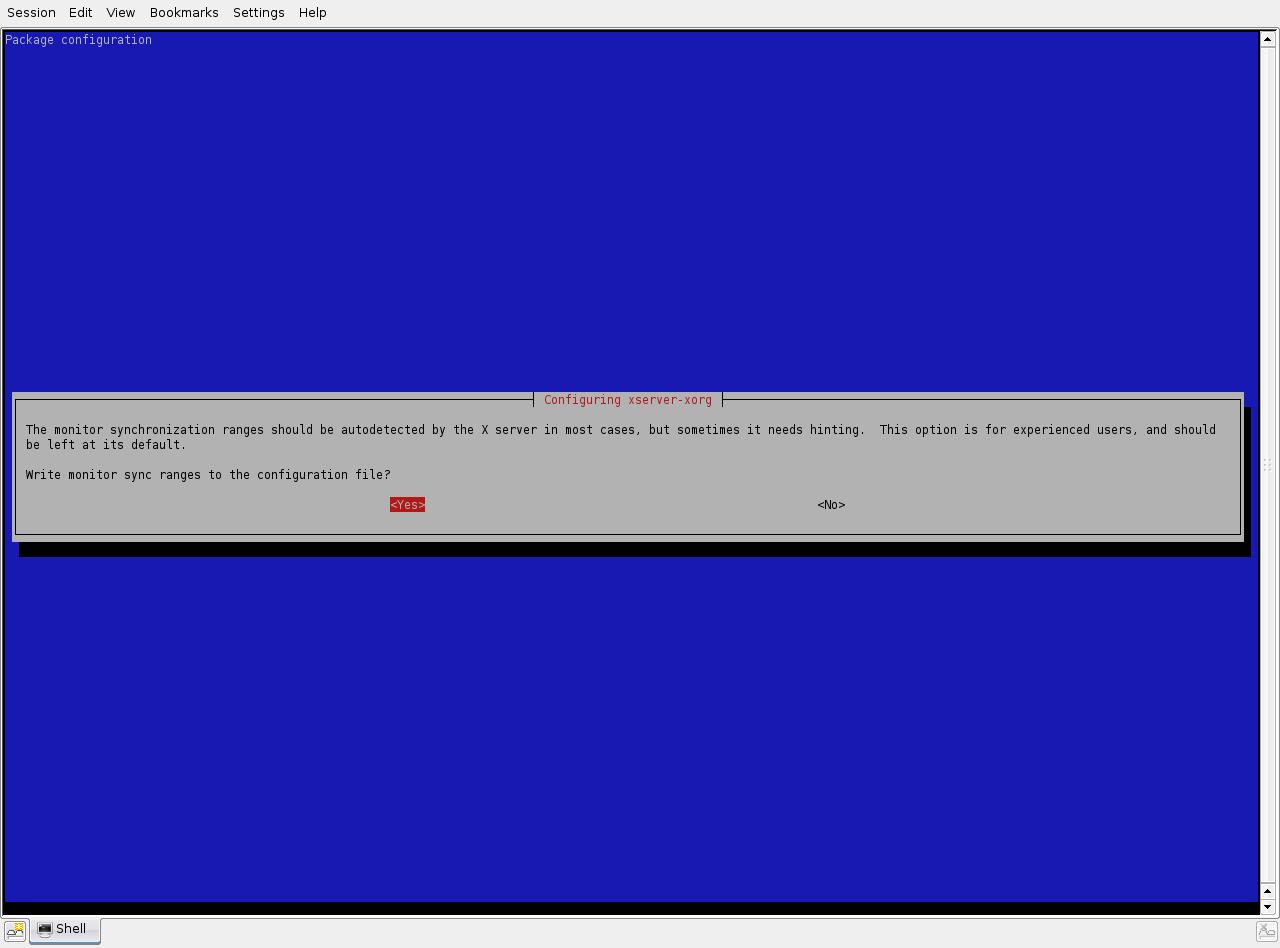
In step 21, it is most likely best to leave this as default.
Step 22 is similar to step 16 in that it asks you where to write the config files.

In step 23 you can choose how many bits of color depth your monitor will output. Most users will want to pick 24 bits (the highest possible).
After step 23, the terminal should go back to its default colors. Now, save all of your work and either reboot or restart X (Ctrl-Alt-Backspace). All of your graphics problems should now be fixed.
Where to get further help: