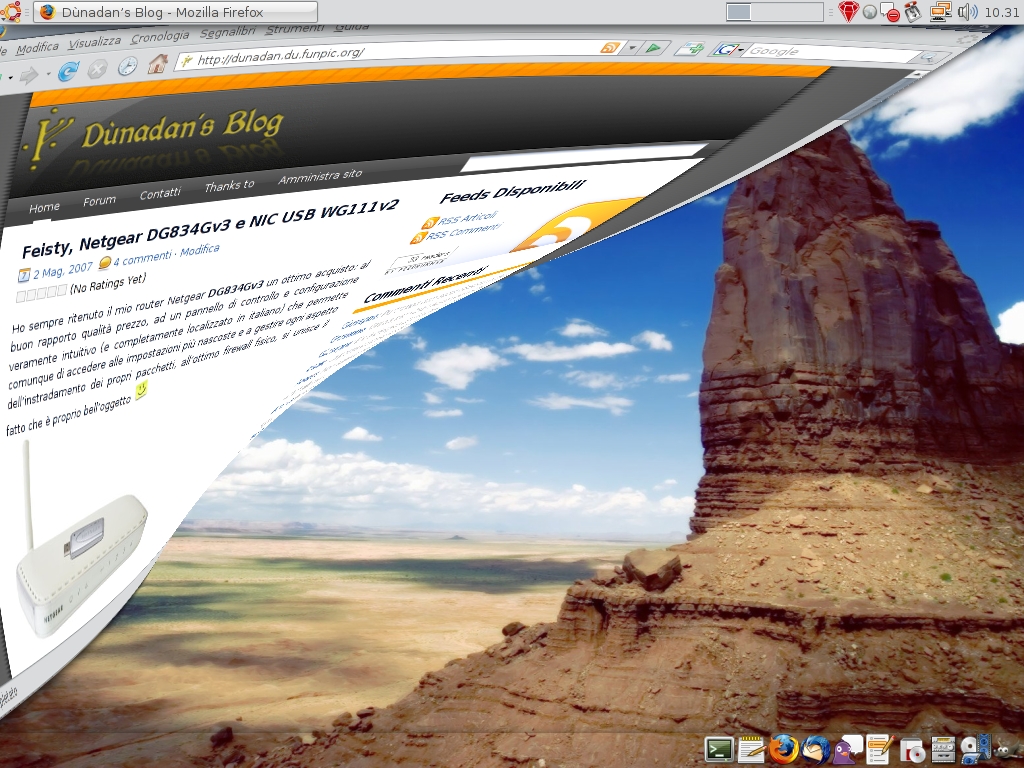
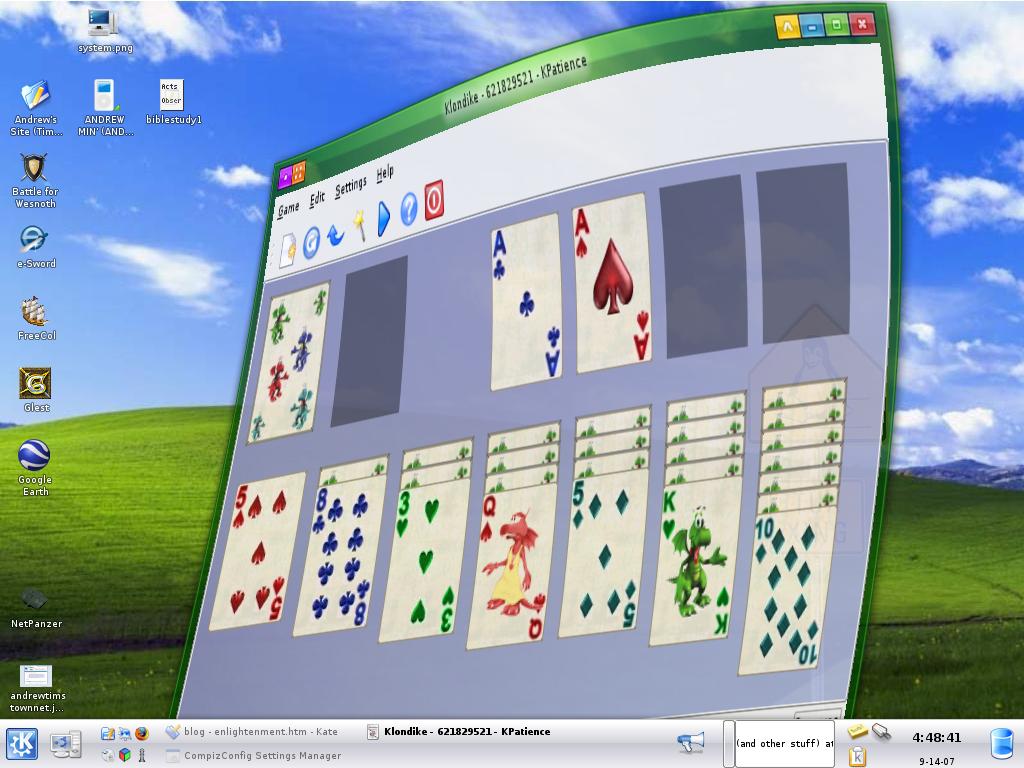
The 3D world just got a lot brighter with the birth of Compiz Fusion, a powerful compositing window manager for GNU/Linux operating systems. Originally there was one project, Compiz, but the project forked into Compiz, and the unstable and unofficial fork of Compiz known as Beryl. Now, the two projects have been reunited for one amazing compositing window manager. In a nutshell, it adds effects to your desktop like wobbly windows (the windows actually wobble when you move them), a cool virtual desktops manager via a cube, and much more. For proof of how cool it is, just do a Google Video/YouTube search for “compiz fusion”.
Unfortunately, Compiz Fusion has little or no documentation. The little that exists is meant for hardcore geeks who are expected to know what obscure and unintuitive commands like “git” are. They also don’t explain how to install a composite manager or a video card driver (both of which are required for Compiz Fusion to function properly). Worse still, much of the documentation available will only work for one type of video card (NVIDIA tutorials won’t work with ATI cards, and vice versa). And worst of all, virtually all of the tutorials out there are for Ubuntu and won’t work for Kubuntu or Xubuntu users. Therefore, this guide was created as a sort of all-in-one guide for all users of the major Ubuntu distributions and the major video cards.
Warning: Most, if not all, of this software (including Compiz Fusion itself) is alpha. It should work, but there is the chance it will not. Therefore, it should not be used on production machines. You have been warned.
ATI card owners
Getting the driver
The first thing to do is to get the video card driver. There are two modern ATI drivers available to Ubuntu users: the unofficial free software Radeon driver and the ATI official (and proprietary) fglrx driver. fglrx is available for Radeon users 9000+ and X series users (e.g. Radeon X3000), though it may work for other ATI cards as well. Unfortunately, Radeon is extremely slow when running Compiz Fusion (enough to make it unusable). So, we’ve got to go with the proprietary fglrx.
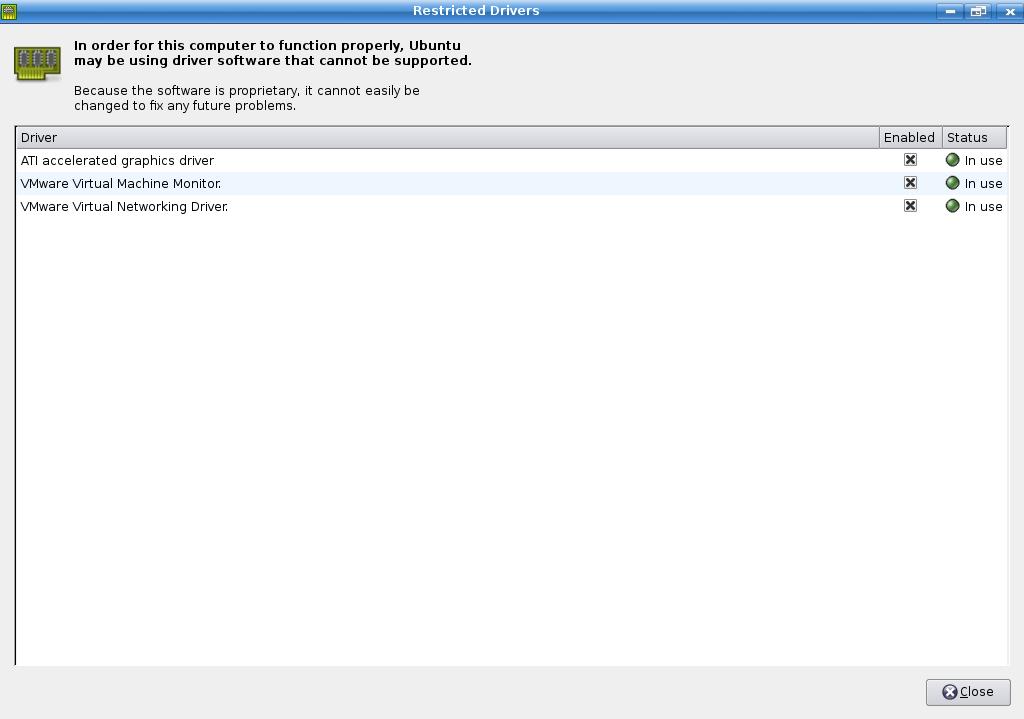
First, update your system using your favorite package manager. Next, make sure the packages linux-restricted-modules-generic and restricted-manager are installed. Then go to System→Administration→Restricted Drivers Manager (Settings→Restricted Drivers Manager in Kubuntu), or run restricted-manager as root (sudo restricted-manager in your favorite terminal). After entering your password, you will see an option for ATI accelerated graphics driver. Check that it is enabled. For more information, read the Ubuntu Wiki page, BinaryDriverHowto/ATI.
Getting the X server
The newest version of X.Org includes AIGLX, which includes GLX rendering capabilities required by Compiz Fusion. Unfortunately, AIGLX requires that you use the Radeon driver, which is too slow to run Compiz Fusion with. Therefore, we need to use a new X server called Xgl.
First, install the xserver-xgl package in the universe repository. Next, create a text file (as root) in the location /usr/bin/startxgl.sh. What goes in the text file depends on which desktop environment you will use. Ubuntu (GNOME) users will enter this:
#!/bin/sh
Xgl :1 -fullscreen -ac -accel xv:pbuffer -accel glx:pbuffer &
DISPLAY=:1
dbus-launch --exit-with-session gnome-session
Kubuntu (KDE) users should enter:
#!/bin/sh
Xgl :1 -fullscreen -ac -accel xv:pbuffer -accel glx:pbuffer &
DISPLAY=:1
exec startkde
And finally, Xubuntu (Xfce) users should enter:
#!/bin/sh
Xgl :1 -fullscreen -ac -accel xv:pbuffer -accel glx:pbuffer &
DISPLAY=:1
exec xfce4-session
Note: DBUS is required for the GNOME login
Save, and close the file. Make it executable (run sudo chmod +x /usr/bin/startxgl.sh in your favorite terminal). Now, create a new file (again as root) called /usr/share/xsessions/xgl.desktop. In it, put the following:
[Desktop Entry]
Encoding=UTF-8
Name=Xgl
Comment=Start an Xgl Session
Exec=/usr/bin/startxgl.sh
Icon=
Type=Application
Save, and log out of your session. At the login manager, choose Xgl as the session type. You’re done! Now, skip the next section to go to Getting Compiz Fusion.
NVIDIA card owners
Getting the driver
Like ATI users, there are several options for NVIDIA owners. The most popular is the free software nv driver. But like ATI users, the best performance for Compiz Fusion seems to come from the proprietary NVIDIA driver (aptly named nvidia).
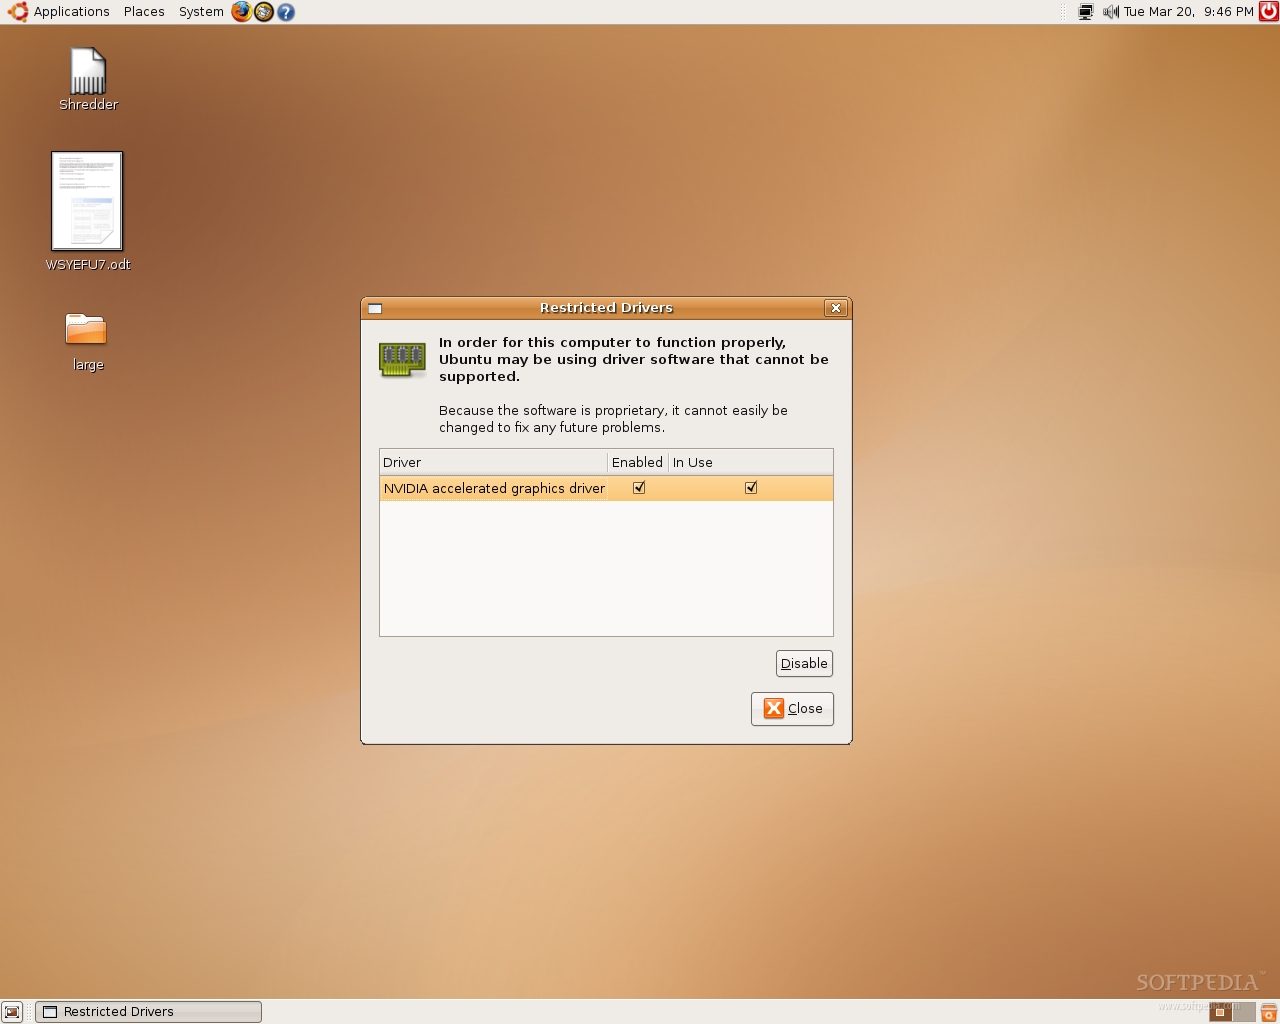
First, update your system. Next, make sure the packages linux-restricted-modules-generic and restricted-manager are installed. Then go to System→Administration→Restricted Drivers Manager (Settings→Restricted Drivers Manager in Kubuntu), or run restricted-manager as root (sudo restricted-manager in your favorite terminal). After entering your password, enable the NVIDIA option. You should now be using the NVIDIA driver. More information is available at the Ubuntu Wiki page, BinaryDriverHowto/Nvidia.
Getting the X server
NVIDIA users are a lot luckier than ATI users: they can choose between Xgl and AIGLX for their server. The nice thing about AIGLX is that it is built into X.Org 7.1, so you can enable it without installing anything. In addition, you don’t have to create a separate session to log into. The only thing you need to do is edit a few config files. Finally, AIGLX doesn’t require a separate session, unlike Xgl. Xgl is less stable and requires getting the xgl-server package (and for GNOME users, installing the DBUS package), but has less configuring to do.
AIGLX
To use AIGLX, open up /etc/X11/xorg.conf in a text editor. Make sure that under the Section “Module” that you have the following:
Load "dri"
Load "dbe"
Load "glx"
Also, under Section “Device” you should have:
Option "XAANoOffscreenPixmaps"
You may need to add this to the device section:
Option "AddARGBGLXVisuals" "True"
Lastly, make sure the following is enabled (probably at the end of the file):
Section "DRI"
Mode 0666
EndSection

Section "Extensions"
Option "Composite" "Enable"
EndSection
You should now be set.
Xgl
Don’t feel like editing all those configuration options? Like to stay on the bleeding edge? Xgl is your answer.
First, install the xserver-xgl package in the universe repository. Next, create a text file (as root) in the location /usr/bin/startxgl.sh. What goes in the text file depends on which desktop environment you will use. Ubuntu (GNOME) users will enter this:
#!/bin/sh
Xgl :1 -fullscreen -ac -accel xv:fbo -accel glx:pbuffer &
DISPLAY=:1
dbus-launch --exit-with-session gnome-session
Kubuntu (KDE) users should enter:
#!/bin/sh
Xgl :1 -fullscreen -ac -accel xv:fbo -accel glx:pbuffer &
DISPLAY=:1
exec startkde
And finally, Xubuntu (Xfce) users should enter:
#!/bin/sh
Xgl :1 -fullscreen -ac -accel xv:fbo -accel glx:pbuffer &
DISPLAY=:1
exec xfce4-session
Note: DBUS is required for the GNOME login
Save, and close the file. Make it executable (run sudo chmod +x /usr/bin/startxgl.sh in your favorite terminal). Now, create a new file (again as root) called /usr/share/xsessions/xgl.desktop. In it, put the following:
[Desktop Entry]
Encoding=UTF-8
Name=Xgl
Comment=Start an Xgl Session
Exec=/usr/bin/startxgl.sh
Icon=
Type=Application
Save, and log out of your session. At the login manager, choose Xgl as the session type. You’re now done! Now, you’re going to get Compiz Fusion.
Getting Compiz Fusion
Installing prerequisites
First, make sure the packages compiz-core and desktop-effects are uninstalled (ubuntu-desktop may be removed). Next, add new repositories to the file /etc/apt/sources.list:
# Treviño's Ubuntu feisty EyeCandy Repository
# (GPG key: 81836EBF - DD800CD9)
# Many eyecandy 3D apps like Beryl, Compiz,
# Fusion and kiba-dock snapshots
# built using latest available (working)
# sources from git/svn/cvs.

deb http://download.tuxfamily.org/3v1deb feisty eyecandy
deb-src http://download.tuxfamily.org/3v1deb feisty eyecandy
(64-bit users should use deb http://download.tuxfamily.org/3v1deb feisty eyecandy-amd64 and deb-src http://download.tuxfamily.org/3v1deb feisty eyecandy-amd64 instead).
You’ll also need to add the GPG key. To do this, run the following command in your favorite terminal:
gpg --keyserver subkeys.pgp.net --recv-keys 81836EBF
gpg --export --armor 81836EBF | sudo apt-key add -
Now, update your system.
Actually installing the dang thing
It’s finally time to install Compiz Fusion! Ubuntu (GNOME) and Xubuntu (Xfce) users should install the following packages:
compiz compiz-gnome compizconfig-settings-manager compiz-fusion-plugins-extra compiz-fusion-plugins-unofficial libcompizconfig-backend-gconf
Kubuntu (KDE) users should install:
compiz compiz-kde compizconfig-settings-manager compiz-fusion-plugins-extra compiz-fusion-plugins-unofficial libcompizconfig-backend-kconfig
Make sure you are in the Xgl session (or that AIGLX is enabled). Now, it is the moment of truth! Run the following:
compiz --replace
If the windows flicker, lose their title bars, and then reappear, you’ve got Compiz Fusion running. To double check, move around a window. If it acts differently than normal, you’re running Compiz Fusion! To configure Compiz Fusion, run ccsm or System→Preferences→CompizConfig Settings Manager (Kubuntu users should find it under Settings→CompizConfig Settings Manager).
To make it so that Compiz Fusion automatically runs when you log in, add the command compiz --replace to the startup (Gentoo Wiki has a good article on how to do this).
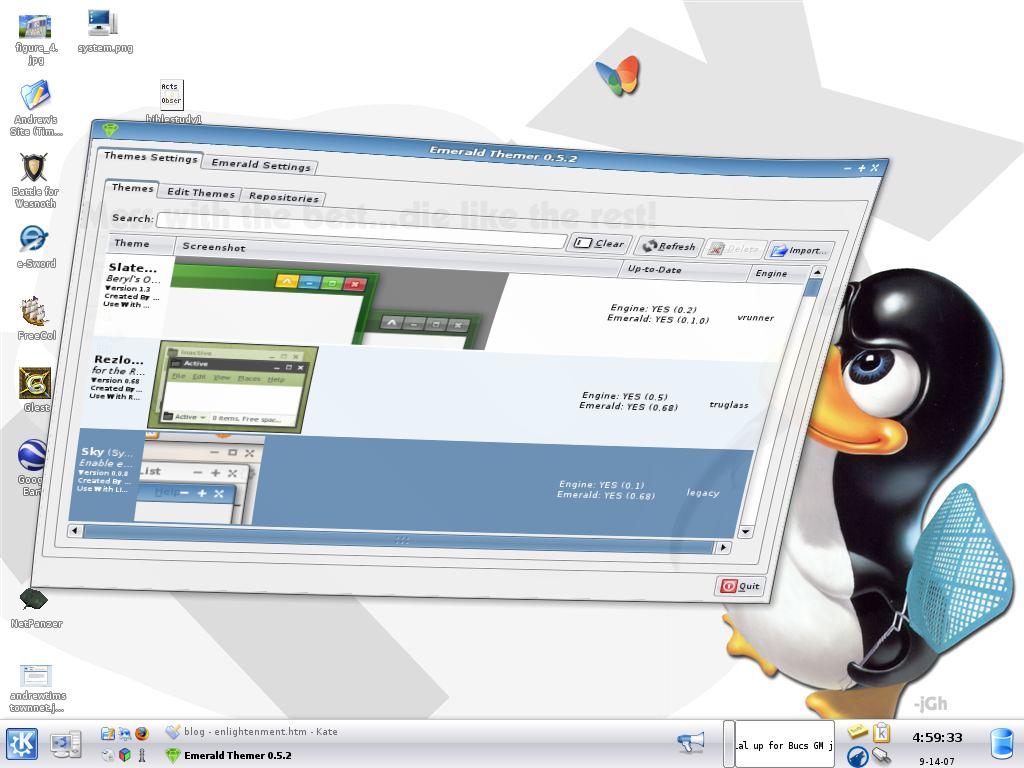
Do you like the Emerald window decorations that ship with Beryl? Compiz Fusion users can use it! Make sure the package emerald-themes is installed (it will also install Beryl, so don’t be surprised if it’s a hefty package). Then, run compiz --replace -c emerald & instead of compiz --replace.