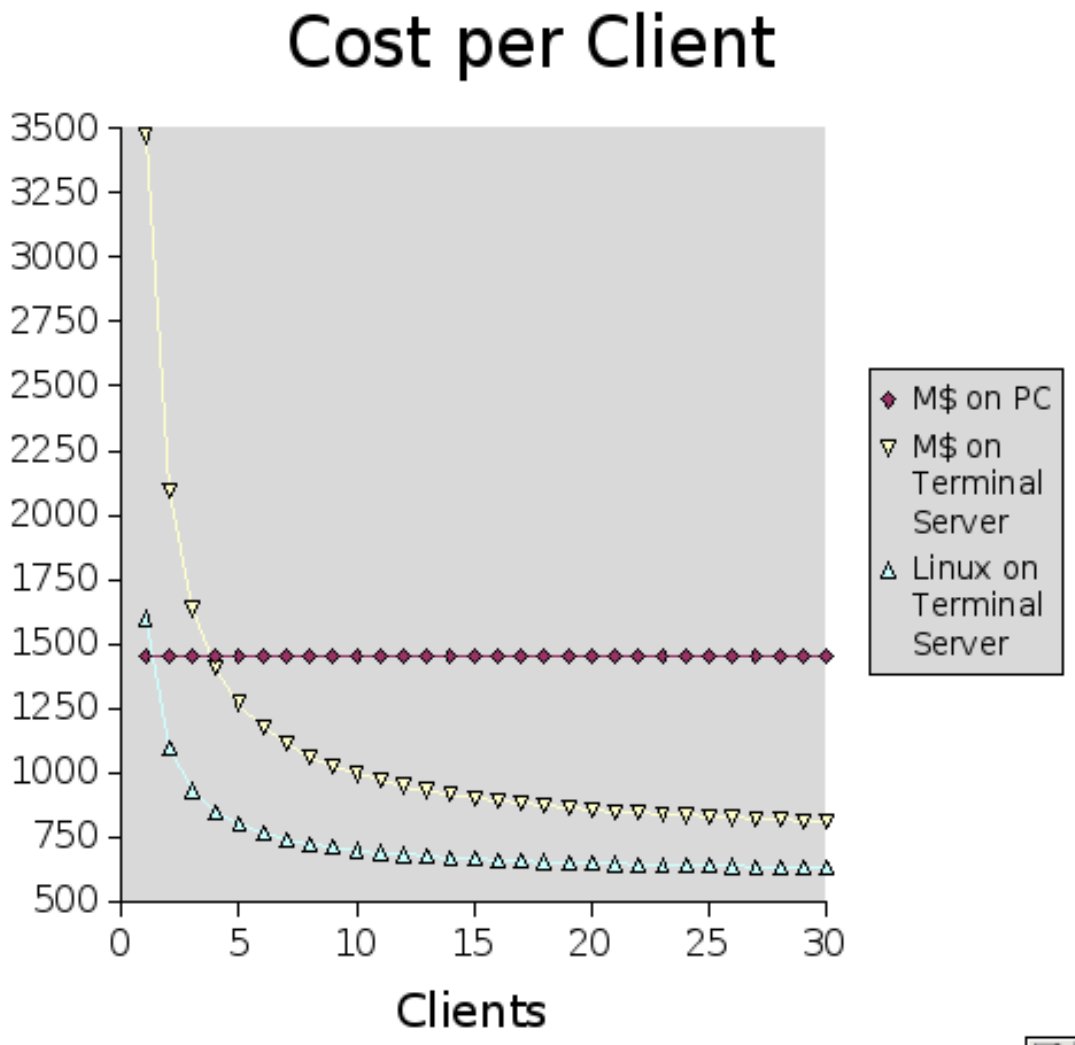
You walk into the room. It’s cool and quiet. You see thirty new workstations giving great service. Your cost of hardware was CAD$350 for each workstation, CAD$10 to connect it to an existing 100Mbps LAN, and about CAD$60 for a share of a server in another room (CAD$1 = US$0.87). Your software costs were only some download and CD burn time and forty minutes for installation. Your operating costs are virtually nil. The server runs for months without a reboot. The workstations have nothing but network boot loaders. You back up only one machine, the server. The workstations use twenty watts each and have no fans. Magical? Yes. Magic? No. Arthur C. Clarke once made the comment that “technology sufficiently advanced is indistinguishable from magic”. A stock server or a custom-built server made from off-the-shelf parts has taken the place of the mainframe in a client/server arrangement. Moore's Law makes the hardware cheap. GNU/Linux makes it free to use to its potential. This is old but capable technology made easy to install thanks to the GNU/Linux revolution.
This is old but capable technology made easy to install thanks to the GNU/Linux revolution
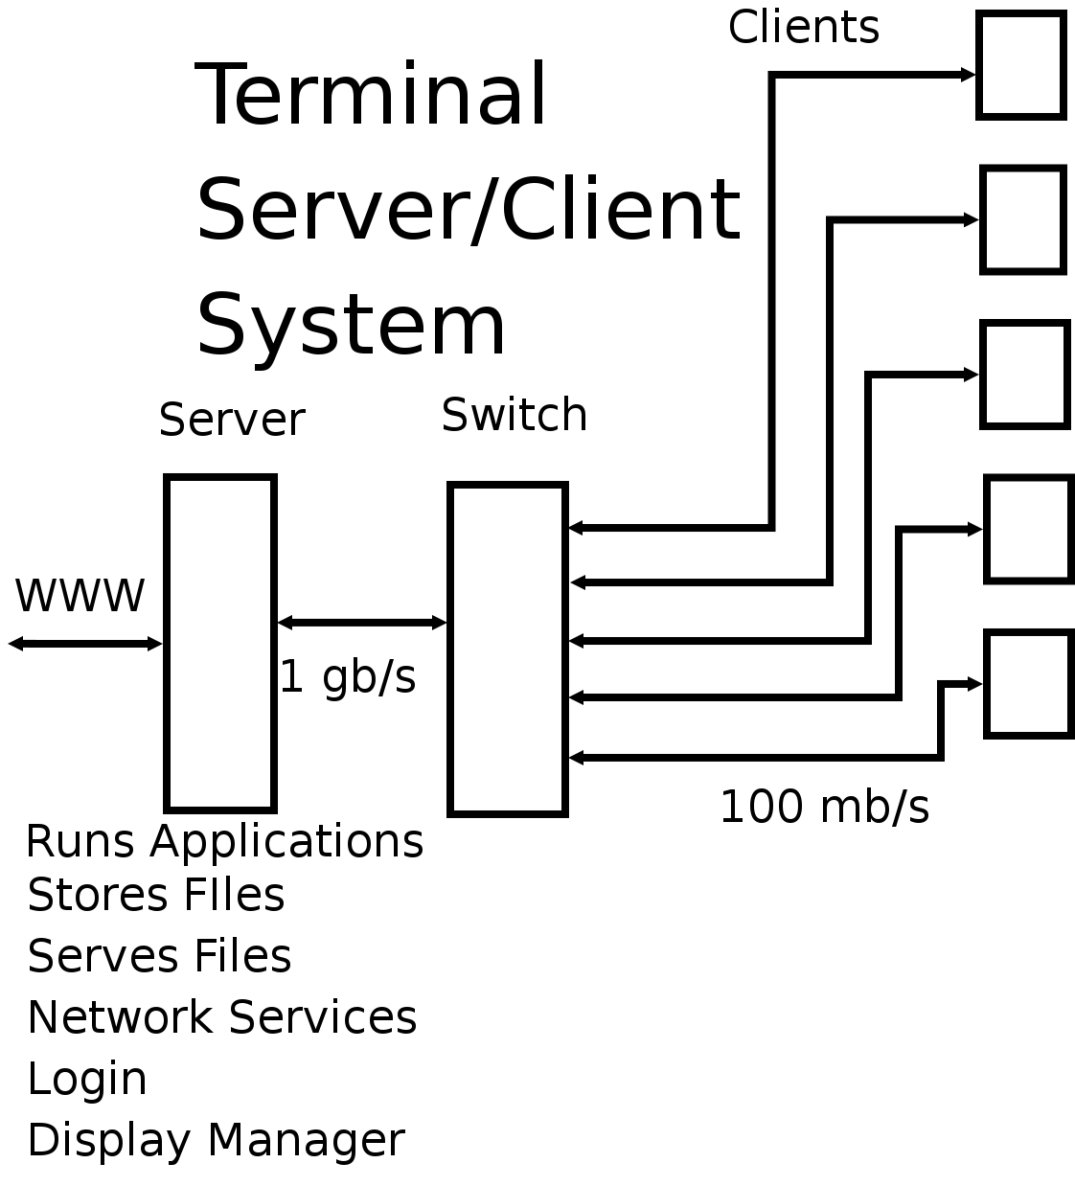
What you have are workstations of fanless, diskless clients connected to LCD monitors, mice and keyboards. The low-powered clients do little except relay inputs and graphics between the user and the server via the X Window System. The server is a reasonably powerful PC with extra memory and storage. You get away with having thirty users at once running on the server because recent CPUs have the power and the typical user typing and clicking uses up only a small percentage of such a CPU and uses the power in short bursts. By investing a little more on the server, everyone gets to share in the benefit and it is never wasted. The first time a user loads a program the server caches it in memory for any subsequent users. This is a much better system than paying per-user licence fees, installing and maintaining software on hard drives on each client and keeping all the disks and fans turning. You do not need to chase dust bunnies on these fanless units. You save hundreds of dollars in electrical energy over the lengthy lifetime of this equipment and you do not need to listen to all those pointless whirring sounds.
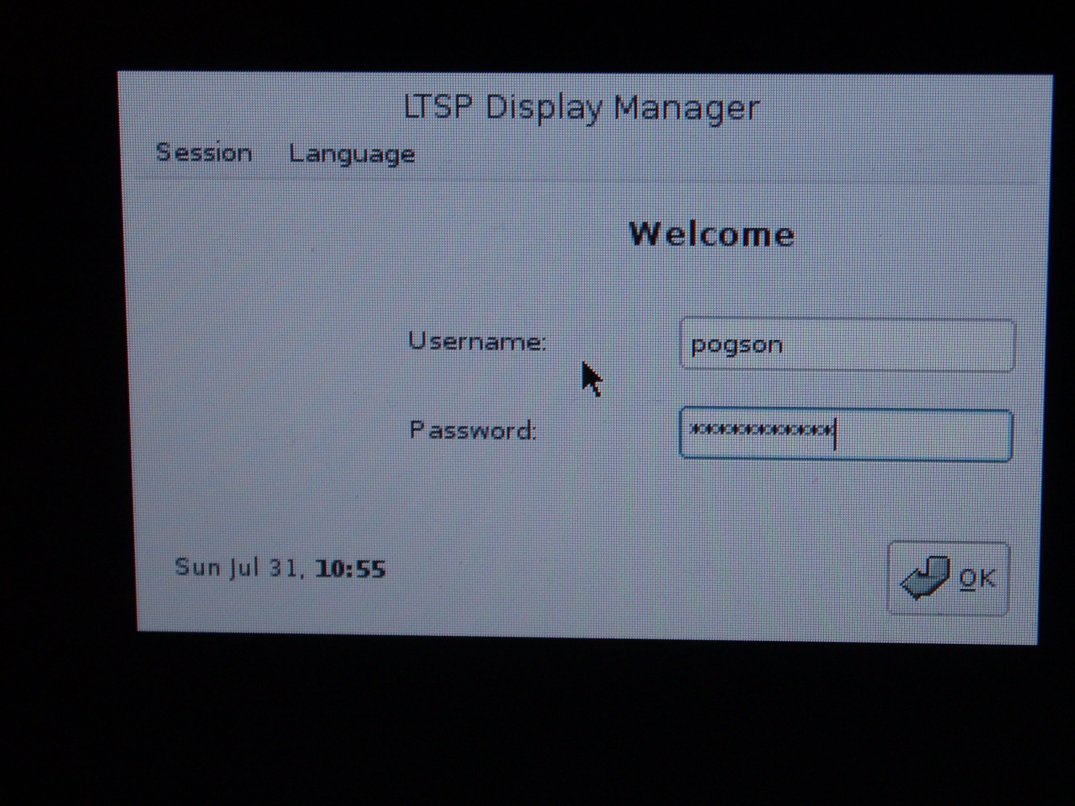
How can you get this all to work without resorting to magic or hiring a magician? LTSP, the Linux Terminal Server Project is a free software project intended to make the setup easy. The clients configure via DHCP (Dynamic Host Configuration Protocol) and download a minimal GNU/Linux operating system from the server using TFTP (Tiny File Transfer Protocol). The GNU/Linux operating system for the client boots and uses a file system on the server and the memory of the client to do everything. The initial network boot can be done by a ROM (Read Only Memory) resident program on the client. Most PCs since 1998 have this capability built into the BIOS if there is a Network Interface Controller (NIC) built into the motherboard. The BIOS setup may mention PXE, Pre-Execution Environment or network in the booting section. Others can incorporate a boot loader in a socket on the NIC into the BIOS of the PC, or boot from a floppy, USB device, hard drive or CD.
The folks who made Edubuntu put in automatic installation of the simplest, and most common setup
The only software installation required is on the server. You can use a GNU/Linux distribution designed for use in schools and by teachers with modest expertise. Because the LTSP scripts can be a hassle for a novice, the folks who made Edubuntu (Ubuntu plus a few packages and configurations for schools) put in automatic installation of the simplest, and most common setup, the server running a private LAN with your clients. This works well for a classroom, a computer lab, an office or a small school. Except for multimedia intensive stations the LTSP concept works for about thirty clients from a single 32 bit CPU with 2GB RAM. Using a dual-core 64 bit CPU and 4GB RAM, one server can handle sixty clients. With multiple servers or multiple socket motherboards the system will scale to well over one hundred clients. You only have to eliminate bottlenecks on the LAN by using a gigabit per second connection between server and switch. 100Mbps works well from switch to client. 10Mbps works, too, but there are noticeable delays.
What an LTSP Server wants
The specs for an LTSP server are pretty simple:
- 512MB RAM for the idling system with all of its services
- 50MB per client to hold user data and the first copy of common applications
- 100MHz of 32 bit processing power or about 75MHz of 64 bit power per client. AMD or Intel work, but AMD gives more computing power per watt and has an on-chip memory controller in 64 bit. The competition between these two makes price/performance good for our use. It is important to select components that match motherboard/CPU/memory/NICs if you build from parts.
- A gigabit NIC for the private LAN (100 megabit is OK for small LANs with patient users, random boots or client always on)
- 10/100 baseT NIC for the ISP
The gigabit NIC is optional unless you want to save seconds on the boot over the network when everyone shows up to work in the same minute and transfers 4 MB of kernel. Many motherboards come with a gigabit NIC and they are cheap. The following examples don’t include a monitor, keyboard, mouse, CDROM drive or video card which are only needed for installation. The BIOS can be set up to boot on restoration of power and to ignore lack of a keyboard. The X configuration can be set to use a dummy driver when the video card is absent. The server can be maintained remotely by SSH (Secure SHell) or LTSP. A backup hard drive with USB connection is also recommended.
An example of a server good for up to sixty clients:
- AMD Opteron 170 dual core 2 MB cache CAD$519
- 4GB ECC DDR333 RAM CAD$500
- ASUS A8N-E motherboard CAD$125
- ATX case and power supply w/400-500W capacity CAD$200+
- 10/100 baseT NIC CAD$15
- dual 200GB hard drives SATA CAD$210
- Total CAD$1570
A good server for up to thirty clients could use the same setup but with an AMD64 3200 processor and 2GB non-ECC RAM, costing about CAD$1000.
For up to 10 clients, and modest services, use a recent desktop PC with 1GB of RAM and an extra NIC.
For 120 clients, use a dual socket Opteron motherboard with suitable processors and 6GB ECC registered RAM costing about CAD$4300 or more:
- AMD Opteron 275 dual core 2MB cache 2 X CAD$1353 = CAD$2706
- ASUS K8N-DL motherboard CAD$287
- ATX case and 500W power supply CAD$250
- 10/100 baseT NIC CAD$15
- dual 200GB hard drives SATA CAD$210
- 6GB DDR400 ECC registered RAM 6 X CAD$150 = CAD$900
- Total CAD$4368
Another alternative is dual 60 client servers giving more flexibility, speed, and some redundancy for lower cost but more maintenance. This would require networking of the file system, which is a little more complex than an Edubuntu installation. The dual core processors need an SMP (Symmetric Multi Processor) kernel installed. If you install with that CPU it may be automatically configured. If you add a dual core processor, you’ll need to install the right kernel manually. The command sudo apt-get install linux-amd64-k8-smp will install the latest kernel for AMD64 on a VIA K8 chipset for multiple processors. Of course, if you have a different architecture, you can look it up on the Ubuntu web site.
What an LTSP client wants
If you can keep the fans turning, almost any PC will do. PCs with fans use more power than is necessary and act as vacuum cleaners, accumulating dust bunnies that jam fans, and interfere with flow of air over chips and heat sinks. 64MB and 100MHz is enough. Configure the BIOS to boot from the network. Most PCs made before 1998 will not automatically do a network boot, so you will need to install a bootloader on the hard drive, floppy or CD. You can use a Universal Boot Disc from ThinStation which comes with drivers for most common NICs or you can custom make a bootloader from Rom-O-Matic. Pick your NIC and choose your output format, .zdsk for a bootable floppy image or .liso for a bootable CD image. There are more advanced options available. You can create the floppy discs on your server with the command: sudo dd if=image_file of=/dev/fd0. With a cdburner, you may use the cdrecord command from the commandline (terminal) or a graphical interface like nautilus-cd-burner which can be accessed from the “Go” menu item of the file browser. Click on “CD creator”. You drag and drop or copy and paste the file icon for the CD image file to the window.
If there are not enough old machines to use as clients, or the space saving convenience of LCD monitors and ultra-low-power clients is desired, one can shop in a very competitive market. Chip maker VIA Technologies, Inc. makes a family of CPUs that serve very well as thin clients and use so little power they don’t need fans. If you are adventurous, you may purchase a mini-motherboard with an Epia CPU installed. The low powered versions need no fans and the motherboard is 17cm X 17cm and can fit into a tiny case that bolts to the back of an LCD monitor. Such motherboards are available for about CAD$110 CAD. A power supply that converts 12V DC or 110V AC to ATX costs about CAD$50 for the fanless kind. You can put this in a cheap case for less than CAD$50 and add CAD$30 of RAM and you get a client costing CAD$240 plus a monitor, keyboard, mouse and fifteen minutes of your time. This will save you about CAD$150 from the price of a complete thin client. Still, an old used machine may be bought for less than CAD$100.
Installing Edubuntu on the server
To install Edubuntu, obtain a CD by download. Burn the file appropriate to your hardware to a 700MB CD.
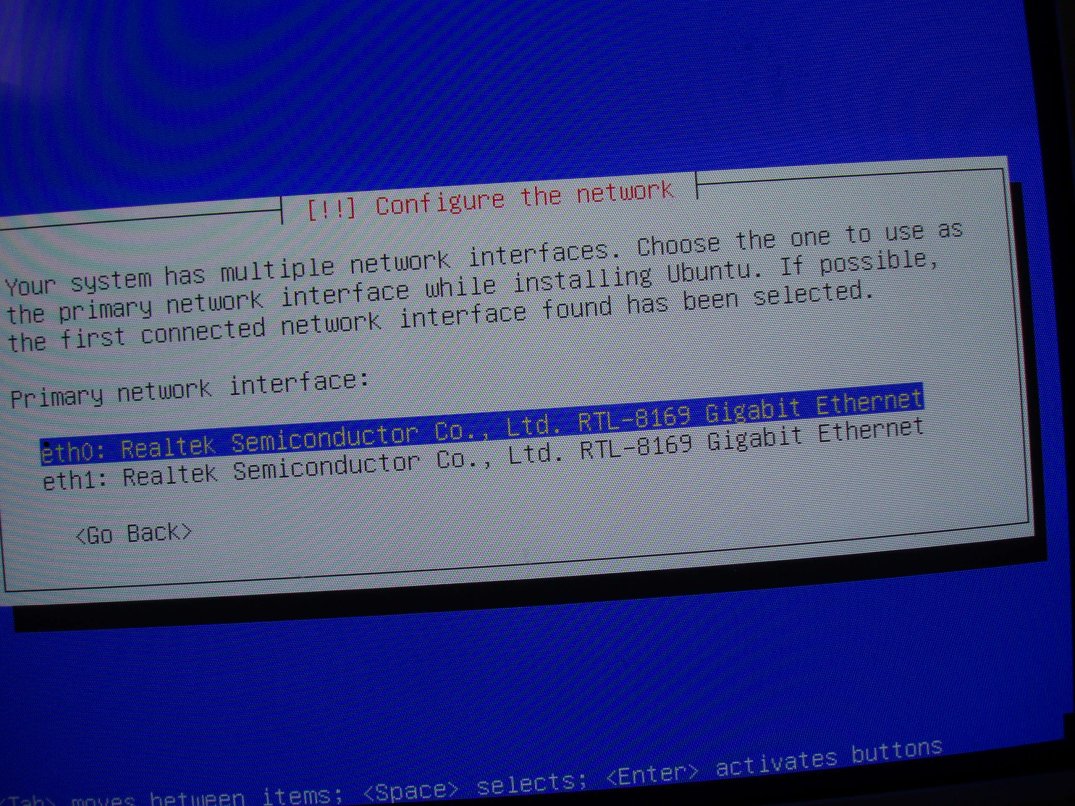
Edubuntu installs all of the software with only a few questions relating to LTSP:
- Primary network interface:
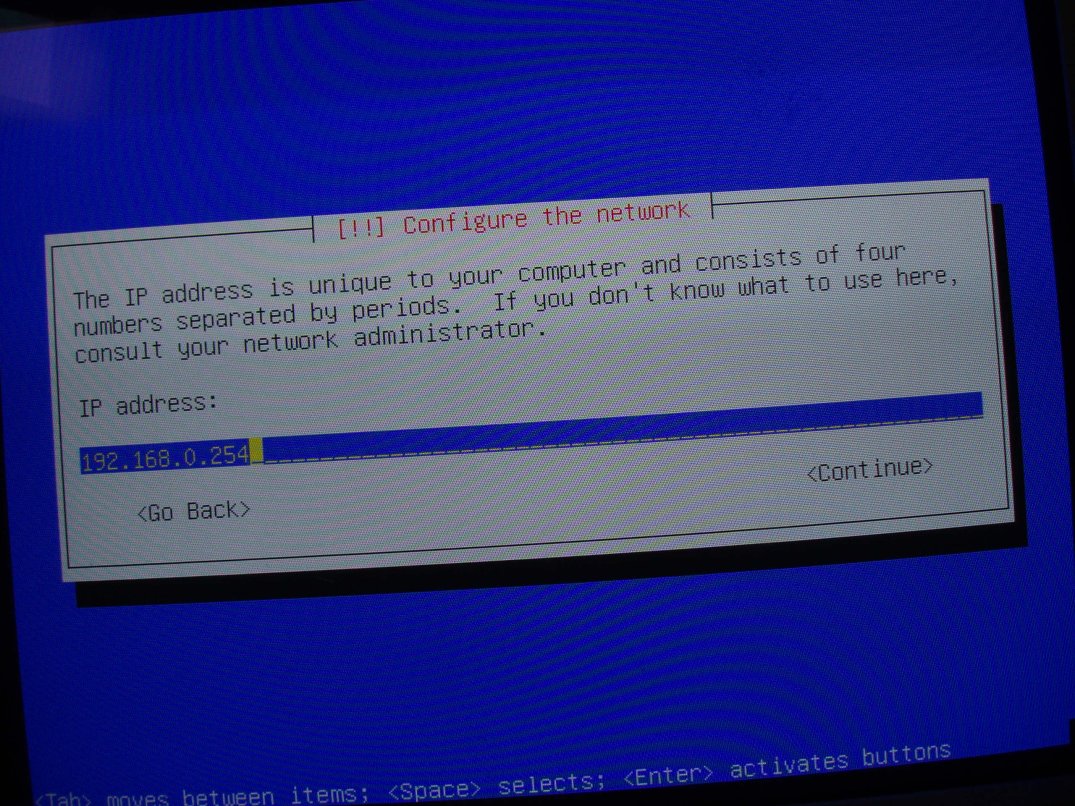
eth0oreth1? Usuallyeth1will be on the motherboard andeth0in the expansion slots. - What is the IP address? Use something in 192.168.0.x and you get good defaults with no editing required. Typically, choose 192.168.0.254 or 192.168.0.1, to leave lots of space for printers, clients and so on
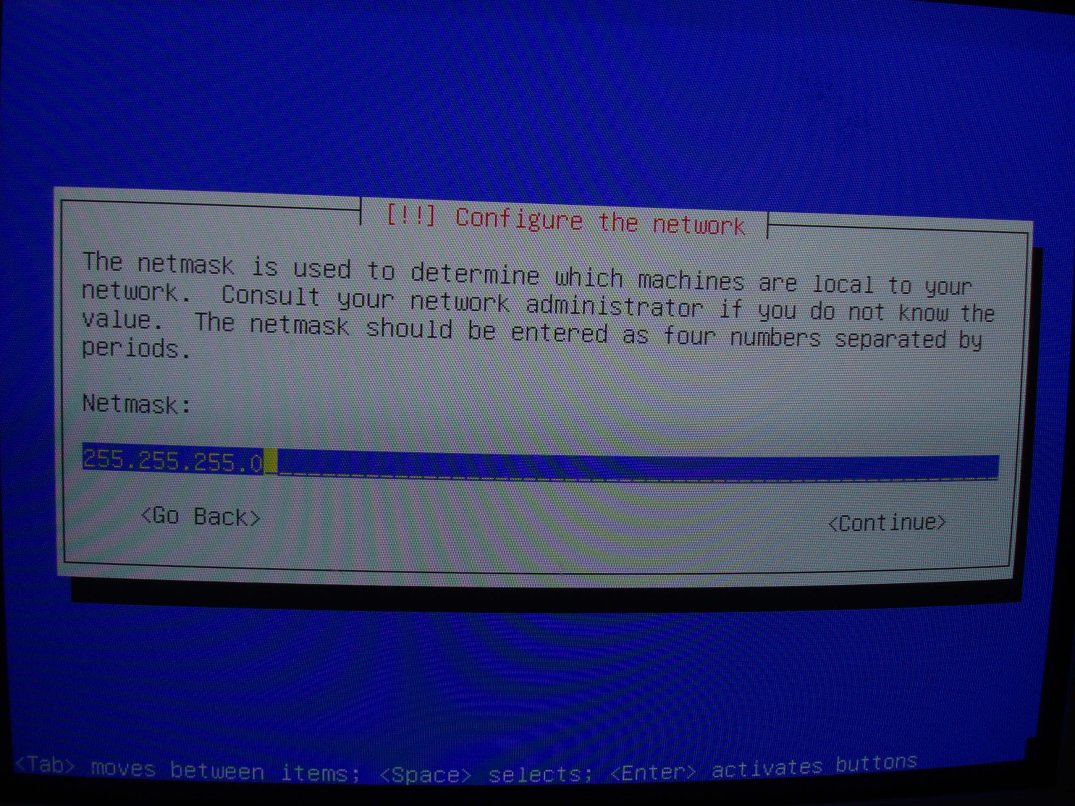
- What is the netmask? Use 255.255.255.0
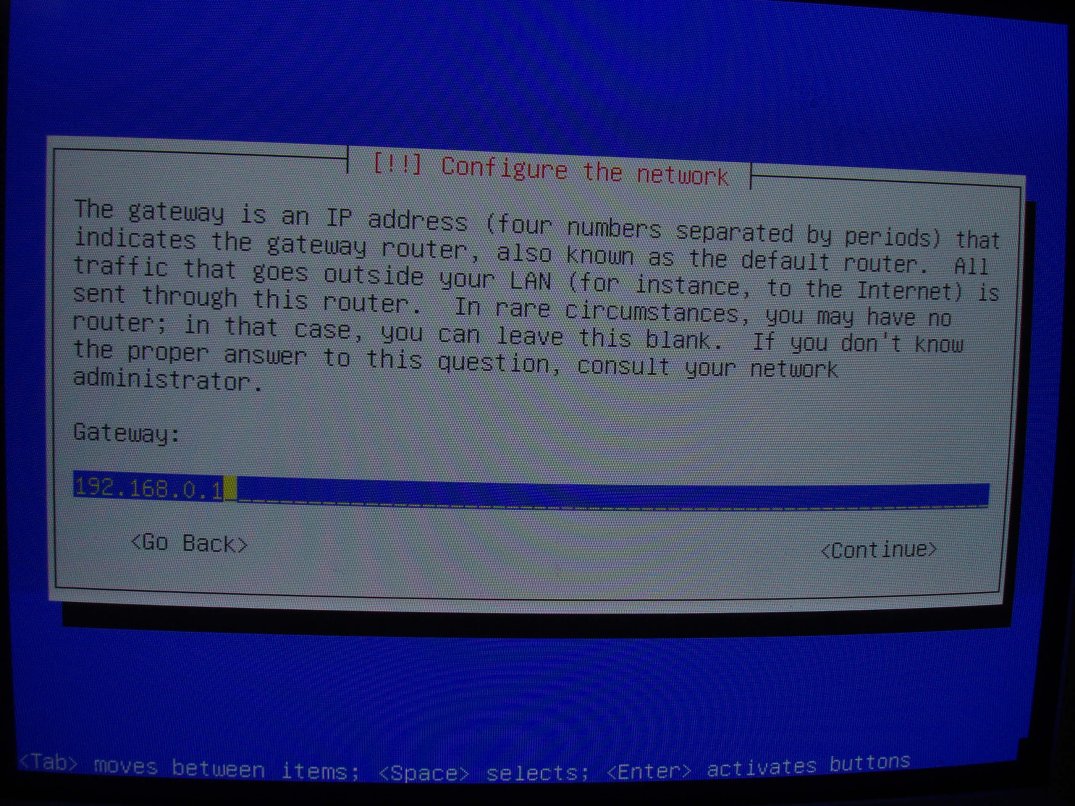
- What is the gateway? Leave blank or use IP address of gateway to the WWW
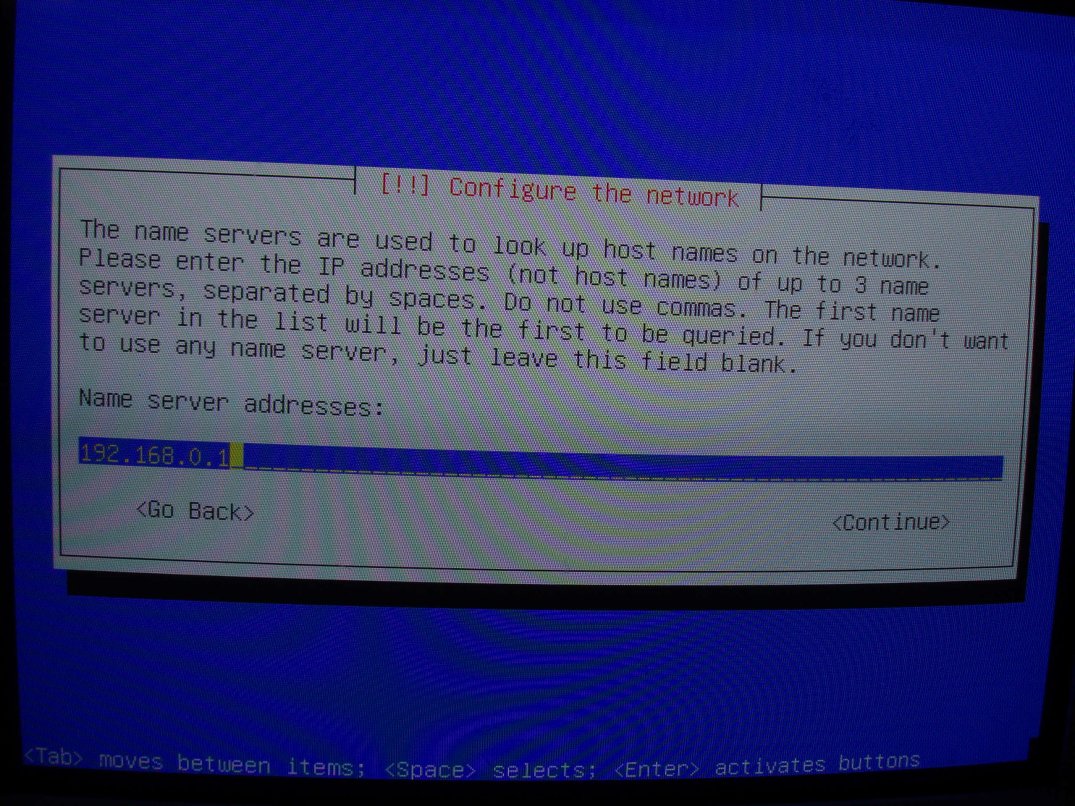
- Name server address? I usually install my own name server, but a novice should use the one for WWW connections or leave this blank
To set up the other NIC for WWW access, do so from the GUI once you log in. Since the clients run on the server, they will have internet access. One complication for this is that the DHCP (Dynamic Host Configuration Protocol) server, which you are setting up to serve your private LAN, needs to be told to ignore DHCP requests on the eth1 interface. The default behaviour is to listen on all interfaces. To change this, edit as root /etc/default/dhcp using the command: sudo gedit /etc/default/dhcp. Add these lines:
# On what interfaces should the DHCP server (dhcpd) serve DHCP requests?
# Separate multiple interfaces with spaces, e.g. "eth0 eth1"
INTERFACES="eth0"
You will then need to restart the DHCP server with the command: sudo /etc/init.d/dhcp restart.
Your private LAN will likely need several connections to eth0. Typically, this is done by connecting eth0 to a network switch. I recommend that eth0 be connected to a gigabit per second port, if your switch has one. That way, the server can send data for several clients to the switch and the switch gives the data to the clients at their rates. This is mostly important for booting or animation. If a group walks in and everyone boots, you may save many seconds by using this gigabit connection. For a NIC on the PCI bus, 1Gbps uses most of the capacity of the bus for short bursts, so avoid putting many other extensions on the PCI bus with your gigabit NIC. Many motherboards have a gigabit NIC (likely, eth1) built-in and connected to a bus other than the PCI bus. Check your manual to be sure. A big advantage of the 64 bit motherboards is that the NIC on the motherboard, the IDE and SATA drives may all do transfers at once. On most 32 bit boards, someone will have to wait because the PCI bus has a much smaller bandwidth.
Managed switches with two gigabit ports and 24 10/100 automatic ports such as ASUS GIGAX1024P are quite inexpensive. For a classroom, an eight port switch will do.
Bandwidth problems are unlikely if the gigabit connection is used. The typical cable subscriber can stream pretty well and this is hundreds of times the bandwidth from the server and ten times the bandwidth from the switch. With this arrangement many users all feel they have complete control of the server. It is magical the first time you see it. The plain X protocol used to connect the screen of the user to the server does some unnecessary chattering. So setups with lots of activity may benefit from compression and redundancy removal with the NX protocol. Free software for NX has become available and it’s still developing rapidly. The 64 bit version may be available in 2006.
Conclusion
Anyone can set up a Linux Terminal Server on a good machine in under an hour with Edubuntu and connect it to a private LAN with a bunch of clients. Given sufficient resources on the server, this is a very cost effective solution for a home, classroom, computer lab, and offices of small to medium size. A large organization will have to choose between a very expensive hot server or a cluster of lesser machines sharing the load. The latter is almost certainly less expensive to purchase, but may require somewhat more maintenance.
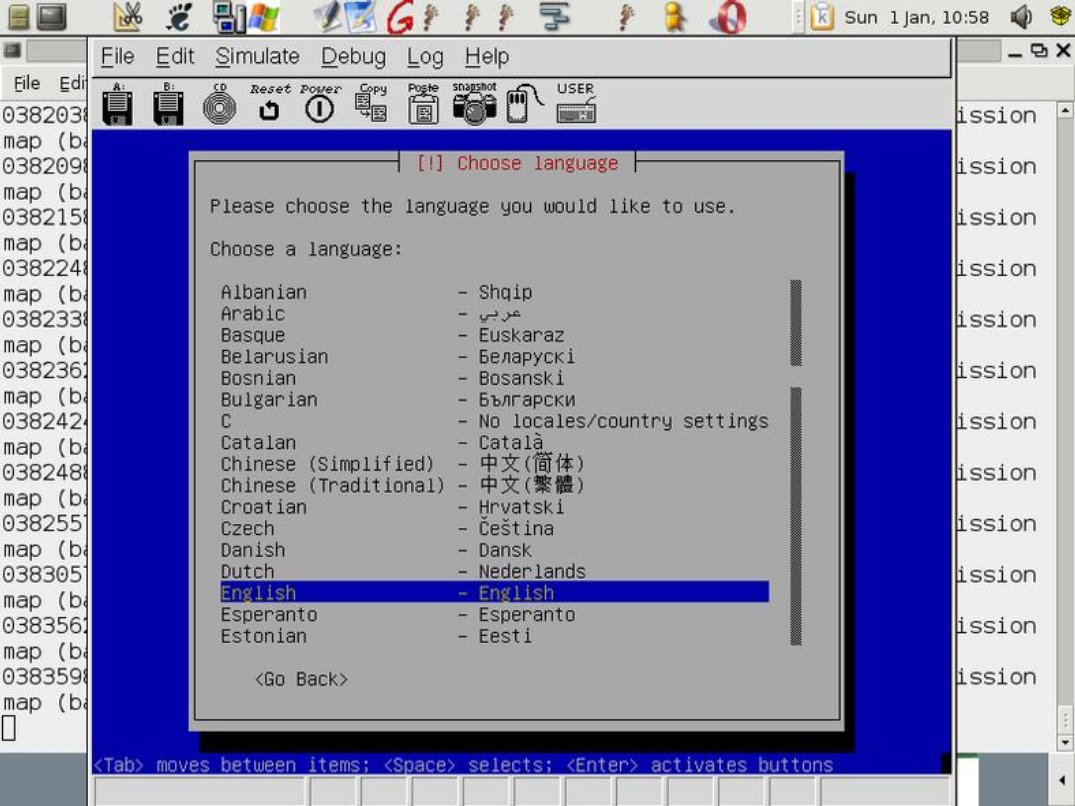
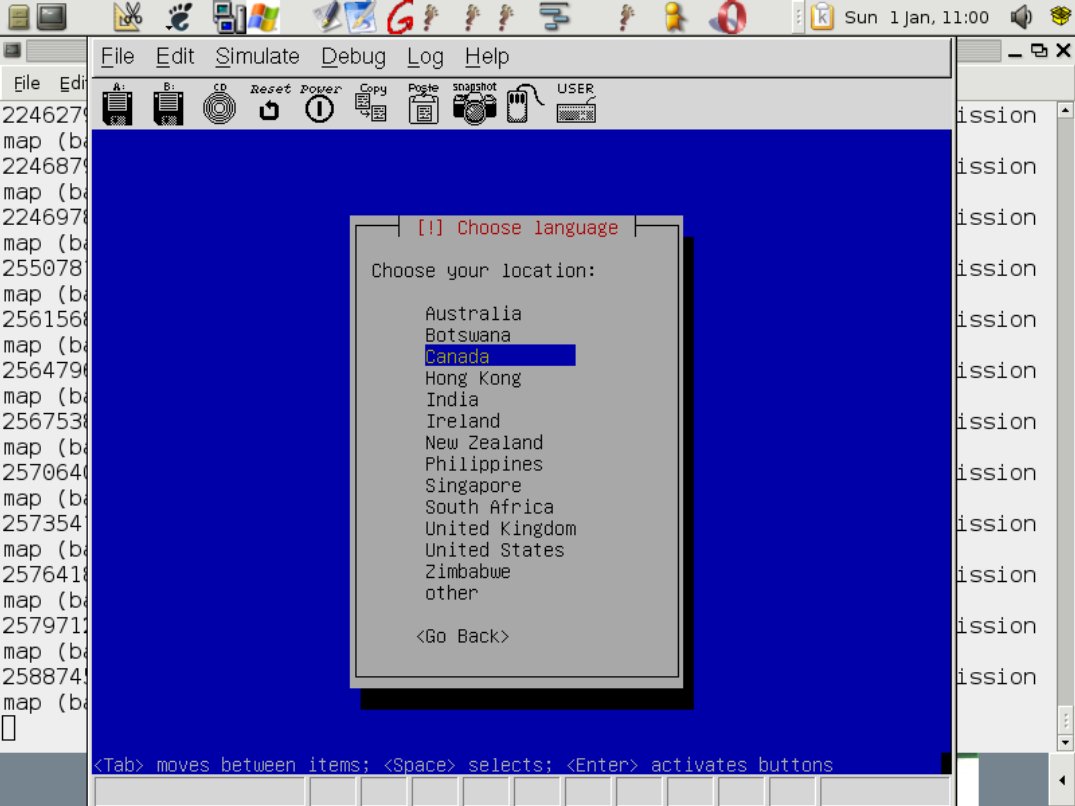
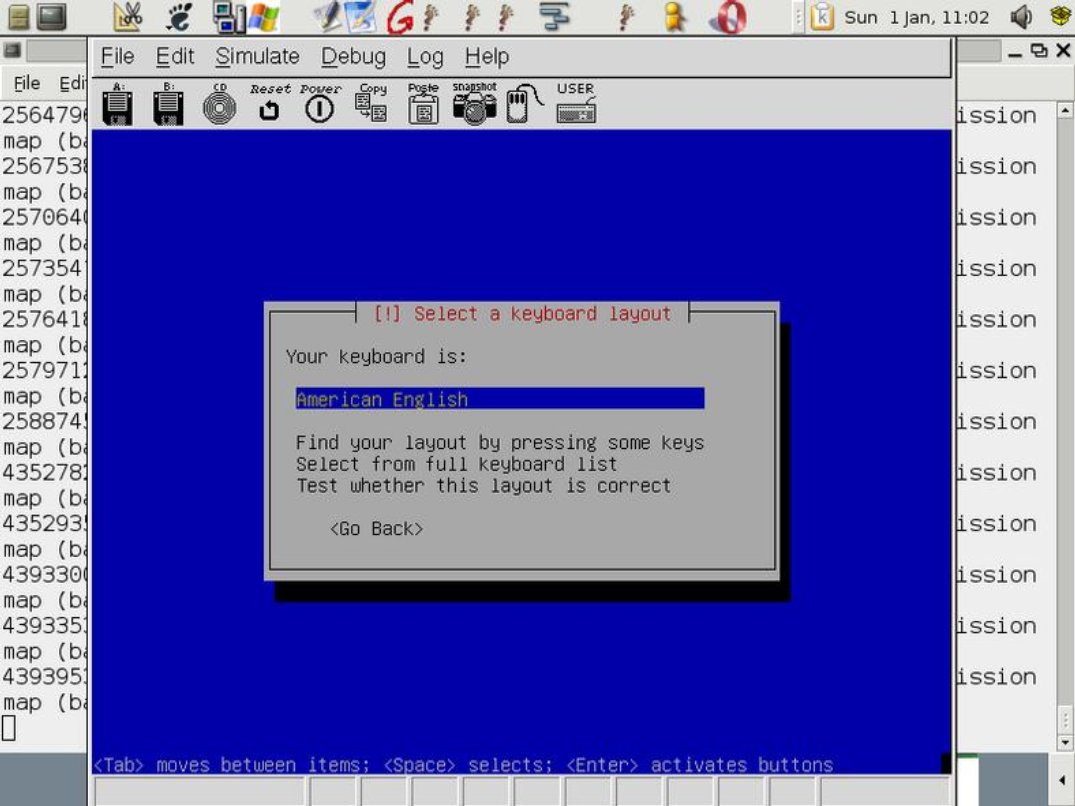
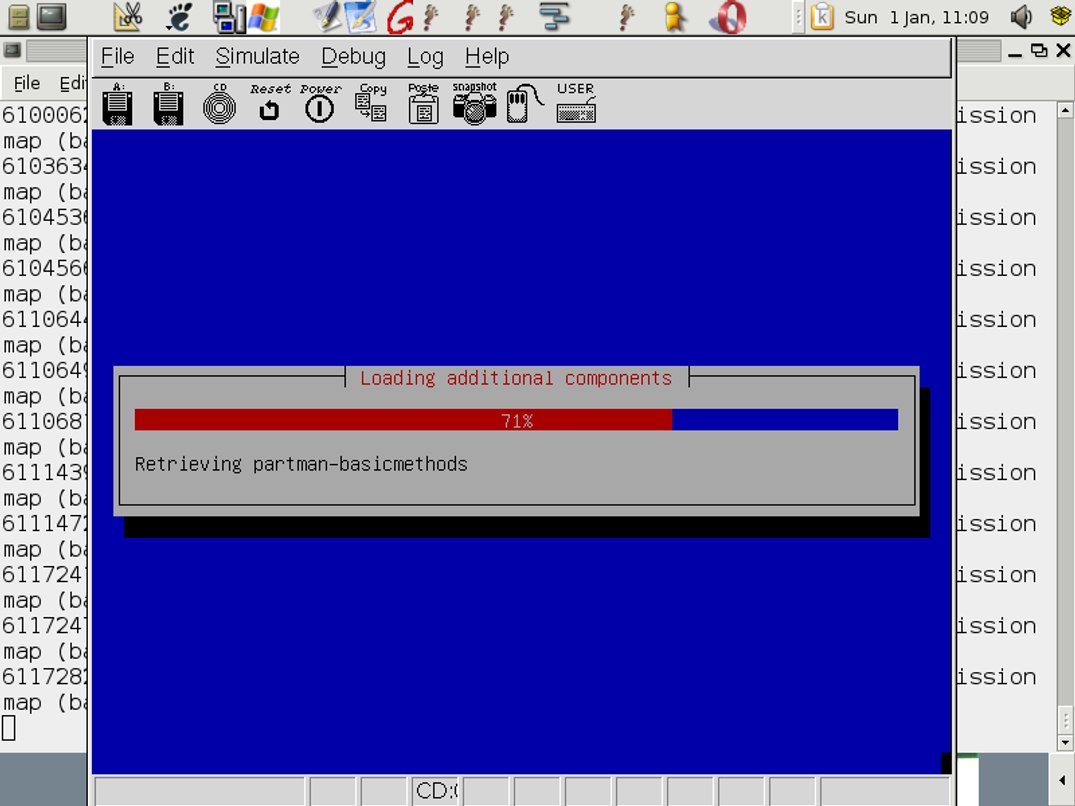
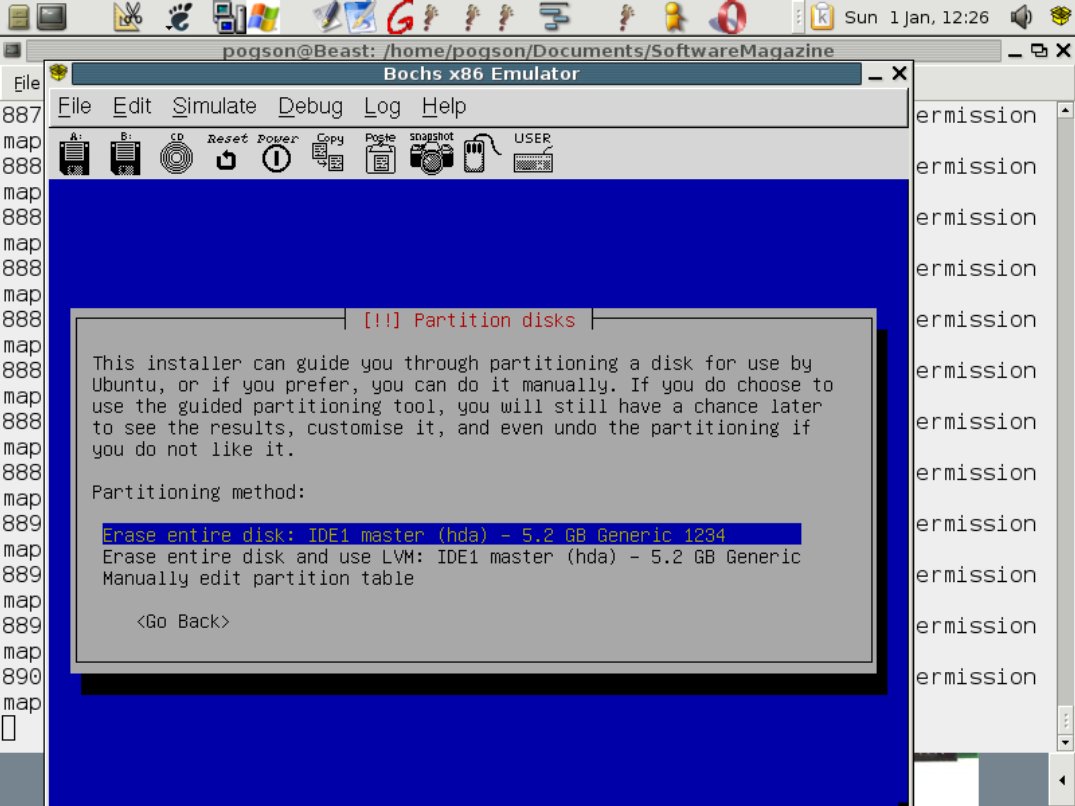
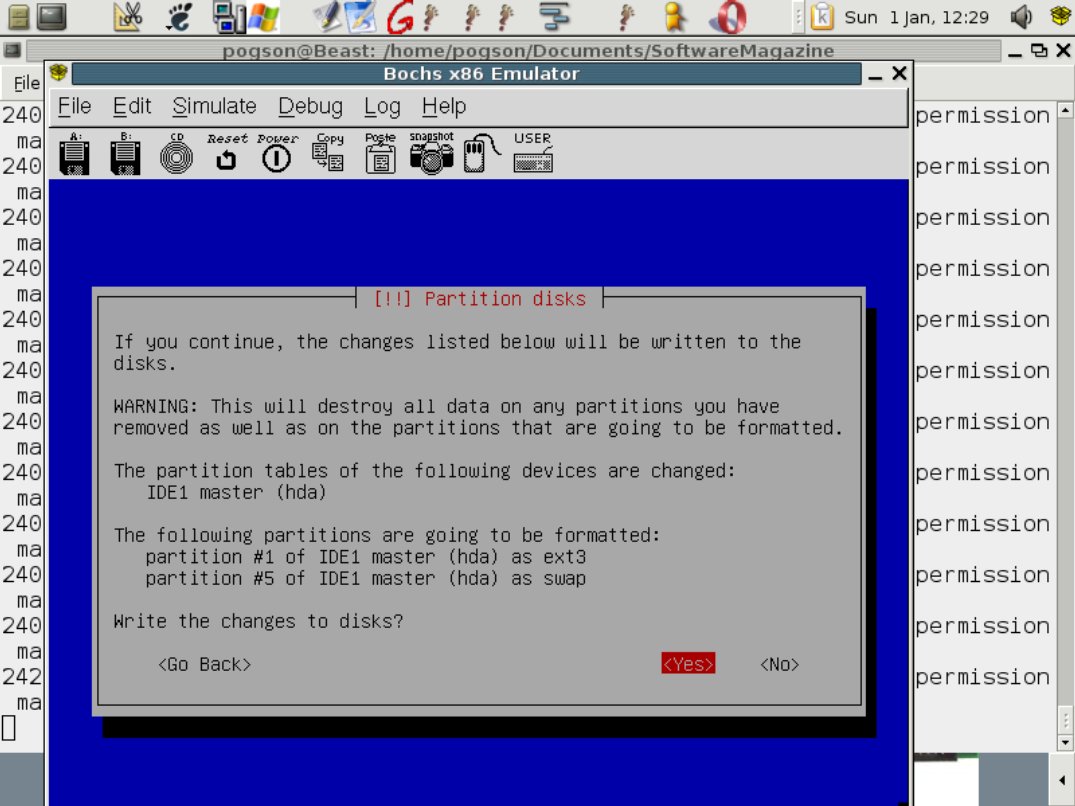
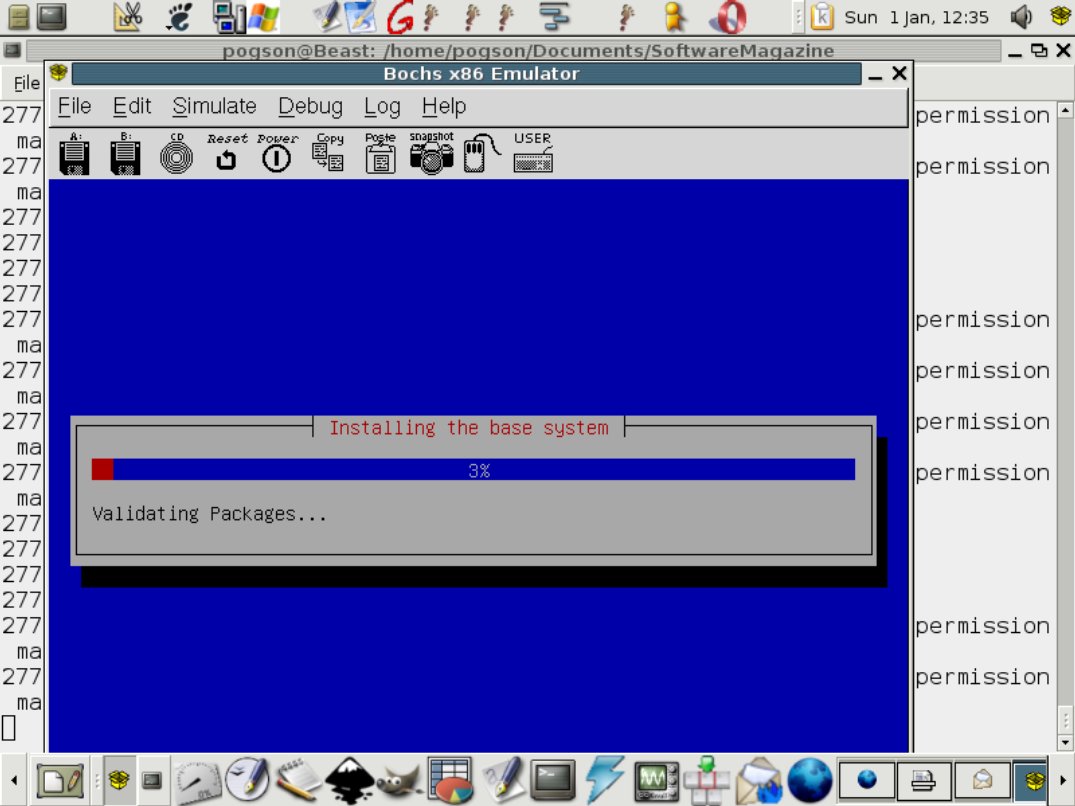
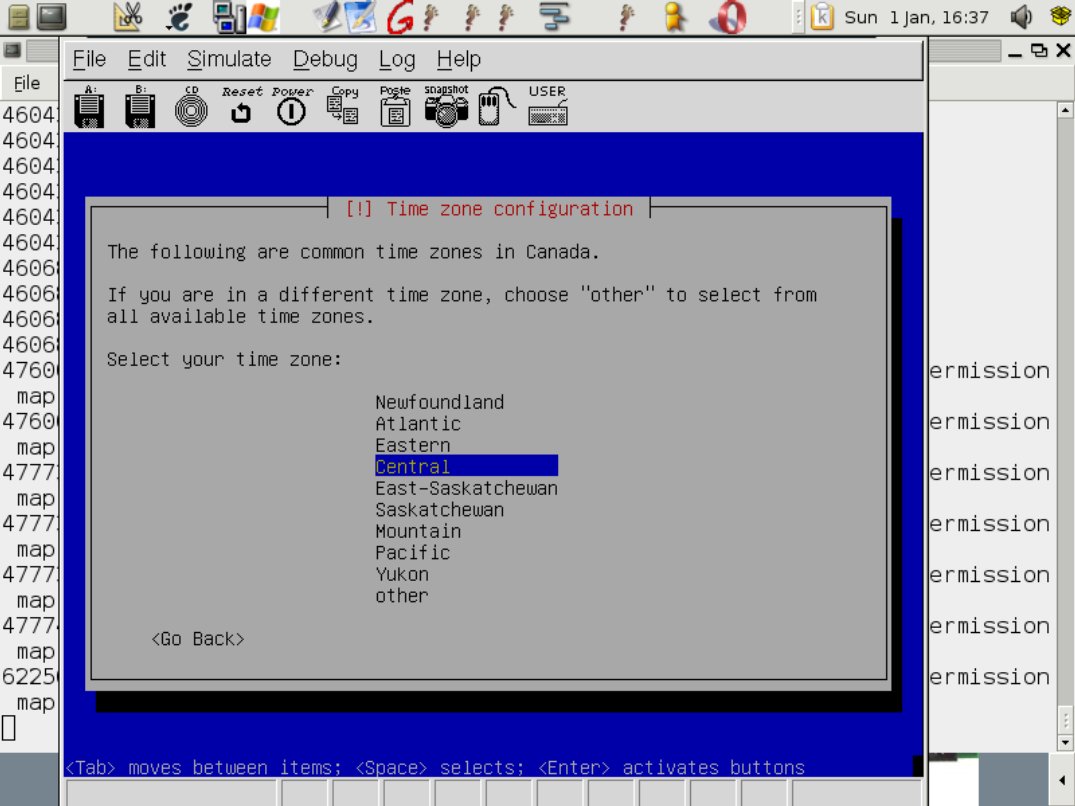
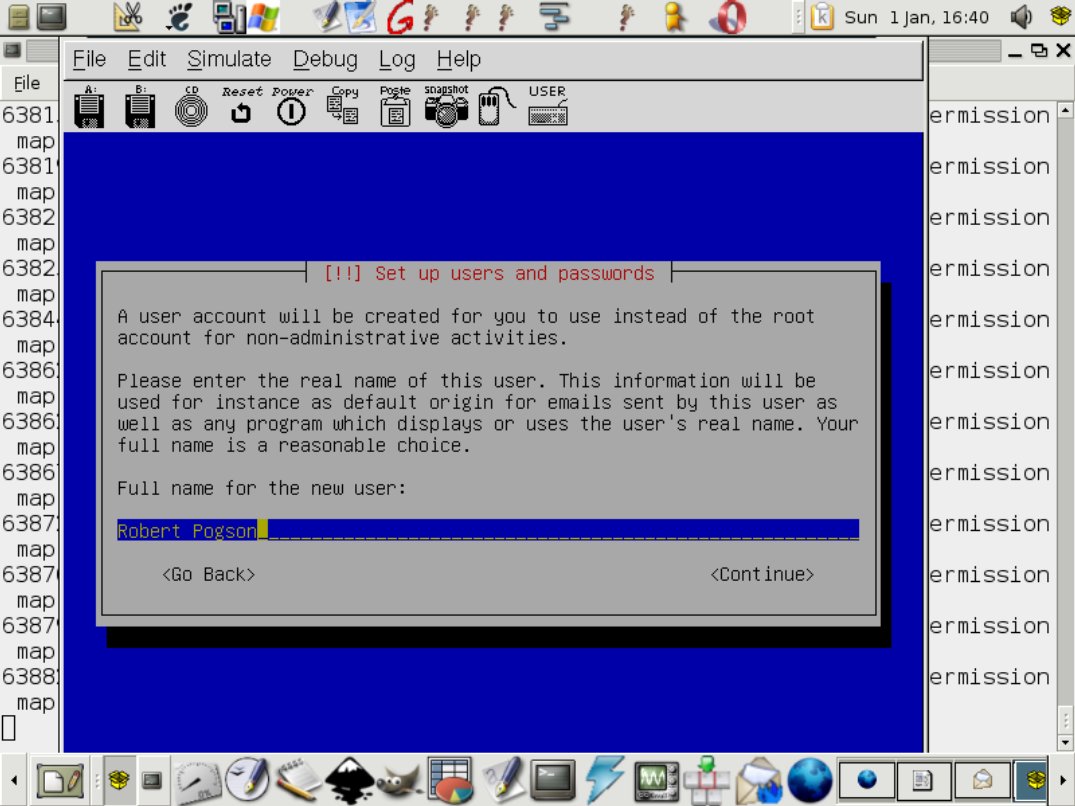
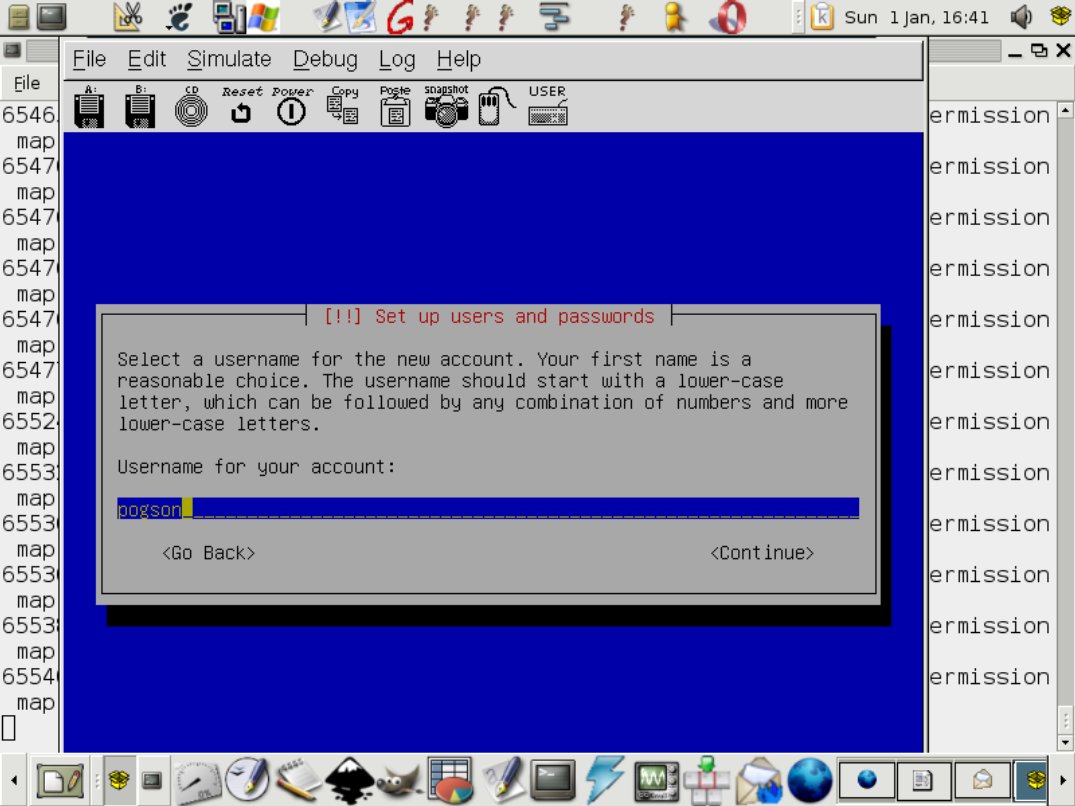
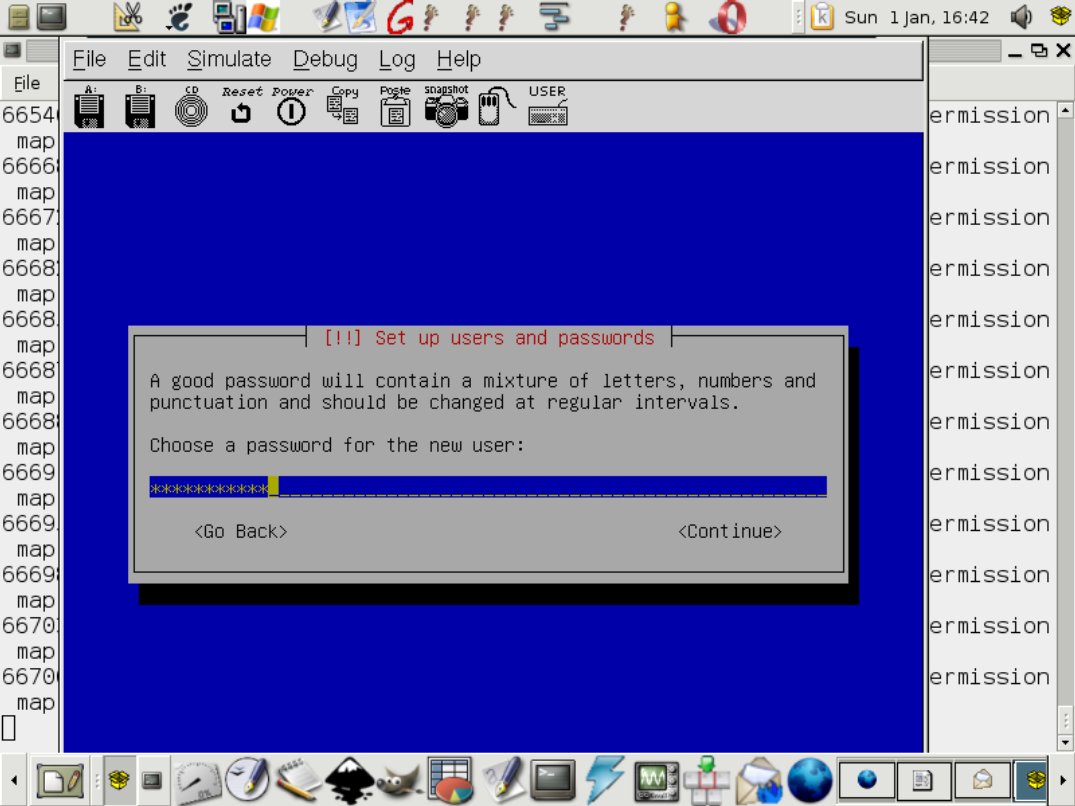
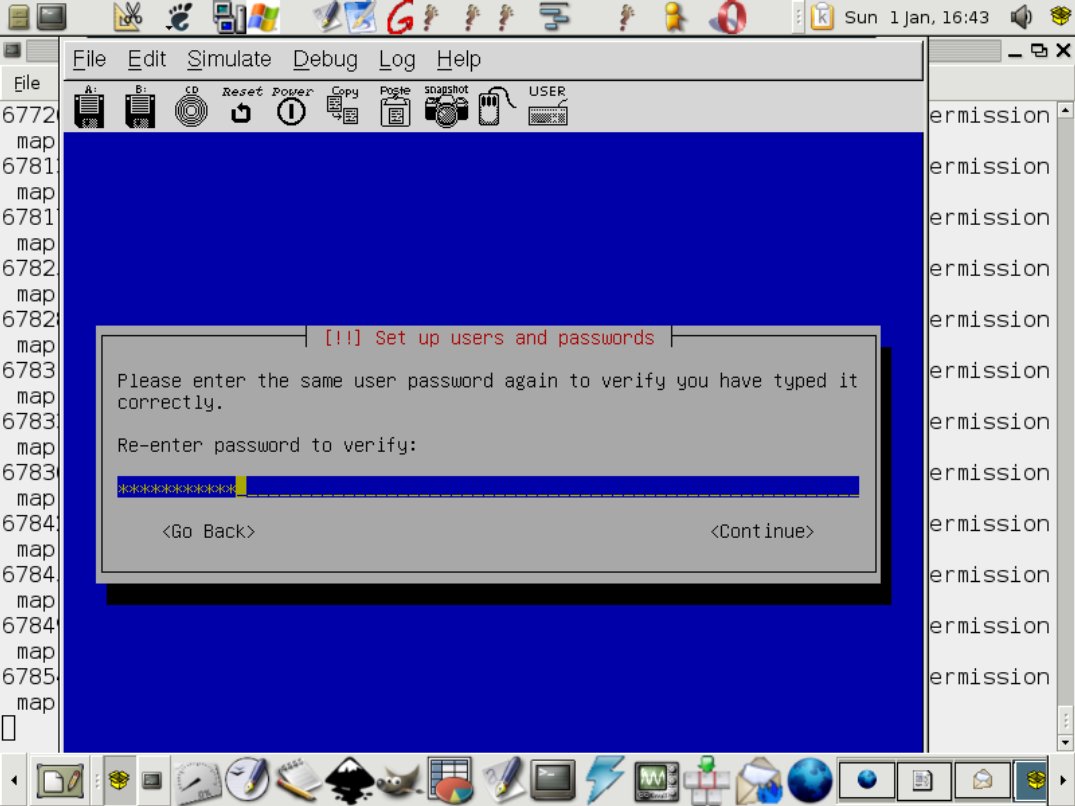
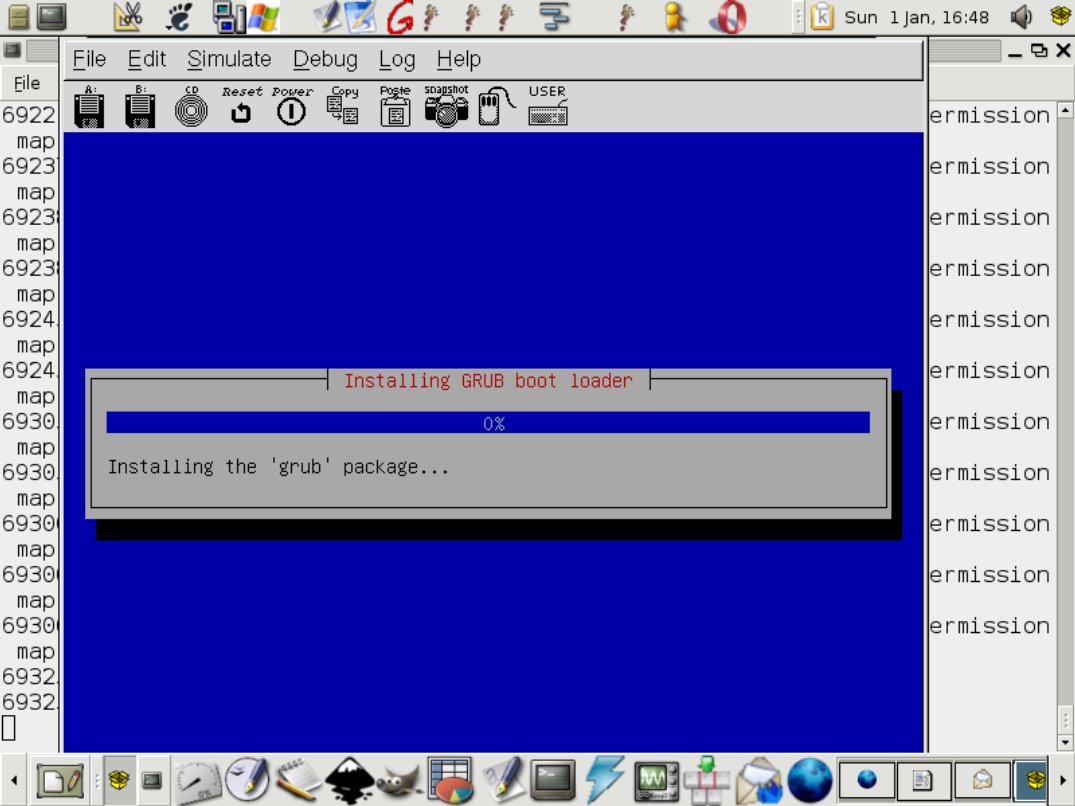
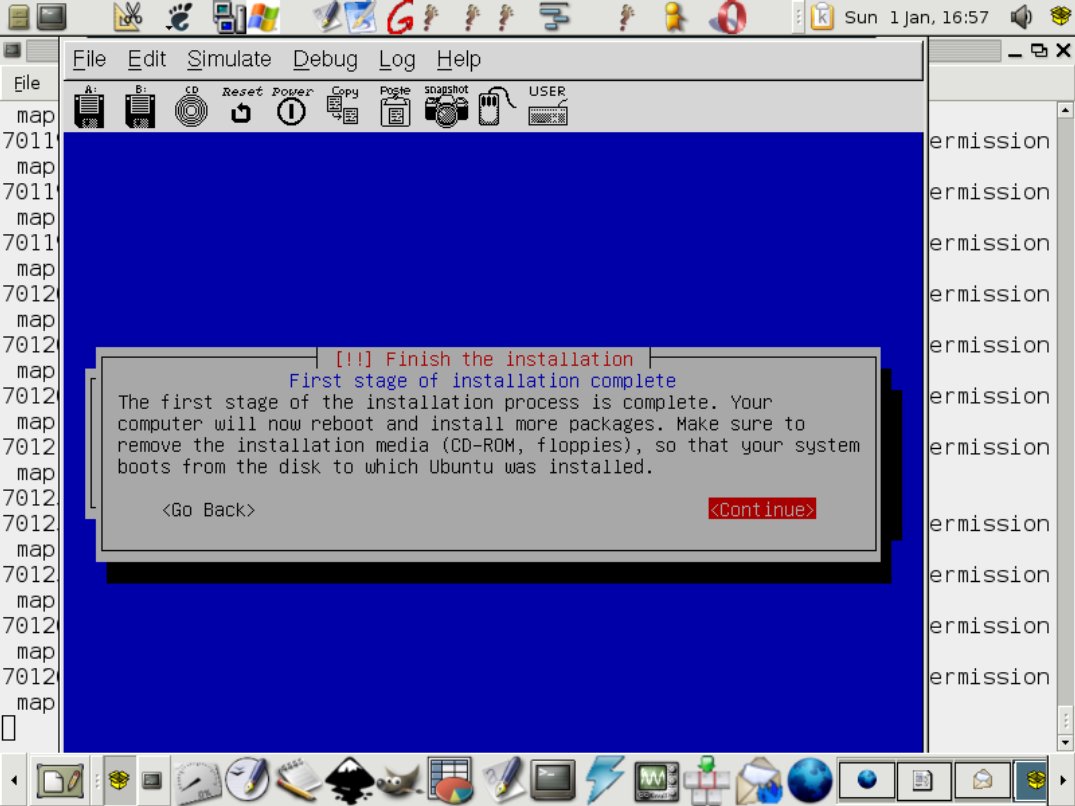
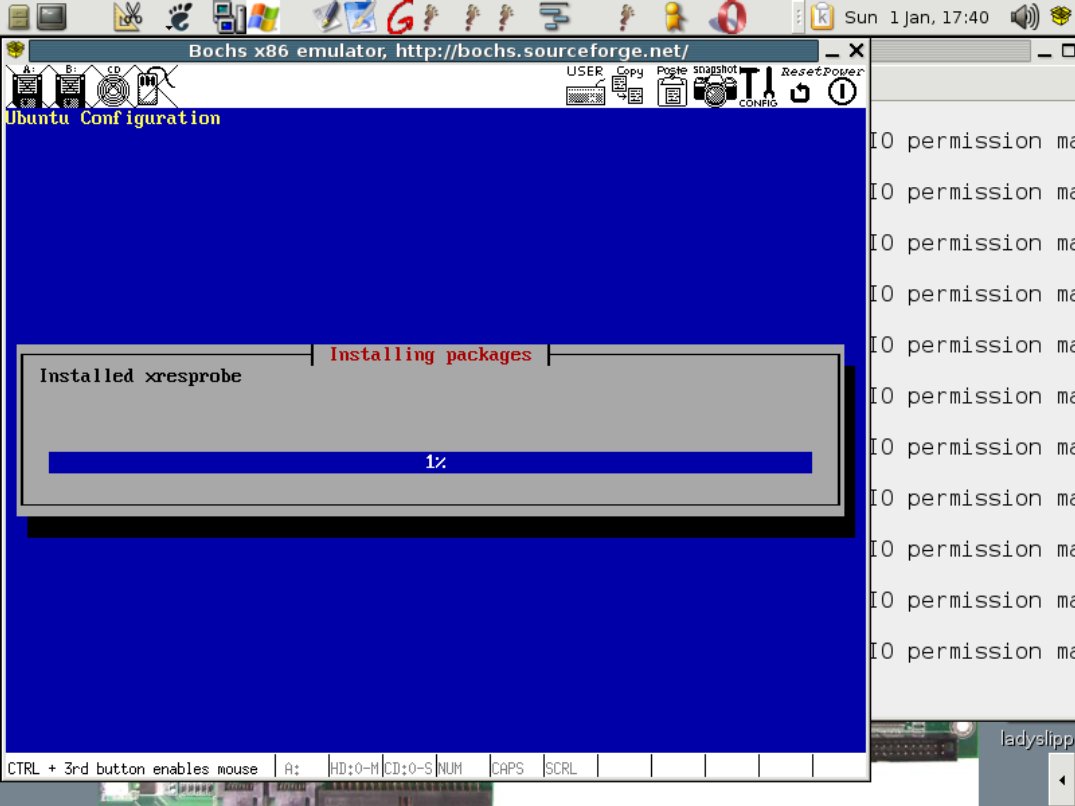
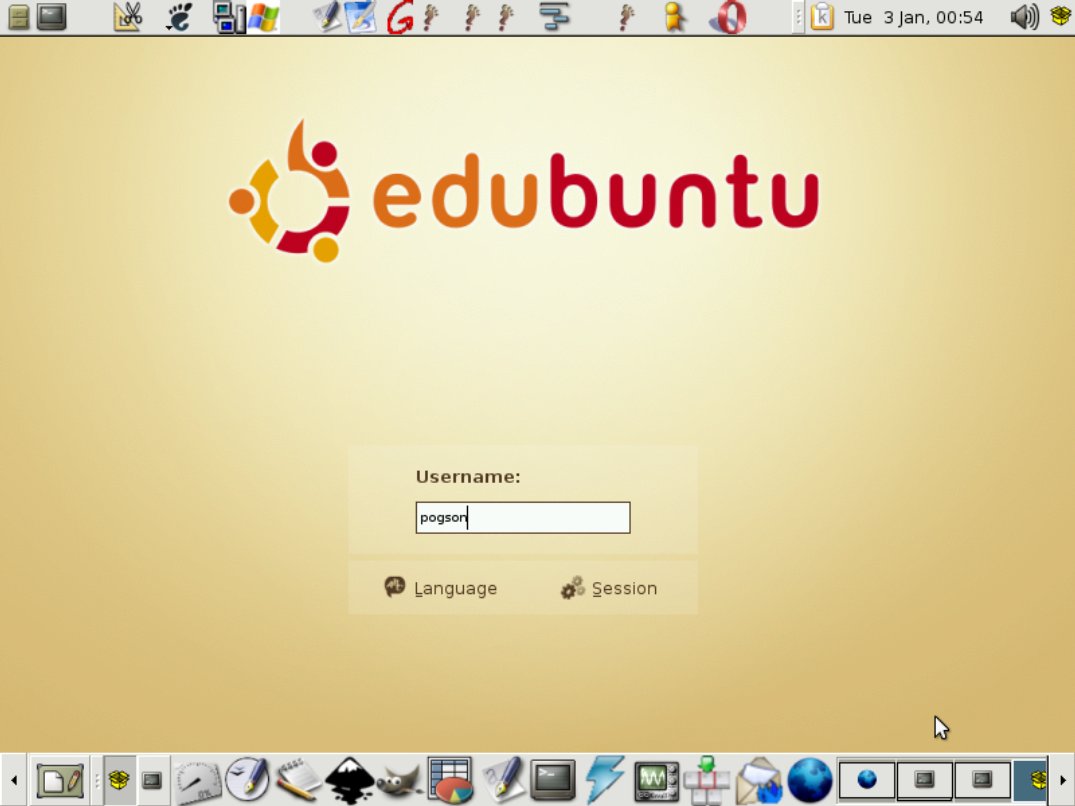
Images of the installation of Edubuntu default
These images were screenshot captures made during the installation simulated by the Bocks emulator.

Further information
- Skolelinux—A massive book for a Norwegian distro
- The Edubuntu Cookbook
- The Linux Terminal Server Project—Original LTSP material adapted by Edubuntu and K12LTSP
- The K-12Linux Project—All about LTSP in schools
- PXE documentation—All about PXE
- ROM-o-matic—A dynamic site for generating boot floppies/CDs/ROMs using EtherBoot
- The EtherBoot Project—A system for generating the boot loaders if needed.