Have you been planning on getting around to learning how to use the GIMP someday? Well now that the GIMP has had its tenth anniversary, it’s about time to start. In this article, I will walk you step by step through the process of making a web banner using the GIMP. Hopefully this kickstart will encourage you to do more playing on your own.
Long regarded as one of free software’s “killer apps”, the GNU Image Manipulation Program (GIMP) is a tool that has amassed a large number of users and is one of the most popular free software applications today. The different versions of GIMP vary slightly in the way they are laid out. For this tutorial, I have used version 2.2.10 the most current stable version at the time that I am writing this article. The best way to learn from this tutorial is to open GIMP up and follow along as I explain how to make a web banner. It’s virtually painless, so take a seat and let’s begin.
Opening GIMP
GIMP saves the status of your open windows, so starting the program can sometimes cause a dizzying cascade of windows to open that can be quite overwhelming to the new user. The only window that you absolutely need to have open to begin is the tool window.
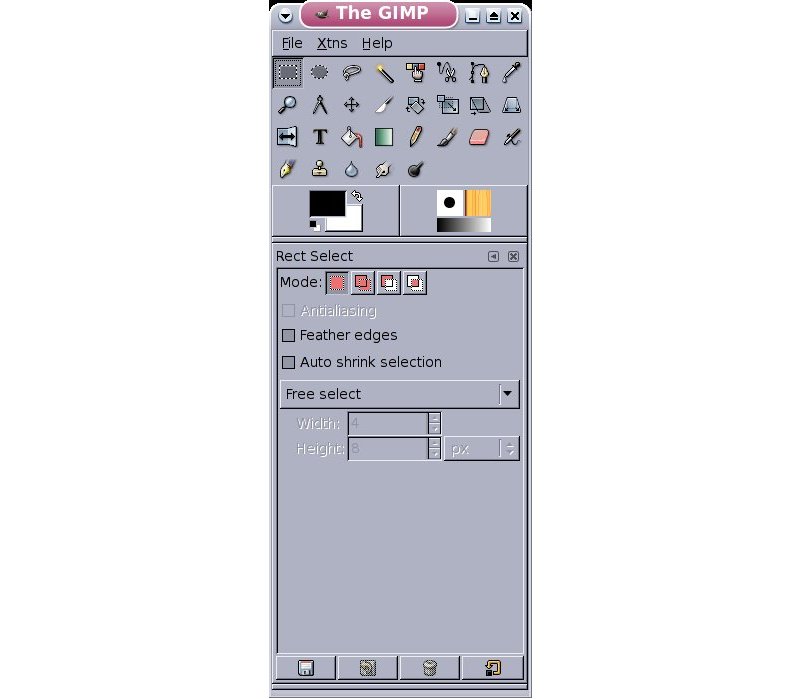
It is the small window containing all of the icons. It is titled “The GIMP”. To start, close all other windows until you need them.
The only window that you absolutely need to have open to begin is the tool window
Now that we are alone with the main GIMP window, let's take a look at it shall we? It has three menu items: File, Xtns, and Help.
The File menu has your basic Open and New options as well as something called Acquire. If you have a scanner, you can configure GIMP to work with it, and your scanner interface will be found here. Acquire also has an option called screen shot which will allow you to grab an image of a window.
Xtns has plugins and scripts for advanced users. Ignore it for now. Help is very useful for new users, so take some time to see what the options do later. Now we will return to the main part of the tool window.
The major part of the tool window is taken up by several little icons. If you hold the mouse over each icon, text will pop up explaining what it does.
The bottom of the window shows the tool options. This will change as each tool is selected above. The tools can be changed to do many things allowing you a great deal of freedom.
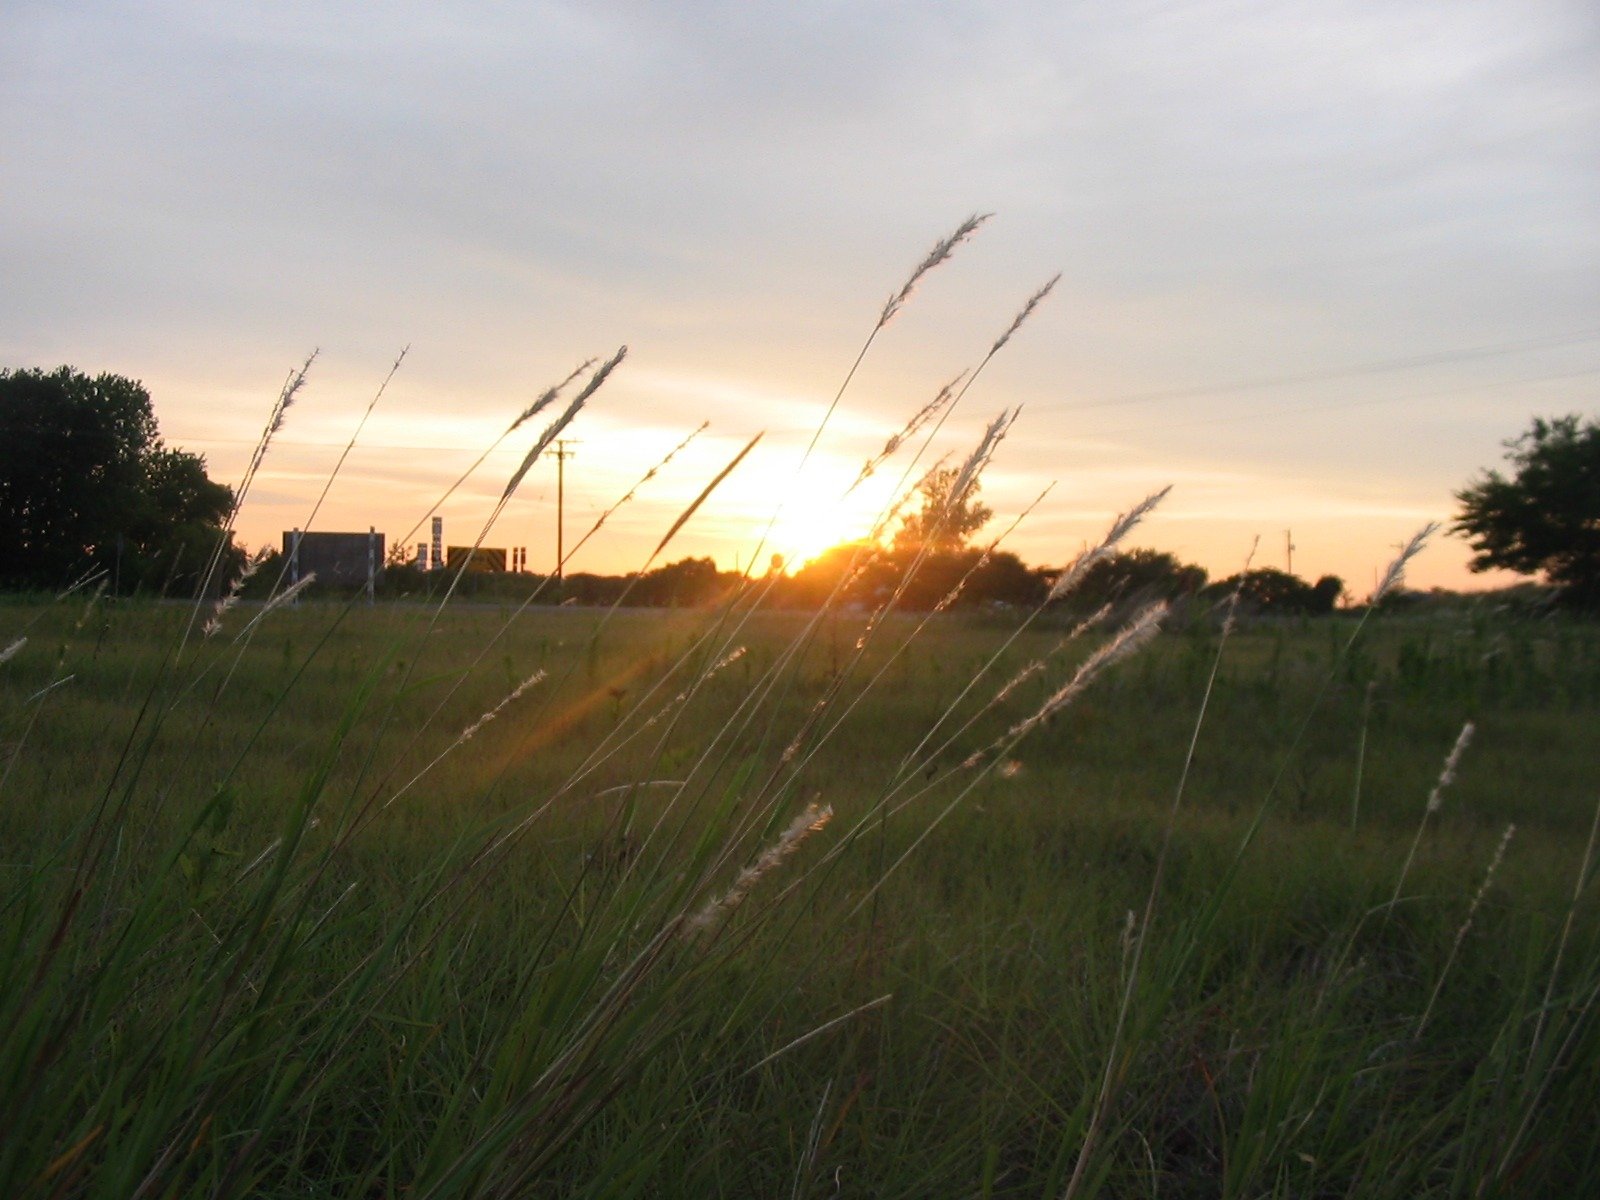
Since GIMP is an image processing program it is best to begin with an image. Select the file menu and open an image file. I started with a digital photograph that I took named sunset1.jpg. I suggest that you simply open an image currently on your computer to practice with.
I want to use this image to make a web banner to put on a new webpage called “My nature page”. The size and shape of this image is wrong for a web banner, so I first need to cut down the image. To do this, I use the crop tool.

The crop tool is the one that looks like a little craft knife. When you select the tool the cursor changes. Make a box by holding down the left mouse button and pulling it across diagonally from the top to the bottom. Select the most important part of the image. Your selection will be highlighted.
Once you have drawn the box, you can adjust the size by selecting one of the dark squares on the corners and moving it while holding down the left mouse button. The size in pixels is displayed in the crop/resize tool window that pops up when you use this tool. You can change the units to inches or whatever you like best by selecting the little px next to the number.
To specify a size, grab a corner of the selection and move it slowly while looking at the tool window. I resized my image to have a width of 1600 and a height of 500. When you are satisfied with the selection, hit the crop button.
Once you crop the image, all of the rest of the image is gone! If you really didn’t want to erase the rest of the image? Don’t panic. Click the right mouse button over the image screen and a menu will pop up. Go to edit, and the top menu item says “undo crop image”.
GIMP has a long undo buffer and you can go back several steps if you need to. However,the best way to make sure that you don’t destroy the original image is to save your new image under a different name.
GIMP has a long undo buffer and you can go back several steps if you need to
Right-click on the image to open the menu, then under the File menu choose “Save as...” to save the image with a new file name. I saved my cropped file as sunset1banner.jpg.
Redundant menus
There’s more than one way to get to the menus in GIMP.
For example, you can merge layers by right-clicking on the layers dialog box and selecting Merge Visible Layers..., you can right-click on the image and select the Layer option which has Merge Down as an sub-option, you can use the Layer menu found on the top of the image window, or you can use the keyboard combination Control + M.
You can save a file using the menus on top of the window, or by right-clicking and using the Save as... option in the File submenu found there. The main GIMP window won’t have a save button, because you must save each window separately.
In this tutorial, I tend to get to the menus by clicking the right mouse button over a window; however,you can also use the File menu on the top of the window. There are also keyboard combinations that do specific functions such as control-z for undo. To learn more about these combinations, look at the online GIMP manual.
GIMP almost always gives you options after you press Save. You have lots of control over the quality of the saved image. Take the defaults for now, as you understand more, you may want to change the settings.
We now have a long, banner-shaped image, but you can’t easily read text over a very colorful image, so we need to lower the contrast a bit. This can be done using layers.
Using layers
A layer is a separate level of the same image. In GIMP you can put different images on different layers, just as in old cell animation, where images were painted onto layers of clear plastic over a paper background.
To begin, open the layers dialog box. To do that, go to the tool window and select: File/Dialogs/Layers. The layers dialog box will pop up somewhere on the screen. Move it so that you can easily see it. I usually like to stretch the window a bit to make it longer.
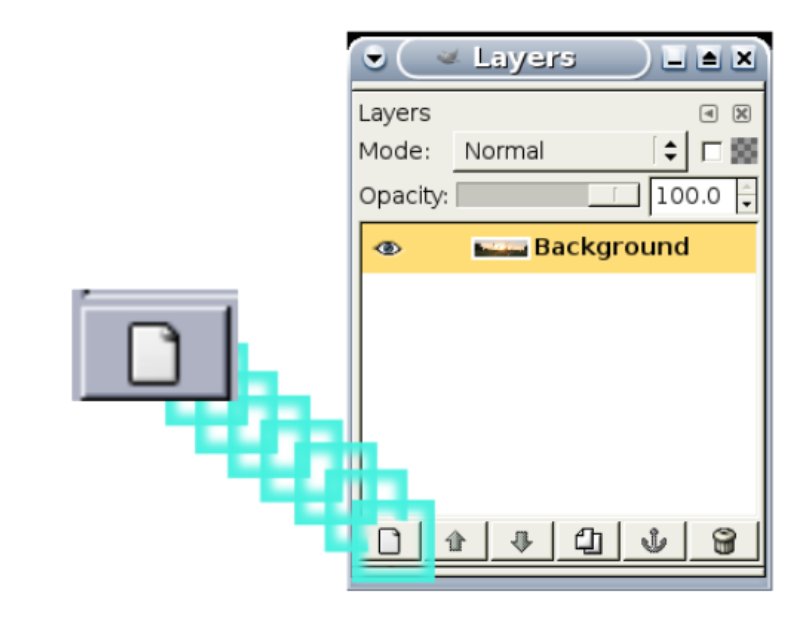
The layers dialog box currently shows one layer marked “background”. It shows a thumbnail of my image. To add another layer on top of this one, we click the new layer button. Look on the bottom of the layers menu. There are some icons. The left-most icon looks like one piece of paper. Clicking on that icon creates a new layer.
First, a window will pop up asking you details about the new layer. You can change the name of the layer, but for now just use the default name “New Layer”. You have the option of making the image white or transparent. Choose white.
Click OK and your original image will turn white. No the image is not gone. It is just as if we placed a nice white sheet of paper on top of it.
Look at the layers dialog box. There are now two layers shown. A white layer on top called “New Layer”, and the background, our original layer. To the left of each is an eye. This shows the visibility of the layer. Go to the eye next to the New Layer, click on it, and the original image will reappear. The eye toggles the visibility of the layer.
Please notice that New layer is still selected in the layers menu. If you make changes to the image now, you will only be making changes to the selected layer whether you can see the changes or not.
Now click the place where the eye was on the layers menu, and turn visibility back on for the New Layer. The screen will appear white again.
The goal is to subtly introduce the impression of the picture beneath onto the white layer above. We can do that by using the opacity button that you can find on the layer’s dialog box.
Make sure that New Layer is selected, and hold down the left mouse button over the opacity slider. Slide it to the left and you will begin to see the opacity change. You can now see the background image through the white layer.
To my eye the image looked best at 69.9% so I stopped at that opacity, and tried to save the image. The program would not let me save. It gave me the error “jpg can’t handle transparency, flatten image”.
You may ask, “Isn’t the image that I am working on now a jpg?”. The simple answer is no. GIMP requires a special format to save all of this complex information. The default image format for GIMP is XCF, and if you want to save all of your layers as they are for later, then you must save the file in XCF format. We can do that now by selecting File/Save as... and change the last part of the filename to .xcf instead of .jpg. In the lower left hand corner of the save image box there is a line that says “Select file type (by extension)”. This means it reads the letters after the dot to determine how to save the file. Only XCF files save directly. Every other type must be exported by the program.
Isn’t the image that I am working on now a jpg? The simple answer is no. The default image format for GIMP is XCF.
Exporting to jpg
So now we know how to save the file in XCF format, but what you probably wanted to save was a jpeg file. You are probably wondering, “How do I save what I am seeing as a jpeg so that I can show it on my website?”.
To do that we must make one image out of the layered image. We also must remove any transparency. In order to combine the two images into one, go to the layers menu and right-click over the image thumbnails. A menu will pop up. Select “merge down” and the two layers will be combined into one layer. This image still may contain transparency data, so you have to flatten the image. right-click in the layers menu, and select Flatten Image found at the bottom of the menu. Now you can save this file as a jpeg.
To save, go to the image window and select File/Save as.... Change the last part of the filename to .jpg. I saved my file as sunset1bannerwhite.jpg.
Shading the banner
After saving this jpeg file, I realized that I didn’t want the banner to be white. What can I do about it now?
Quite a lot, because the changes can be undone. To do this, I right-click on the image, and choose Edit/Undo Flatten Image, and keep undoing until I have the two layers that I originally started with.
The image window will show a white screen again. Deja vu.
Because I like the ethereal quality of the orange light shining through the blades of grass, I want to tint the image orange like the sunset. To do this, I select the color picker tool, it’s the one that looks like an eyedropper dropping something. To follow along, pick a color that you like from your background image.
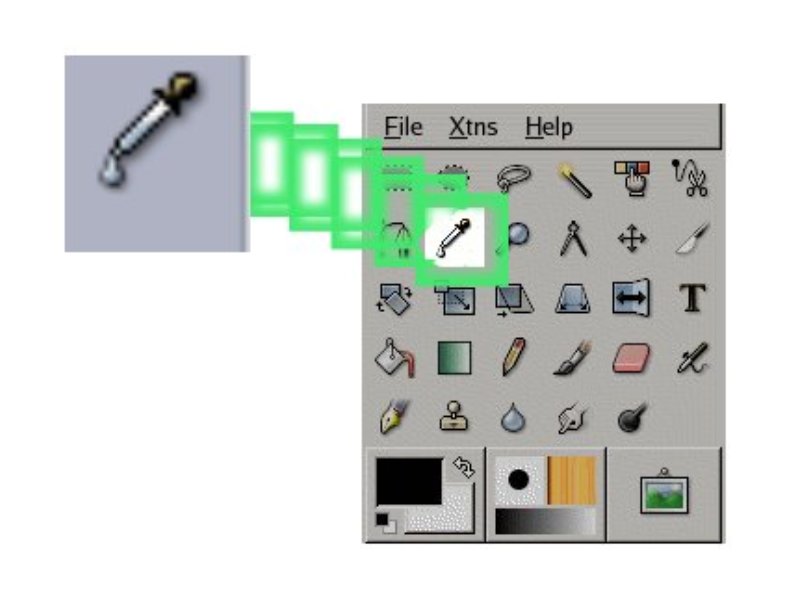
First, make the new layer invisible by clicking the eye next to it so that you can see the original image. Make sure that the background image is selected on the layers dialog box. The cursor will change to look like a dropper. Pick a color by clicking the tip of the dropper on the image. The color chosen is shown in the color picker tool window. I picked the most intense orange that I could find. It took me several tries to find the color that I wanted. You should pick a deep color because it will fade when we reduce the opacity.
The orange color appears in both the color picker window and on the main GIMP tool window. This means that this color will be used with whatever drawing or painting tool is used next.
Select the layers dialog box and change the selection back to the New Layer. Turn the visibility back on. Then select the tool icon that looks like a bucket of paint. This is the fill icon.
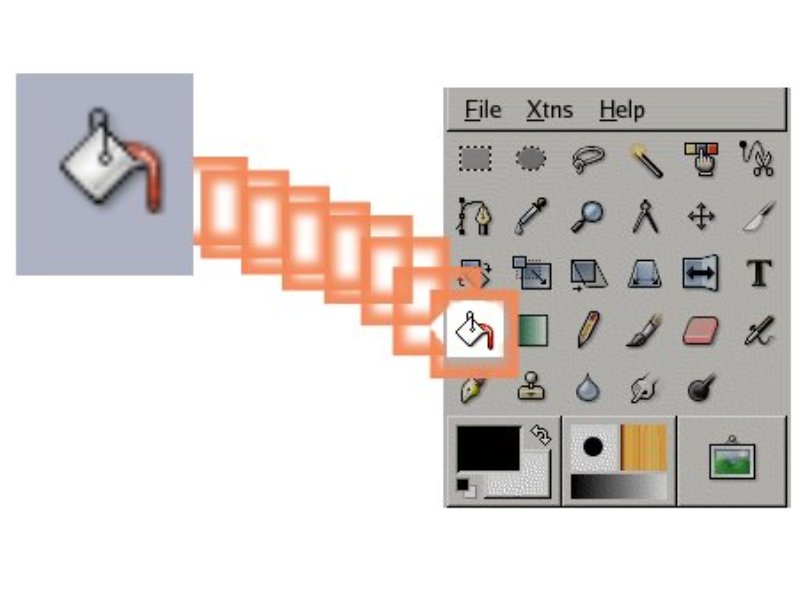
When you click this on the white screen the entire screen changes to the color that you have selected. It is a common error to forget to change the selection in the layers dialog box. If you did that here, some portion of the background image would be dyed. Just remember that you can undo mistakes.
Grabbing the opacity slider with the cursor, reduce the opacity until it looks good. I chose 47%. To save this intermediate, merge down and flatten the image. Then you can save it as a jpeg. I named mine sunset1bannerorange.jpg.
Adding Text
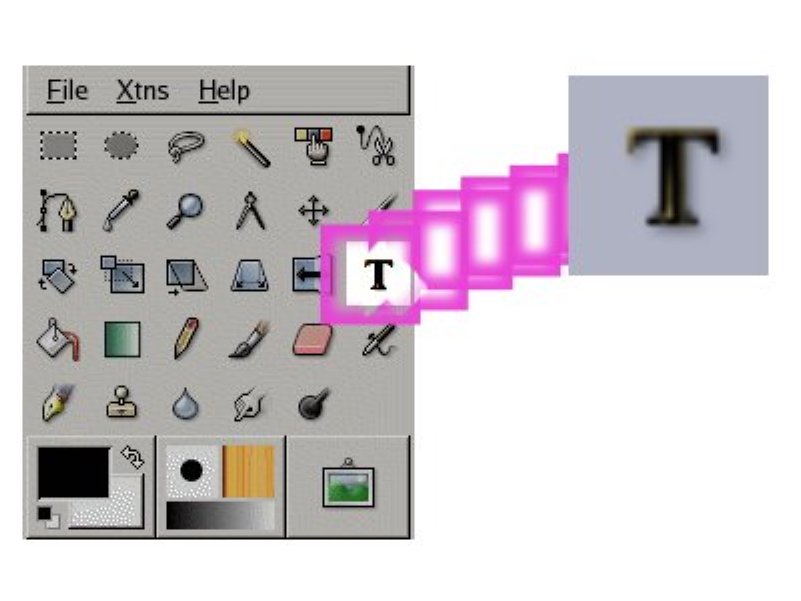
To add a title we can write text on top of the image. The text tool is the one that looks like a large letter T on the tool window. Select the T and click on the image.
In earlier versions of GIMP, you first had to make a new transparent layer to put the text on if you wanted to keep the text seperate from the image. Now this is done automatically.
When you click on the image, a window pops up to take the text. The words that you type can be seen on the image. On my image, the words were tiny and orange. I forgot to change the color back to black!
The settings for the text tool can be found at the bottom of the tool window when it is selected. There are settings for font, size, color, etc. Clicking on color reveals a window that will let you choose from a spectrum. If you click all of the way to the left, you can choose black. Then press OK. The words on the banner are now black.
If you prefer a fancier title font, change the font settings. I chose “freemono bold oblique” and increased the size to 100px.
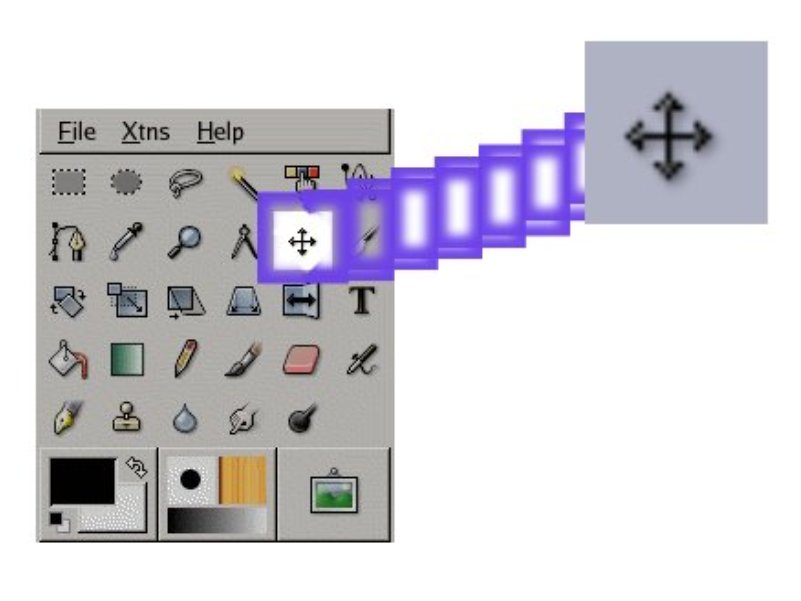
To move the location of the text, select the move icon. The move icon is the one that looks like a plus sign made out of arrows. When you select it and then click on the image, the cursor changes to a pointing hand. Holding it down over the words allows you to move them around until they are in the desired position.
Resizing images
To finish the banner, flatten the image, and save it. I saved my image as titlebanner.jpg, and then put it into my webpage. When I looked at my page, I found that the image was much too large. To change the size of the image, right-click on the window containing your image to open the menu, choose the Image sub-menu, and select Scale Image....
A window pops up asking you to set the new size. I set the length to 800px and pressed enter. It automatically adjusted the height to 250px so the ratio of width to height remained the same. Adjust your image to the size that you want, then click Scale. I saved this smaller banner as titlebanner800.jpg.
GIMP is a great tool for making images for websites
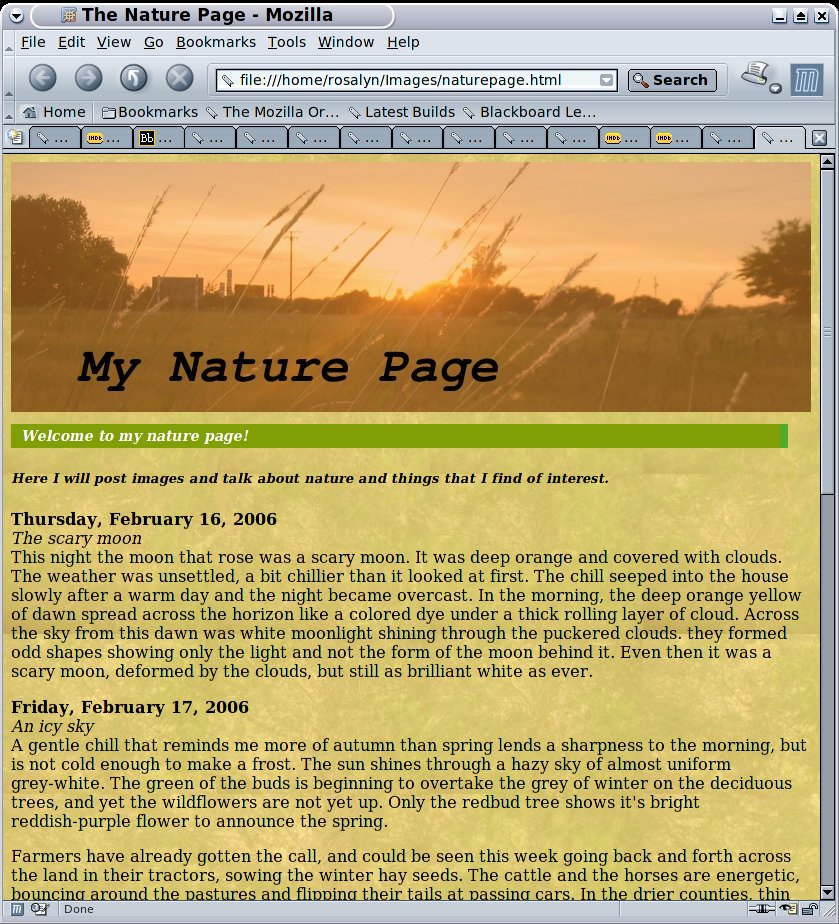
When I put this new banner on my web page, it finally looked the way that I wanted it to. GIMP is a great tool for making images for websites.
The background image
The background image on the nature page was made in much the same way as the banner was. An image treebranches.jpg was loaded and a white layer was placed over it and shaded to form a nice background color. The background image was changed to make a tileable image by using Filters/Map/Small Tiles... found by right-clicking on the image.
As you can see from this brief tutorial, GIMP allows you to take an image and alter it through a wide variety of methods. This tutorial only scratches the surface of what GIMP can do. To learn more, I suggest that you read the GIMP manual, try other tutorials, and simply play around with the program. Perhaps soon, you will find GIMP as indispensable a tool as I do. Enjoy.
Further reading and resources
Help for GIMP is extensive. The program documentation contains an entire color manual that you can read with a browser. You can also get help by clicking on the help button found in the main GIMP window. Use “context help” to get specific help for a tool or menu item.
List of GIMP resources:
- GIMP.org—The official GIMP website.
- GIMPguru.org—The site for those using GIMP to edit photographs.
- GIMPsavvy.org—A pretty complete looking book that can be bought or downloaded by tarball. Designed for an older version of GIMP.
- manual.GIMP.org—Official GIMP manuals in several languages.
- GIMPtalk.com—A forum for GIMP users.