Content Management System (CMS) software comes nowadays in all shapes and colours, so you can afford to be picky and choose the one that fits your needs. And if you happen to be a writer or an editor of an online magazine, SPIP might be what you are looking for. While SPIP is not as well-known as, say, Joomla, it has a huge following in France, its country of origin. Unlike other CMS applications which cater for a broad user base that needs to manage “content”, SPIP is designed for a more specific audience and purpose. First of all, SPIP defines content more precisely than just a clump of text and pictures, and it allows you to structure it more rigidly. Basically, SPIP offers the same approach to managing content as a magazine publication. Like in most periodic publications, the key element in SPIP is an article. And, similar to a magazine, SPIP allows you to structure the content (i.e. articles) by specifying a hierarchy of categories, where any article must belong to only one category. In the same vein, SPIP treats its users as editors, and it offers them all the tools they need to collaborate, manage, and publish articles and news stories.
Installing and configuring SPIP
SPIP runs on the MySQL/PHP stack, and there are two ways to install the application on your server: using the spip_loader script or installing the software manually. Using the SPIP loader is by far the easiest way to install the software: it automates the entire installation procedure, requiring the user only to provide a few pieces of information. To install SPIP using the SPIP loader, download the spip_loader.php file, create the spip folder on your server, and copy the loader file into it. Point your browser to http://yourserver/spip/spip_loader.php, select the installation language, and press the Install button. Then enter your MySQL login info, create a new SPIP database, and enter your personal info, including a user name and a password. Once you’ve done that, SPIP is ready to go.
If you prefer to have full control over the installation process, you might want to download the full SPIP package (available from the same download page as spip_loader) and install it manually. Although this is obviously a more laborious process, it is still straightforward enough even for the average user.
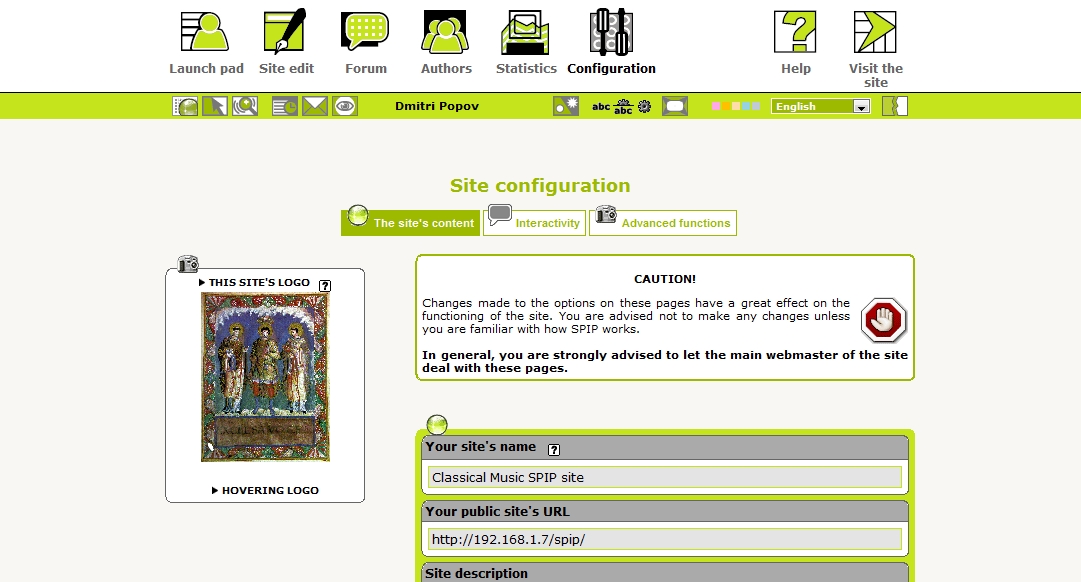
Once SPIP is installed, point your browser to http://yourserver/spip. If everything works properly, you should see an empty SPIP website. Before you start populating it with articles and news, you should configure some of its settings. To do this, click on the Private area link at the bottom of the page, log in using the user name and password you specified during the installation, and click on the “Configuration” icon. The Configuration area contains three sections. In The site’s content section, you can change your site’s name and logo, set up syndication options, configure the keywords feature and enable the document attachments feature. The Interactivity section allows you to configure forum settings, turn automatic editor registration on and off, and set up automated mailing options. Finally, you can use the Advanced functions section to configure thumbnails generation, a spell checker, and enable SPIP’s collaborative features. The latter includes the conflict resolution feature which can be used to avoid situations where several editors work simultaneously on the same article, and the revision tracking feature that allows users to track changes made to the articles.
As mentioned above, SPIP uses categories as a way to structure content, which means that you need to create at least one category before you can start adding articles. To do this, click on the Launchpad icon and click on the Create a section button. Give the section a name and description and press Save. You can also add an unlimited number of sub-sections, thus creating a more elaborate content hierarchy.
Getting started with SPIP
Now you can start working on an article. In the Launchpad, click on the Write a new article button, and you’ll be presented with SPIP’s editing area. Similar to a wiki, SPIP uses special markup for text formatting. Here is a snippet of formatted text which can give you a gist of what SPIP’s markup looks like:
{{Ludwig van Beethoven}} was a German composer. He is generally regarded
as one of the greatest composers in the history of music, and was a
crucial figure in the transitional period between
the [Classical->http://en.wikipedia.org/wiki/Classical_music_era] and
[Romantic->http://en.wikipedia.org/wiki/Romantic_music]
eras in Western classical music.
SPIP doesn’t support WYSIWYG editing, but you can use the formatting toolbar to quickly apply markup to the text. The toolbar itself is rather bare-bones, so make sure that you check the online help for more advanced formatting options such as tables and lists.
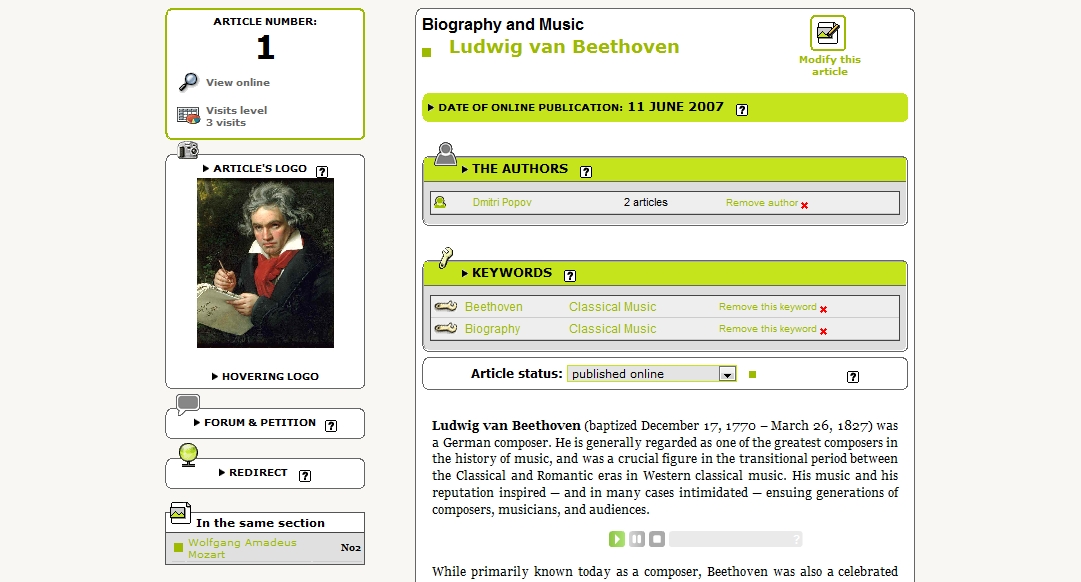
Since SPIP is designed as an online publication system (in fact, SPIP stands for Système de Publication Pour l’Internet, which can be loosely translated as Publishing System for the Internet), it tries to emulate the workflow of a printed publication. This means—among other things—that the article isn’t published on the website as soon as it’s written: instead, it moves through different editing stages. For example, until you are finished with the article, you set its status to “editing in progress”. Once you’re done with it you change its status to “submitted for evaluation”. The article then appears on the Launchpad, so other editors can see it. The editors can also stay abreast of the submitted article by subscribing to the Launchpad RSS feed. Moreover, they can comment on the article by attaching messages to it. If the article is accepted, you can finally publish it on the website by setting its status to “published online”. And if the article gets dropped or rejected, you can change its status to “in the dustbin” or “rejected”.
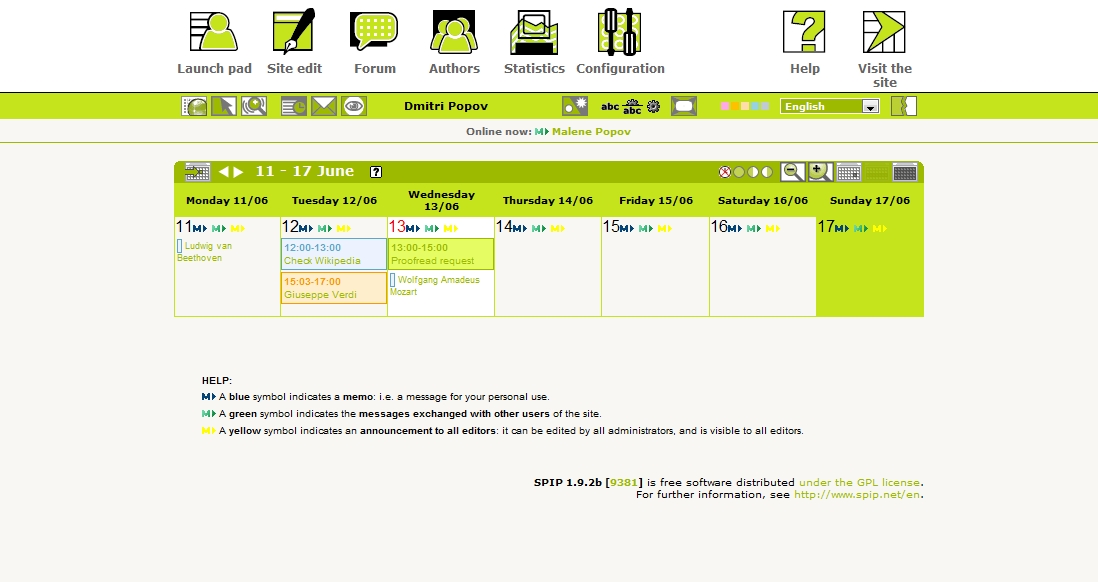
Another tool that is indispensable for collaborative publishing is the Calendar. On the face of it, the Calendar is a rather simple tool that allows you to keep tabs on your own and other editors’ schedules. However, it has a few clever tricks up its sleeve that make it more than just a mere calendar. First of all, when you set the status of the article to “published online”, it appears in the Calendar, which provides a handy mechanism for keeping track of published articles. Another of Calendar’s clever features is its integration with SPIP’s messaging capabilities. SPIP supports three types of messages: memos, messages, and announcements. Memos are private messages that no-one else can see but you. In most cases, you use them to add events to your calendar. Messages are, well, messages you can exchange with other editors. As soon as you send a message to a particular editor, she can see it in her Messages section. But here is the clever part: you can choose to display the message in the Calendar and you can even set its time. If you do so, the message appears as an event in both your own and the recipient’s calendars.
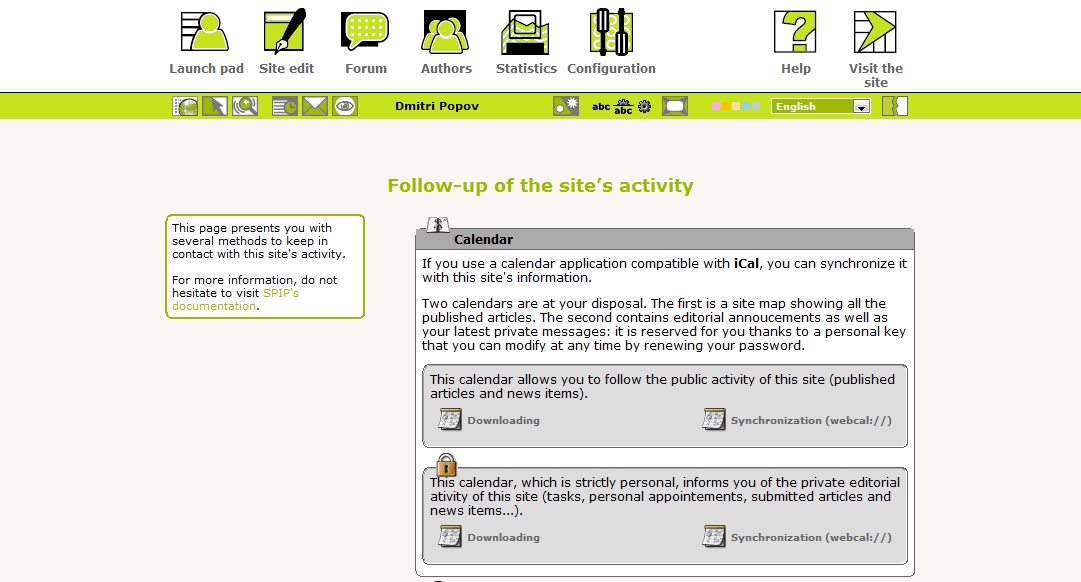
With all this editorial activity, keeping tabs on what’s going on can be somewhat difficult, so SPIP offers a few tools to tackle this challenge. Click on the Follow-up button on the site’s activity, and you will be presented with an assortment of useful features. As you would expect, there are RSS feeds for different sections of the website. There are also static and dynamic iCal files, suitable for use with any iCal-compatible calendaring application. Finally, there is also a tiny JavaScript applet ready to be embedded into a web page.
As you would expect, the Forum feature allows editors to discuss different matters, but SPIP adds an interesting twist to it. The forum consists of internal and public sections. The internal section contains messages posted on the internal forum as well as private messages exchanged between editors. The public section consists of comments posted by visitors to specific articles. This may sound a bit confusing, but it actually works pretty well in practice. Choose Forum→Manage forums, and you can switch between the public and internal sections as well as manage the individual posts and messages. There is a de rigueur RSS feed, which you can use to keep tabs on forum messages.
The plug-in power
SPIP has enough features to satisfy even the most demanding users. But its functionality can be extended even further by using plug-ins. There are quite a few of them available in the SPIP-Contrib repository. Installing plug-ins is rather straightforward. Create a “plugins” directory in the root of your SPIP installation, download the plug-in you want, unzip it, and copy it to the created directory. Before you can use it, though, you have to activate it. To do this, you need to switch to the advanced interface in the SPIP administration area by clicking on the Interface button and choosing the complete interface option. This adds the Manage plugins entry to the configuration menu. Choose this entry, and you should see a list of all the installed plug-ins. Tick the ones you want to activate, press the Submit button, and you are done.
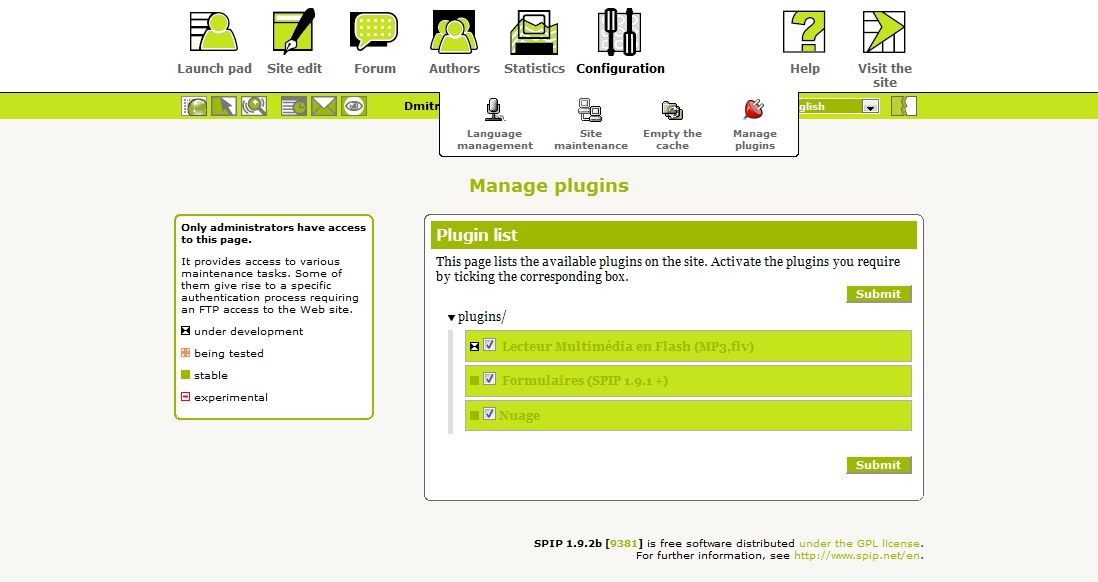
Of course, what plug-ins to install and activate depends largely on your needs, but there are a few of them that are worth mentioning. A word of caution: the descriptions of most plug-ins are in French only, so you might need a decent French-English dictionary, or run the pages through Google Translate. The Multimedia Player plug-in allows you to embed a Flash-based audio and video player that can play any files attached to the article. For example, you can attach an MP3 music file to the article and then embed it into the article as follows (docX refers to the file’s attachment name): <docX|player>.
You can also choose between different player skins as well as define its alignment: <docX|player|center|player=dewplayer>.
Another nifty plug-in is Nuage, which means cloud in French. In a very Web 2.0 style, it allows you to add a keyword cloud to an article. To add a cloud to an article, simply insert the following code (x refers to the number of the particular keyword group): <nuageX>.
The Thickbox plug-in adds even more Web 2.0 pizzazz to the articles. When the plug-in is activated, it turns the embedded images into snazzy photo galleries consisting of the attached graphics files.
Taking SPIP further
This is just a tiny fraction of SPIP’s capabilities, and there is much more to SPIP than meets the eye. For example, SPIP features a powerful templating engine and its own templating language that allows you to take full control of your website’s appearance. To learn the ropes, you might want to take a look at a tutorial that explains how to create a basic template. For more advanced stuff, check SPIP’s page layout reference manual.