Everybody needs diagrams. Most users need to create one more often than they think: that flowchart for a presentation, that sketch of the bird feeder to build this weekend, or a time line. Getting more technical, there are always circuits and blueprints and the like. Stop wasting time with an office app, the GIMP, or a paint program: use Dia, an easy yet powerful made-for-diagrams editor.
Getting Dia
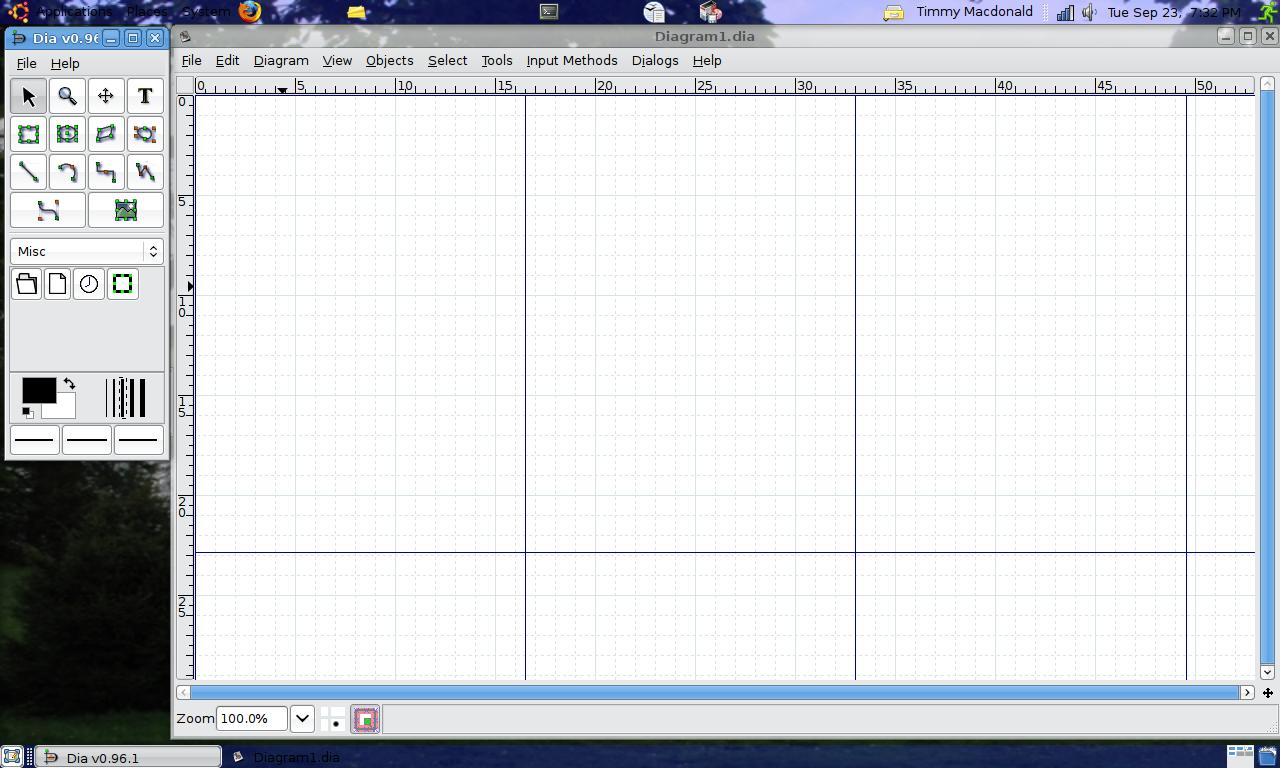
If you're running GNU/Linux, then just snag Dia from your distribution's repositories. If you're using Windows, then it's more complicated: your best bet is following these instructions to install Dia on Windows. Open Dia up, and--well, nothing fantastic happens. Just like most programs, you'll see a canvas, a toolbox, and a toolbar to open, save, copy, get help, etc. The canvas has pretty little squares, to check the scale and orientation of things you draw. The toolbox might seem a bit different. Even still, it really doesn't seem to be quite enough.
Let's explore what you can do with it.
Getting started
I already mentioned the canvas. If you've ever used Paint, Powerpoint, OpenOffice Impress, the GIMP, or any similar program (and I'm sure you have), you'll know exactly what to do: you draw stuff on it. To decide what you want to draw you use the toolbox, which is the window with all the icons in it. Make a line: click the "line" icon in the toolbox (it looks like a backslash with a dot at each end), click on the canvas, and drag somewhere else on the canvas.
If you don't like the way it looks, grab one of the ends of it (with the yellow square), and click and drag to resize it. I told you this was easy!

This line is straight, with nothing special at the end, and it's pretty much boring. (If you have an arrow at the end of your line, don't worry, this will make sense anyway.) So, suppose you want it to be more interesting: at the bottom of the toolbox there are three wider icons, with three straight lines in them. They stand for the beginning, middle, and end of the line. Click on one, and change it to an arrow (if it was already an arrow, change it to something else). Make a new line, and then change the middle and right icons. Make another line. See the pattern? It's not about left and right, it's about start and finish.
To make a rectangle, you could draw four lines; however, that's tedious at best, and inaccurate at worst. Conveniently, Dia has a rectangle tool. It looks like a rectangle, right above the line tool. Try drawing a rectangle on the canvas.
Now be brave, and draw an ellipse.
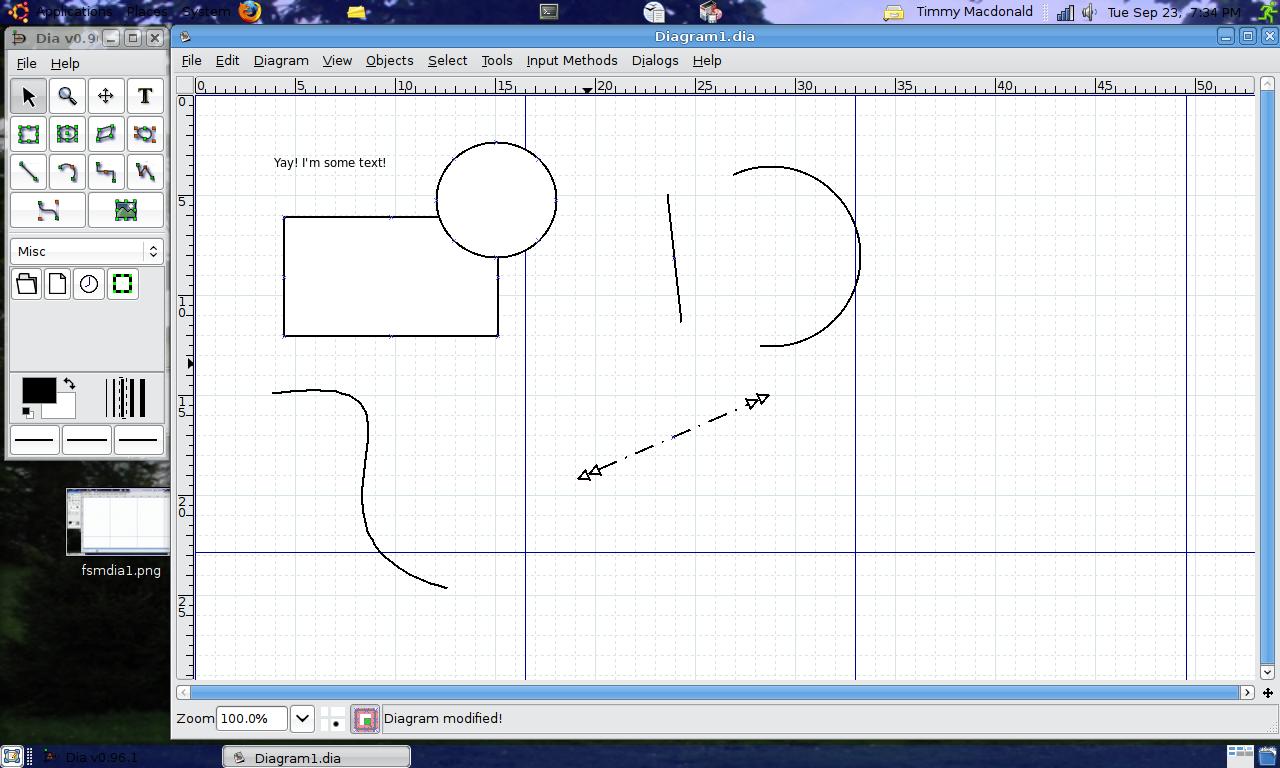
Note that the rectangle and ellipse have the same line style as the one you picked for the line. If you don't like it, change it the same way you changed the lines.
Play around with all the other tools in your toolbox. Hovering over the icon will say what it does, if you're confused.
Getting advanced
If you try to make polygons with the polygon button, you might get a bit thrown -- you might be wondering how to make anything other than triangles!
If you want to make interesting polygons, right click your polygon, and select "Add Corner." Now you have an extra point to play with, and your polygon just turned into a quadrilateral. Do it again, and you will get a pentagon. Do it 138 times, and--whoever's close by will laugh at you!
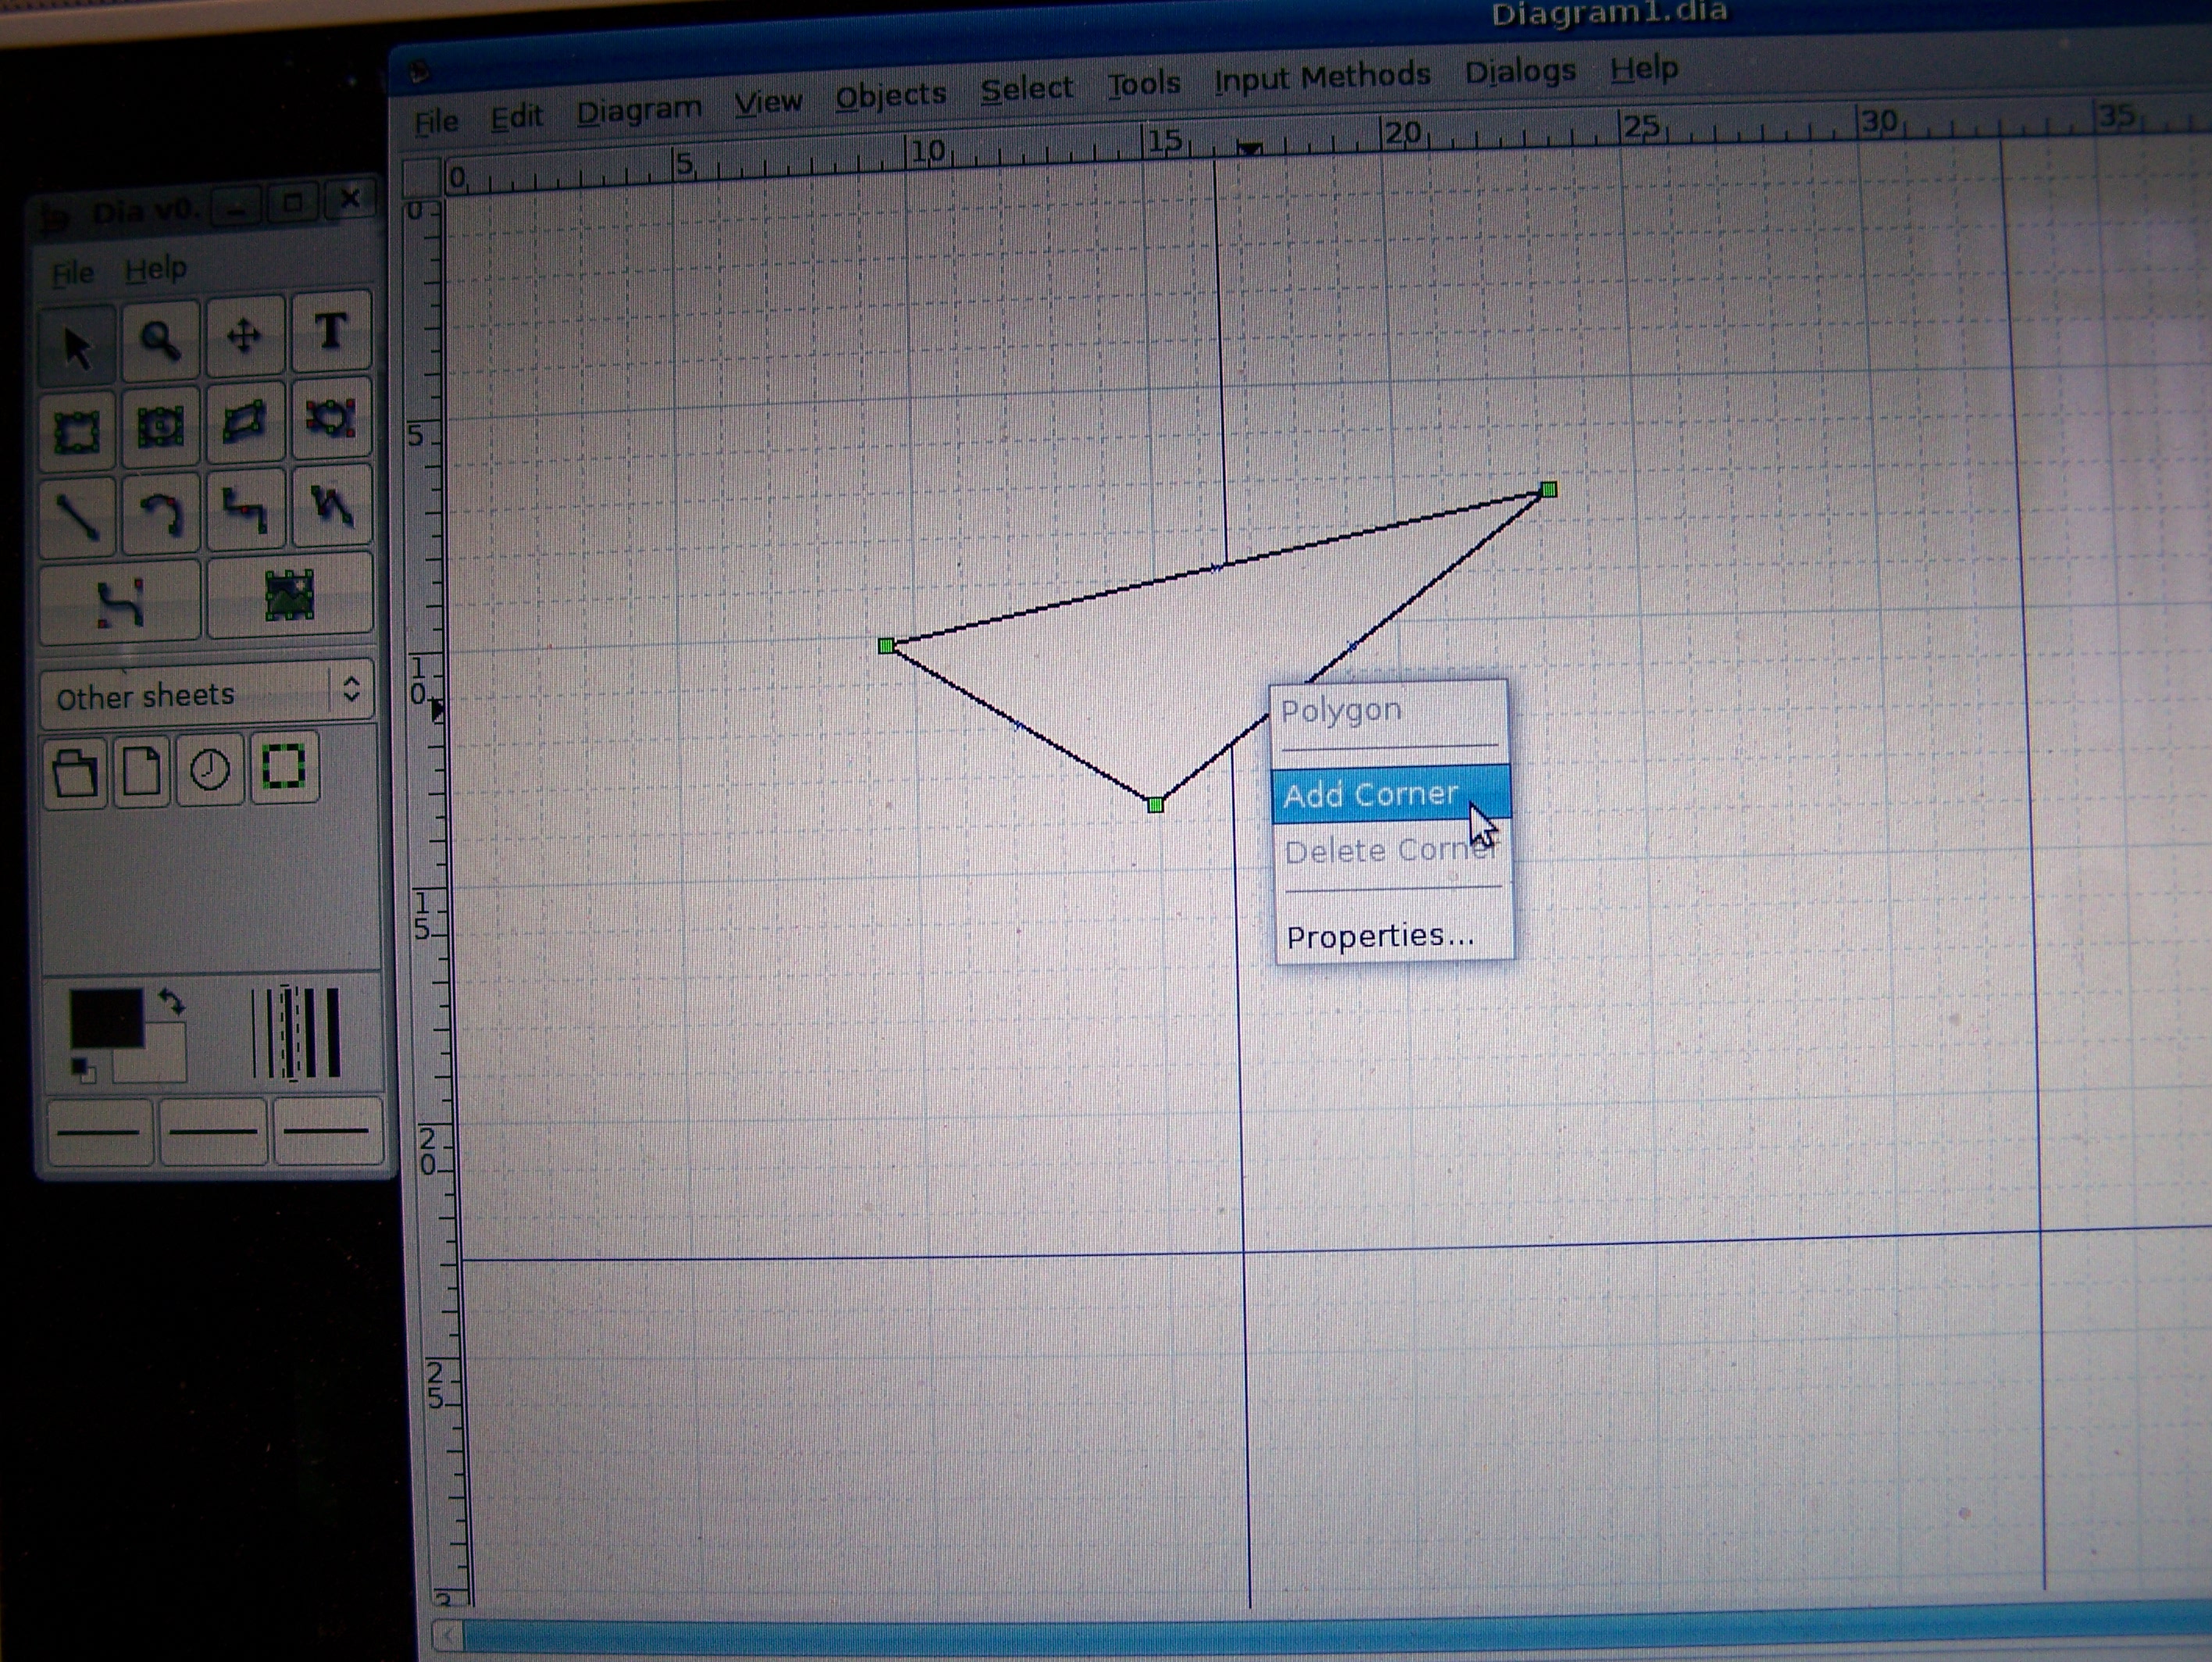
The right-click menu has a few more tricks up its sleeve. Right click a shape/line again and hit "Properties". Now you can play with the width and color and more (the color is in hex format, which is outside the scope of this article. Read about it in this tutorial about hex notation).

For ellipses and rectangles, the menu has even more options: "Fixed aspect" and "Circle" (or "Square"). Remember that "fixed aspect" just means the proportions are the same when you change the size, and doesn't guarantee the squareness of it.

The last "advanced: creating objects. In Dia's lingo, "object" means "a predefined bunch of lines that means something specific". So in your toolbox, look at the spot that says "Misc". Now look below it: you'll see a clock, a folder, etc. Make a clock just like you would with anything else: click and drag. Try a folder too.
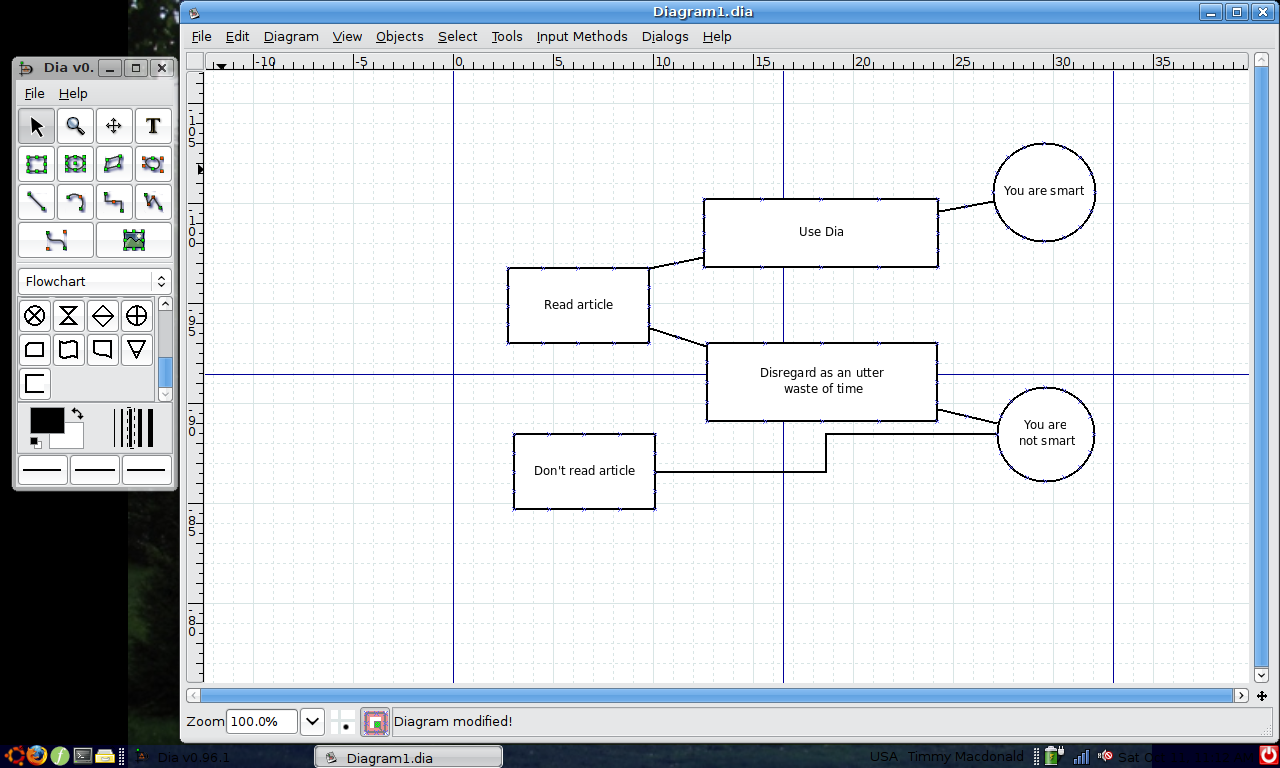
You might be wondering why Dia offers an "folder" object to draw... which brings up the entire point of objects. They're meant to be extensions of Dia for different (more specialized) tasks. "Misc" could be useful for making a diagram of a filesystem. Click "Misc", then "Other sheets", and you'll see a menu of a lot of possible objects. Try "Flowchart." Suddenly, you have a lot of handy flowchart objects.
Conclusion
Now you know enough about Dia to get a lot of tasks done. It's pretty intuitive to start, and just playing with it for a few minutes makes it even more so. However, there's still a lot you could learn which I haven't even touched on.
One thing is that Dia supports Python scripts. That is definitely outside the scope of this article, but there's a nifty guide on how to use Python with Dia. Speaking about guides, have a look at Dia's official tutorial.
To get better, the best step is to stop reading this article and play with Dia. Enjoy!